Paper Flowers (for big groups!)
Depending on the color scheme - a wonderful project for el Dia de los Muertos or for spring fun.
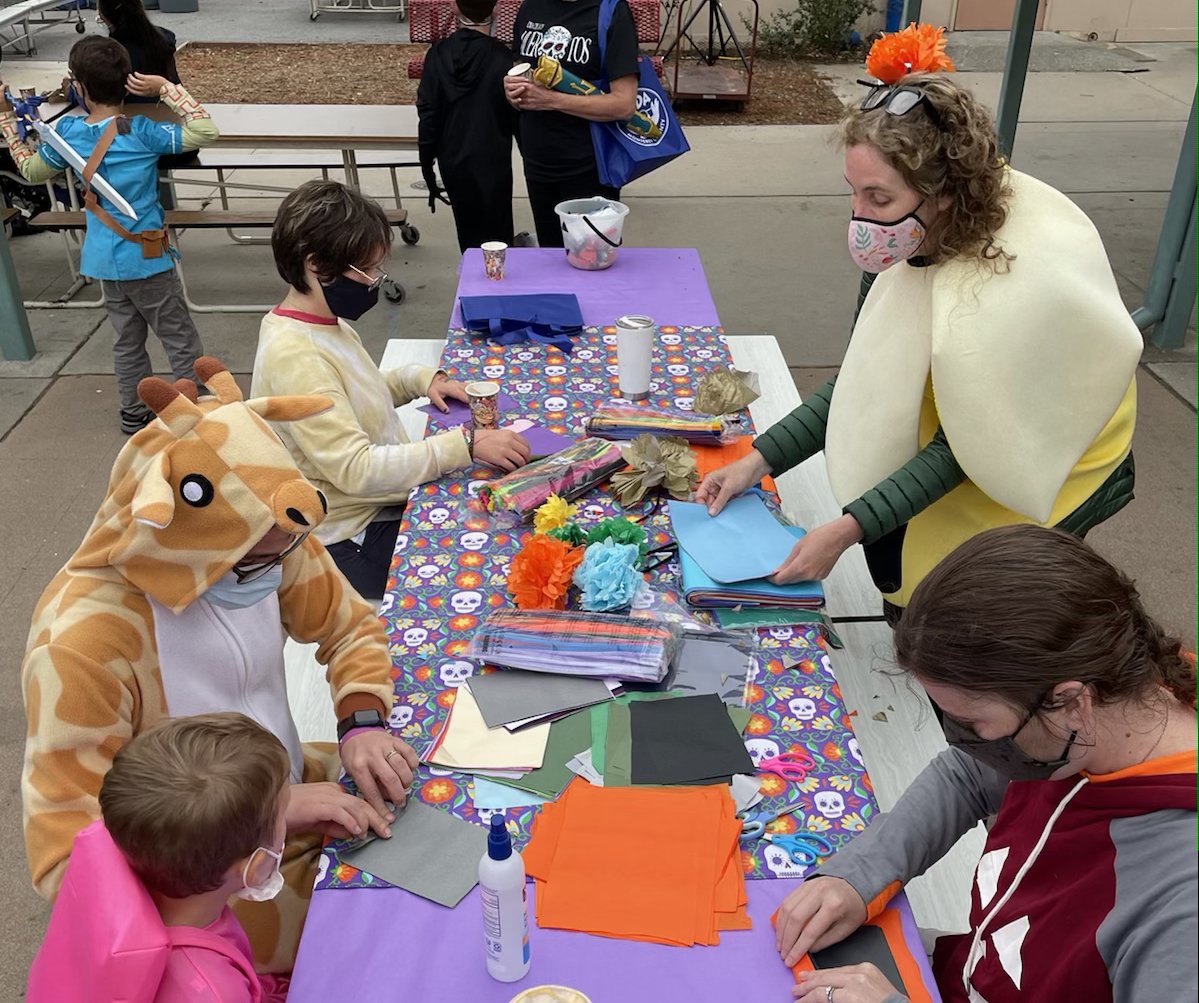
Recently, I ran an el Dia del los Muertos craft table for Crumpton Elementary here in Marina for 500 families (!!!). Because there were so many families with young children, finding a quick, simply way to make beautiful paper flowers was important. This video shows the technique we used:
Streamlining for large groups of small children: With small children, I asked them to pick their colors, and then, while they ever-so-carefully picked their pipe cleaner from a big pile, I quickly folded the papers into fan, and added the pipe cleaner. I asked the little children to help me twist it. Then, I helped them trim their pointy edges and asked them to pull the papers apart by themselves.
Sculpting: Almost everyone who is new at making paper flowers will need some help sculpting and shaping them at the end of the process. Be sure to pull the papers apart all the way to the center, and then feel free to push and pull the flower into the shape that you like most.
Materials:
Tissue paper (about 8 pieces - cut to size)
Pipe cleaners
Scissors
Process:
Take about 8 pieces of tissue paper and stack them.
Fold them into a fan.
Wrap a pipe clean “stem” around the middle of the fan and twist it tightly.
Trip both edges of the fan into triangles.
Carefully separate the papers, pulling them up and away from each other. Don’t worry if a few rip!
Sculpt and shape.
The author of this blog, dressed as a banana, making paper flowers at the Crumpton Elementary el Dia de los Muertos/Halloween festival - which was SO MUCH FUN!


