Cyanotypes

This week in my Experimental Media Arts class we are talking about (and making short films) about light. We went on a walk around campus and worked on identifying some of the trees and plants here. We talked about tree blindness and the victorian practice of teaching “Visual Acuity” as described by John Stilgoe in Outside Lies Magic. Then we made cyanotypes, that I quickly turned into the animated GIF above.

Materials:
Photosensitive Paper. You can make your own with your students, but in this pandemic year I’m simplifying and using this fantastic set from UC Berkeley (also available on Amazon.) It means my students don’t have to handle chemicals.
Collected materials: plants work well, but so do materials collected in an urban environment - old nails, wire, etc.
Cardboard (we used a canvas)
Water
Plexi glass (comes with your kit!)

How to:
Prior to class, in a darker room, take a few sheet and cut them to a smaller size. I cut each sheet into 8 pieces. Put them back in the protective bag.
Take your students on a walk, collecting things and talking about the landscape. Validate the plants and debris of the built environment as beautiful and important.
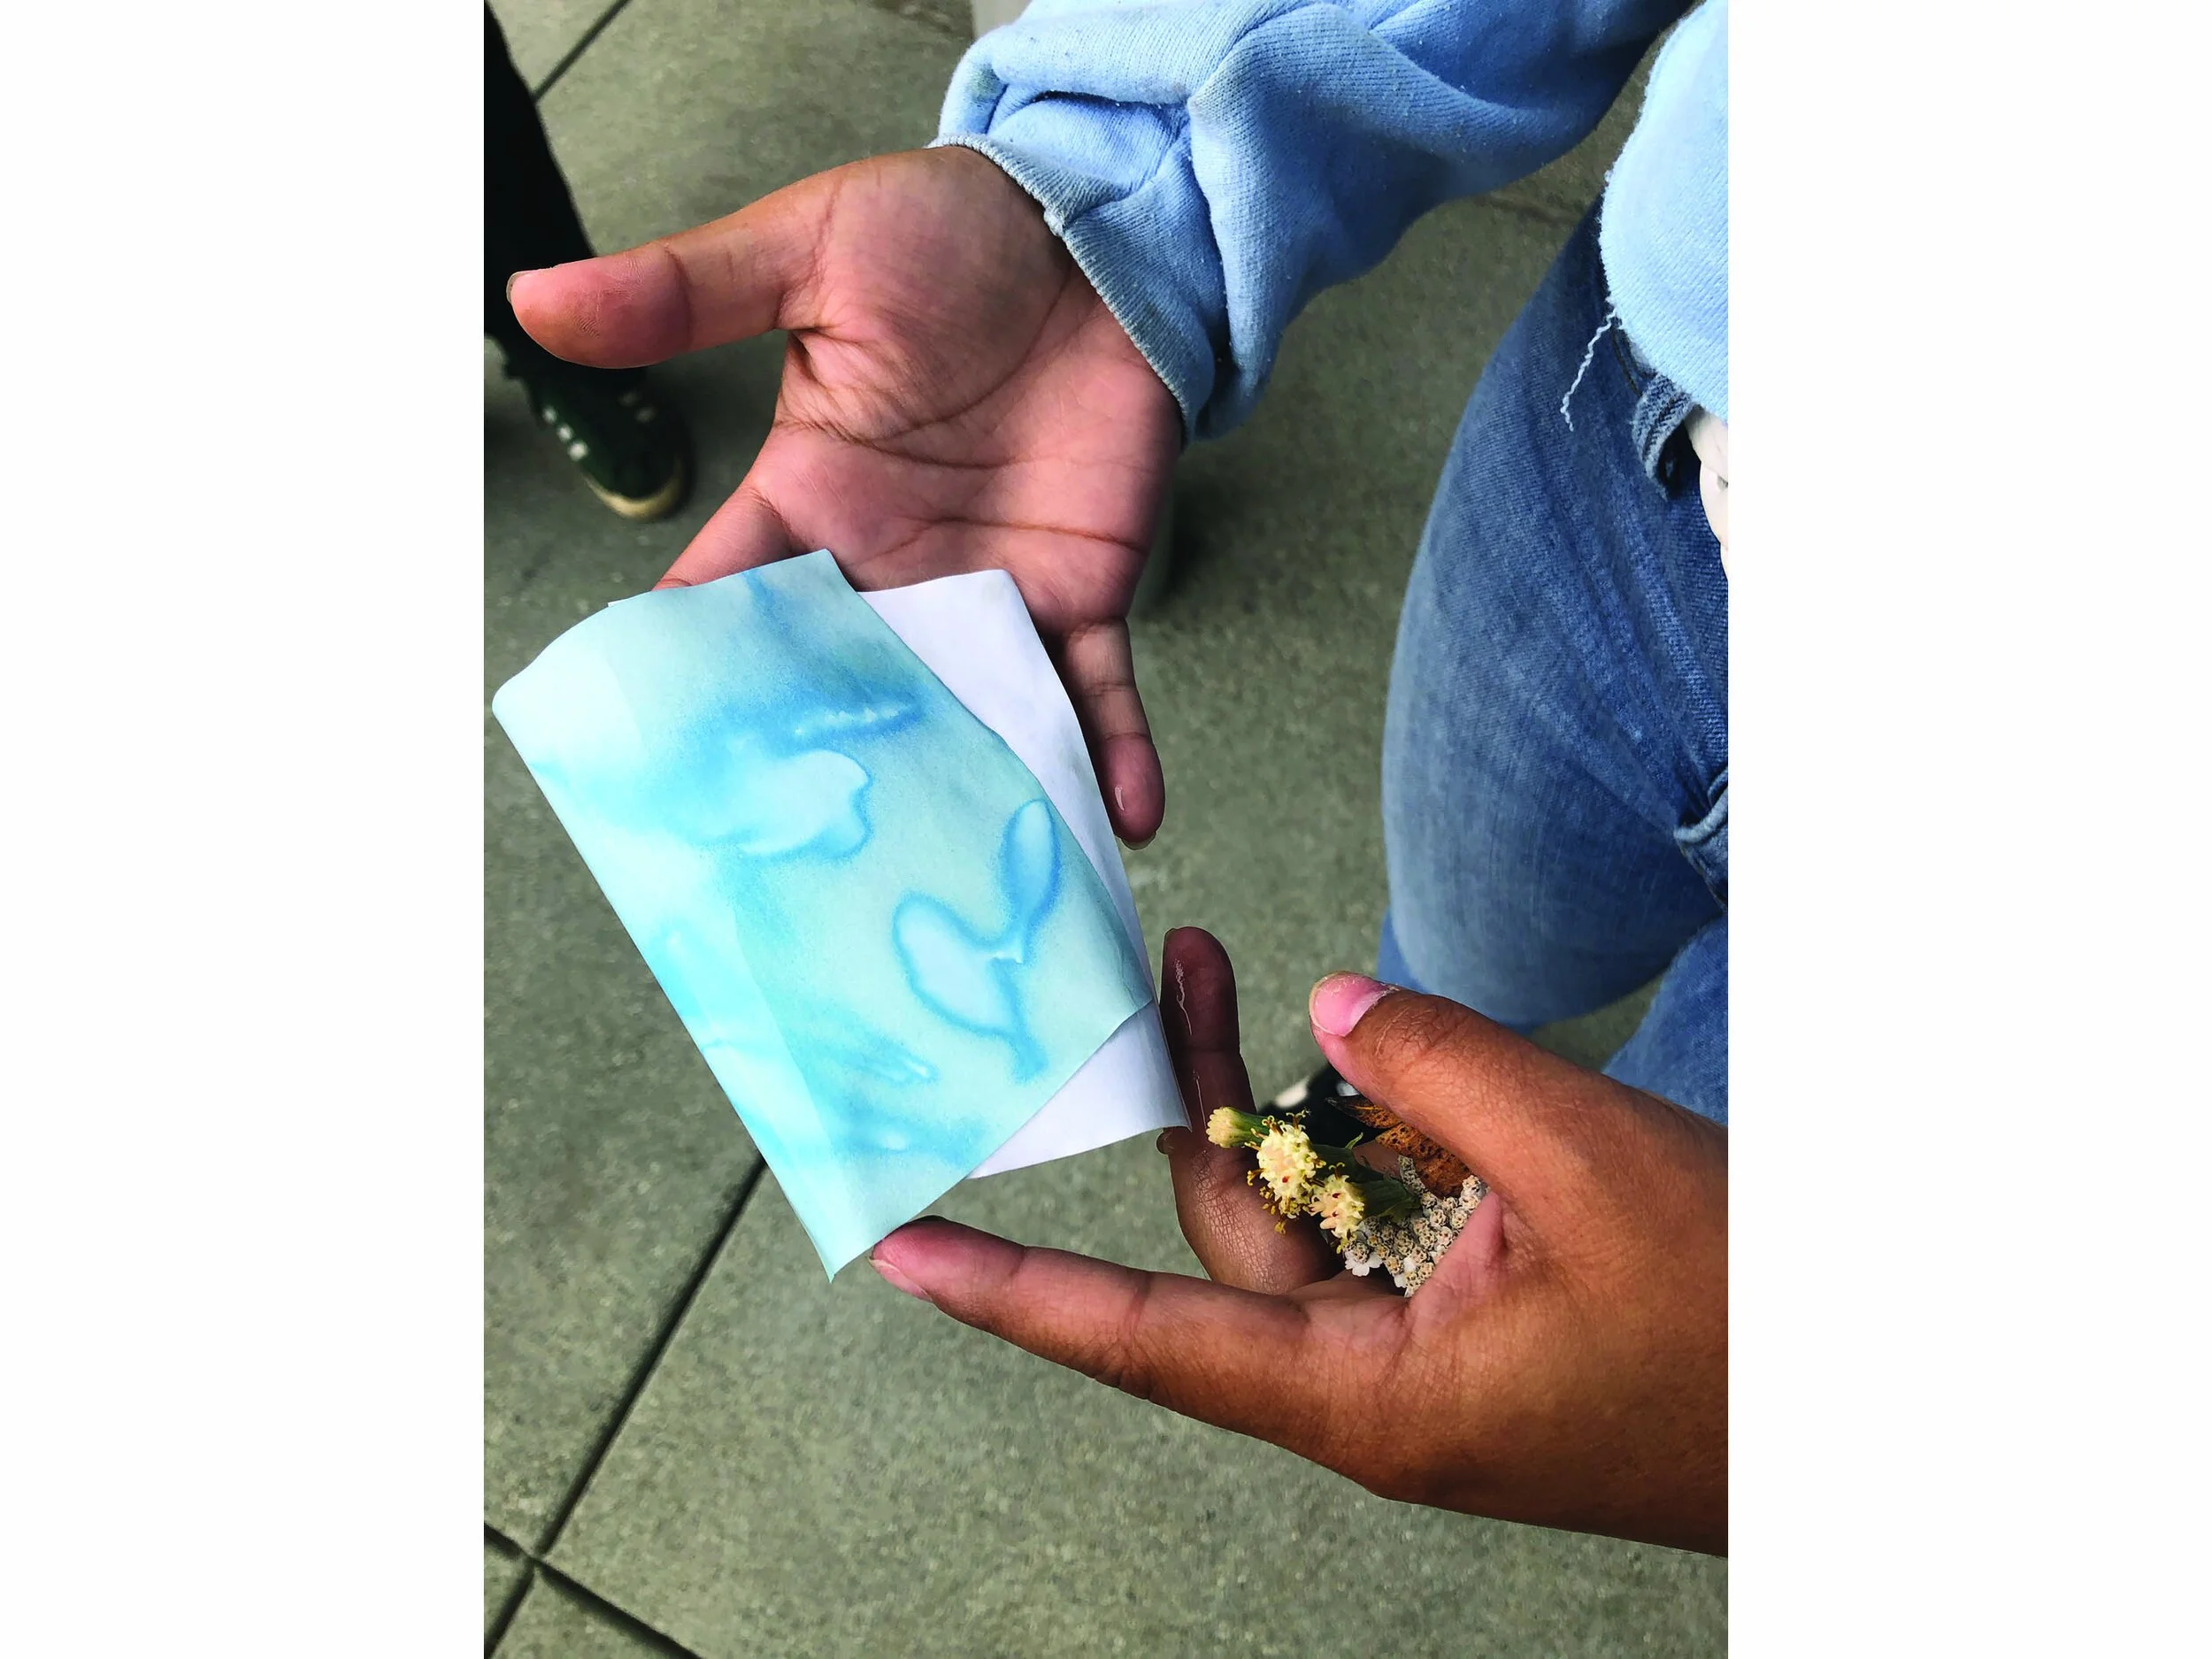
Go inside in a dimly lit space and have the students place their items on the paper, arranging them however they’d like.
Use the plexi in your kit to cover and weigh down the papers. You don’t need to cover every inch of the paper with plexi. (see above)
Wait up to 5 minutes. The paper will become white.
Remove the objects and rinse the papers in water to fix them.
They will become blue again - a negative of how they looked at first.

When objects are first removed.
Just after rinsing.

After rinsing, the images turn into negatives.


