Sprout and Sculpt Seeds

Image and project inspiration courtesy of Armory Center for the Arts. Thanks, friends!
This is a fun, two-part project. You can do them during the same session, or space them out.
Part 1: Sprouting seeds:

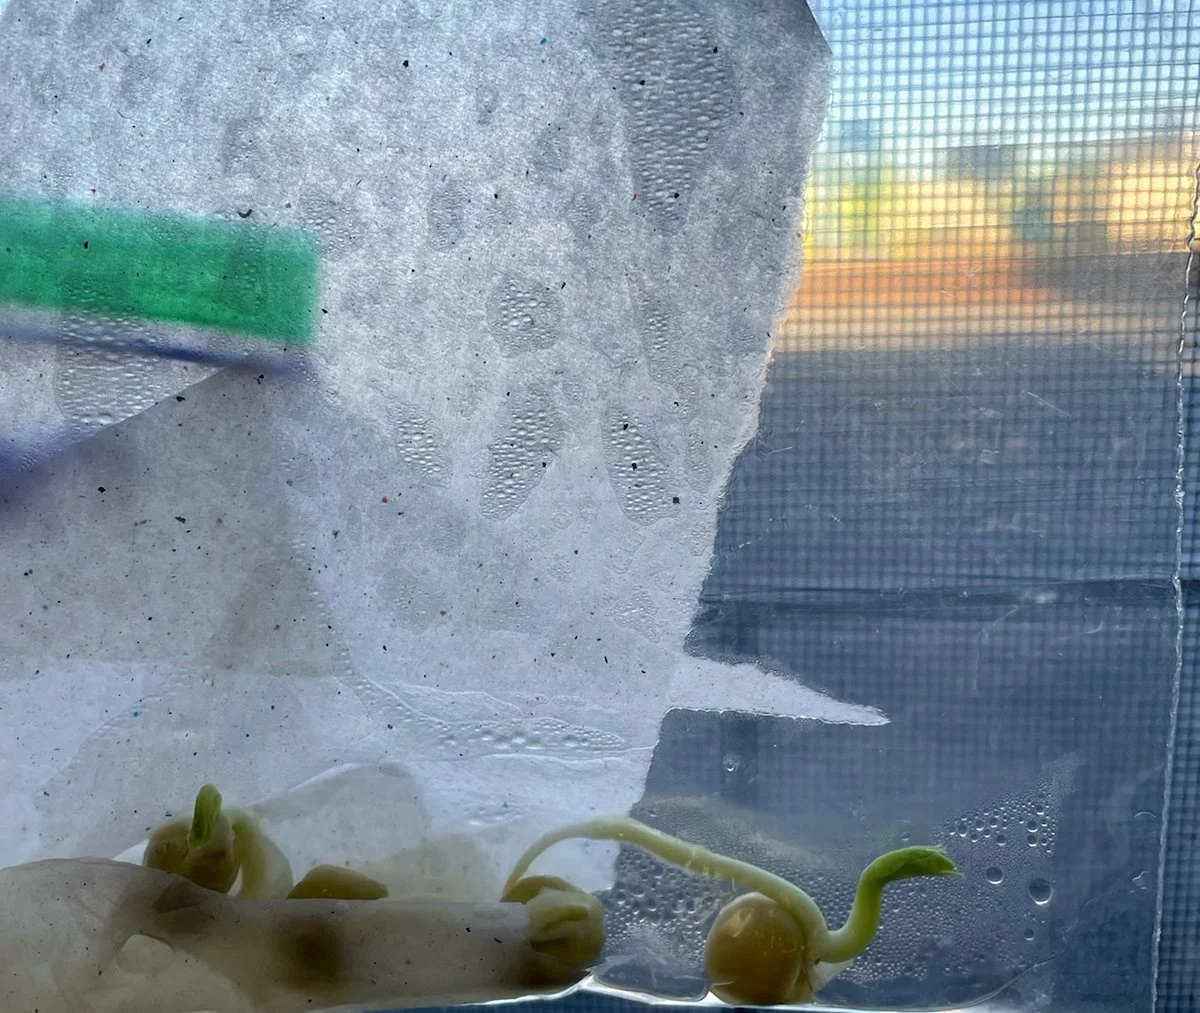
The seeds sprouting on the classroom window.
Materials needed:
Seeds. I like to use peas and sunflowers.
Sandwich bags, jars, or wax paper bags.
Paper towels
Water
A permanent marker
Process:
Invite the students to compare the seeds. How are they shaped? What color are they? How are they different. Older students can create sketches of the seeds.
Wet a paper towel.
Fold the seeds into the wet paper towel.
Place the wet paper towel with seeds into a baggie, or press it up against the wall of a jar.
Seal the bag or jar and place it near a window.
Check on your seeds and watch them grow!


Part Two: Sculpt Seeds


Materials needed:
Clay
Cardboard or paper to sculpt on
A piece of wire (to cut clay and create surface decorations)
Process:
Use the wire to cut the clay into pieces for each student.
Allow students to sculpt their own magical seeds.
Students can create textures and designs to make their seeds unique.
Ask students to share, what will their seeds turn into?

Sculpture + Seeds