Make Paint from Flowers - part 1

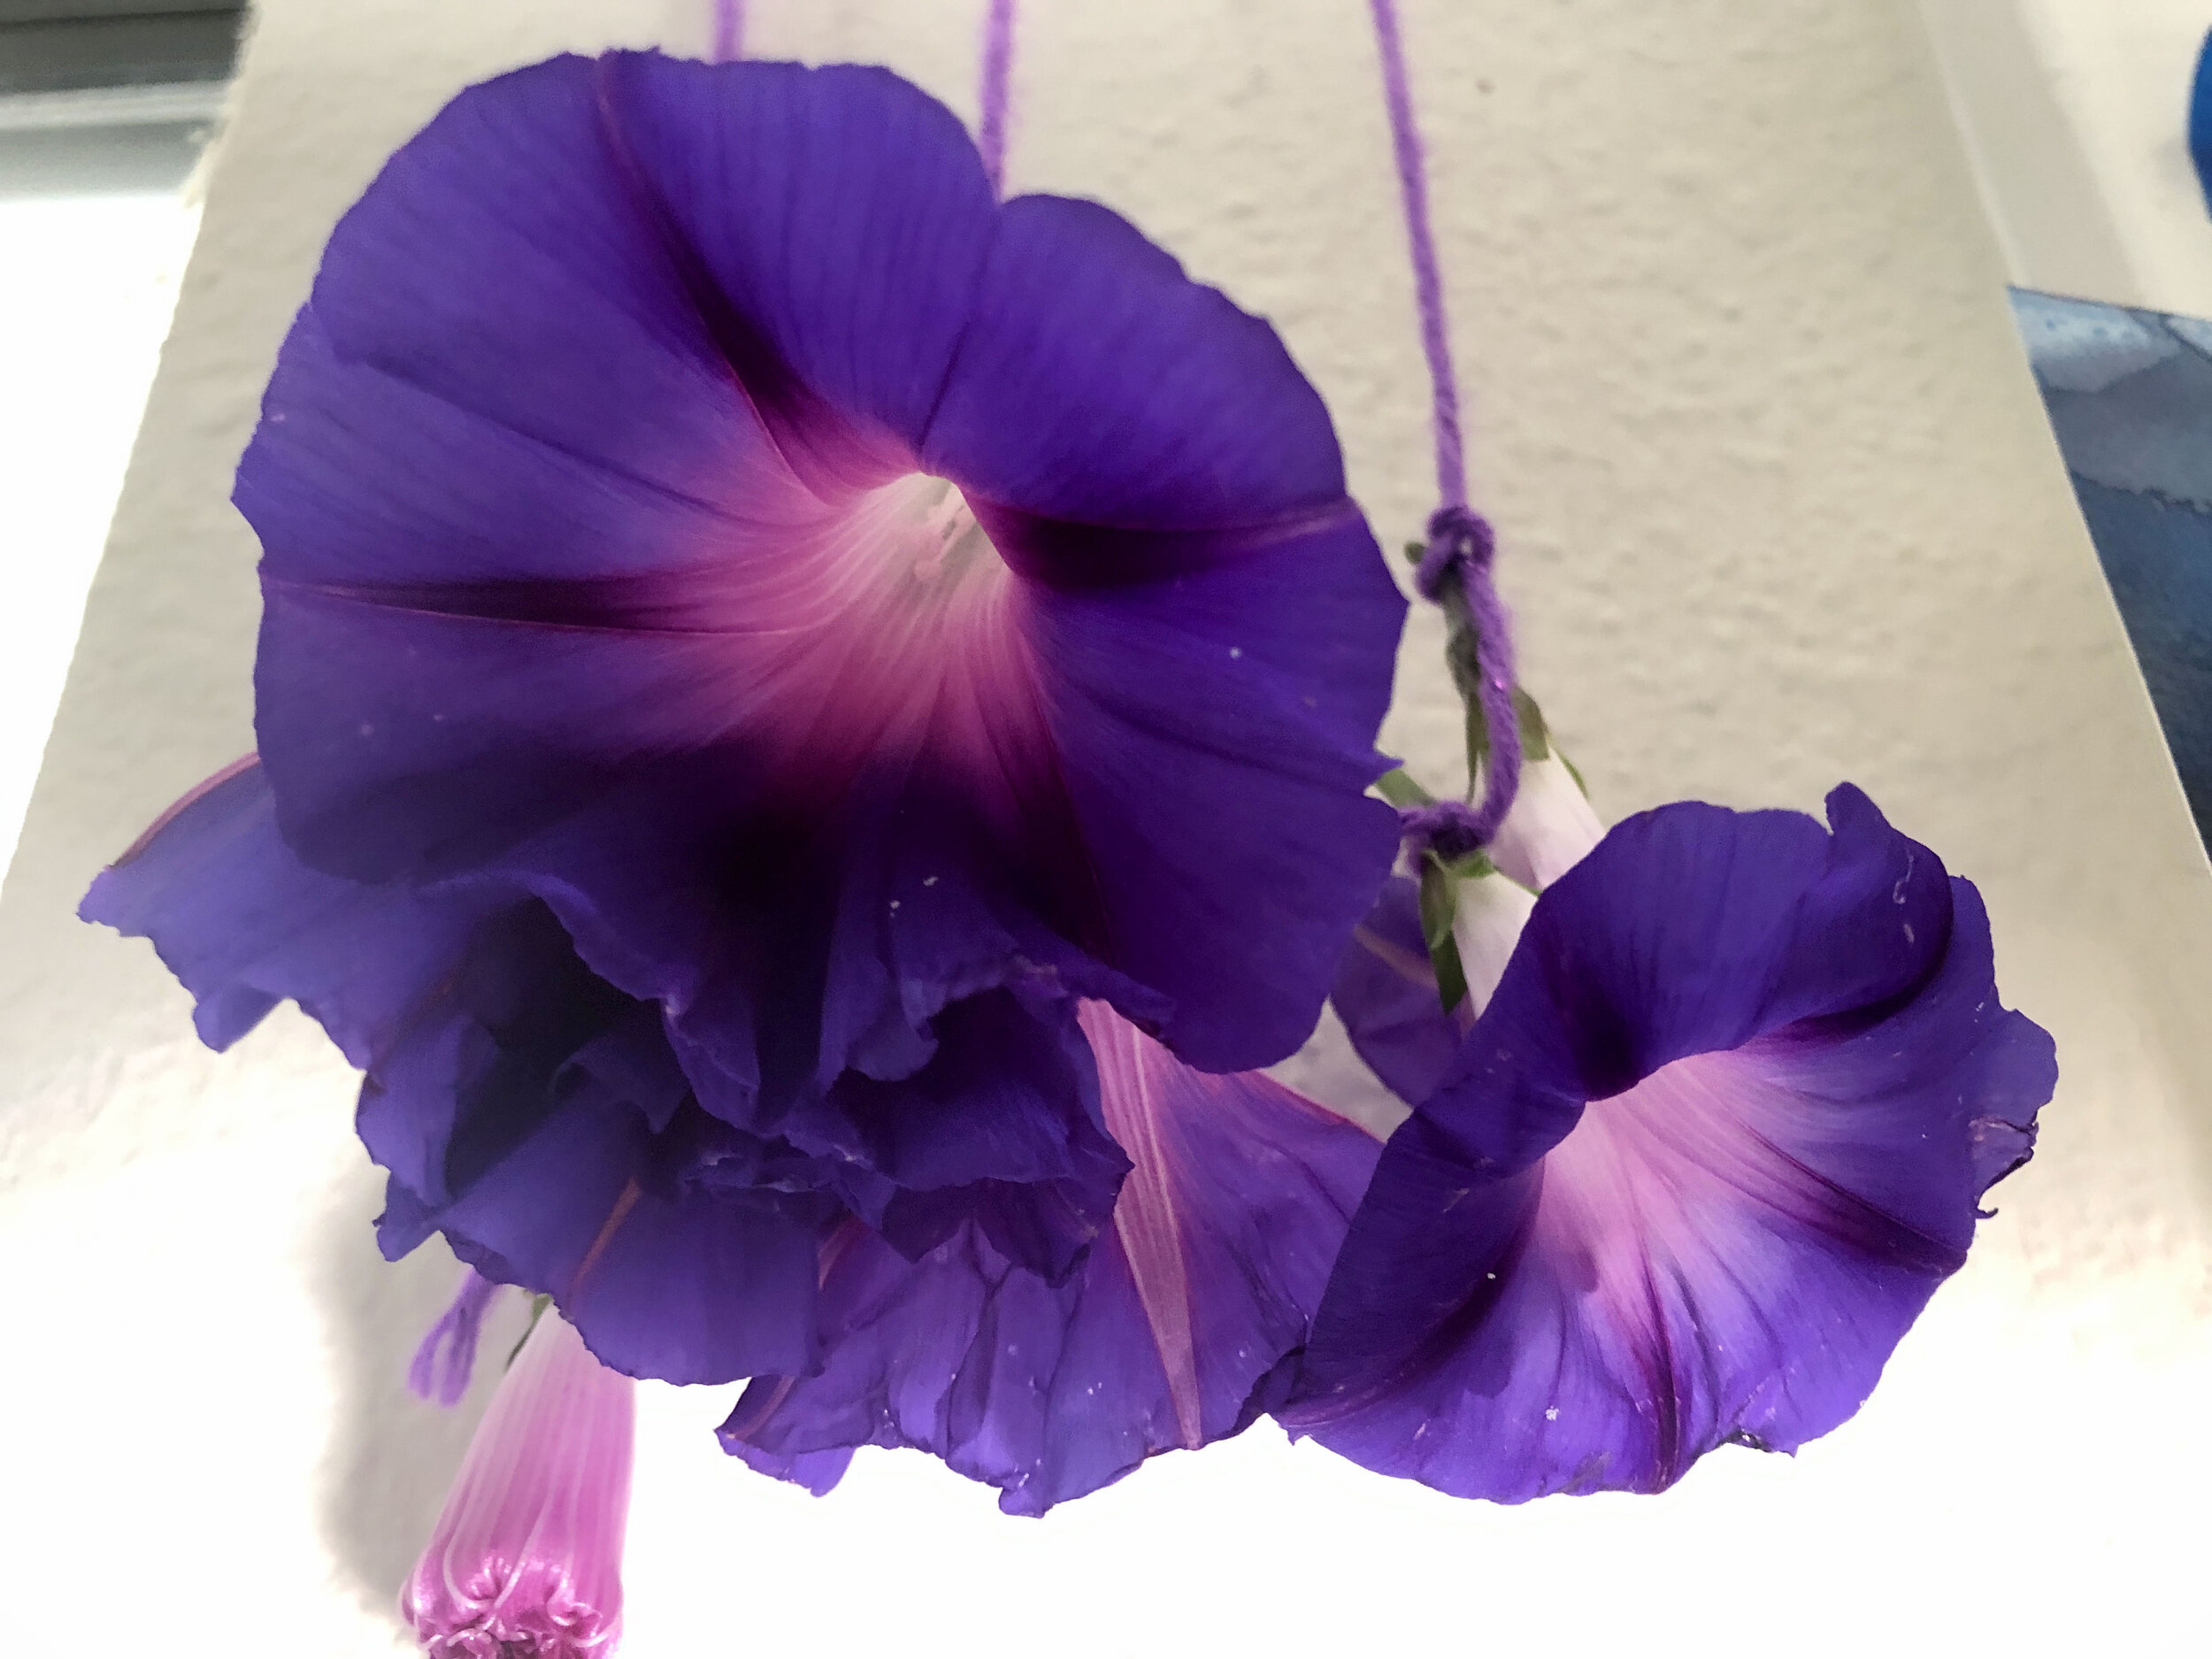
Morning Glory Flowers - aka Binding Weed - grow throughout the United States. Their blooms are strongest in the morning and wilt throughout the day.
If you’d like to receive a free sample from my new book about making paint from flowers and the magical uses of plants, please share your contact here. I’ll never contact you for any other reason, or share your information.
Making paints from flowers is relaxing and exciting! It’s a fun STEAM experiment that tests what pigments we can create from flowers. Each flower can give us a variety of colors. By experimenting with additives from the kitchen - like salt, baking soda, alum, and lemon - we can see how the colors change.
This past week, I’ve been experimenting with Morning Glories. It will be wonderful to do this project with the 2nd grade and my college students!

Colors from a single batch of Morning Glories mixed with different additives and water temperatures. Clockwise from top left: blooms crushed with salt and cold water; Simmered in hot distilled water with no additive; Hot distilled water with alum; blooms crushed with salt and mixed with cold water and alum.
Materials:
Flowers
Something to collect flowers in
A pot to simmer flowers and/or a place to crush and smash the flowers
Water (Distilled or rainwater is preferable - fog water, too!)
Baking soda, salt, vinegar, alum, soda ash, lemon juice or other kitchen chemicals
A whisk, stick or spoon to stir
Paper
Paintbrush
Pencil
(To preserve color):
A jar
A label or tape to use as a label
A clove, wintergreen oil or thyme oil
Step One: Picking flowers.
Gather the Morning Glories into a large basket or pot so that they aren’t crushed.
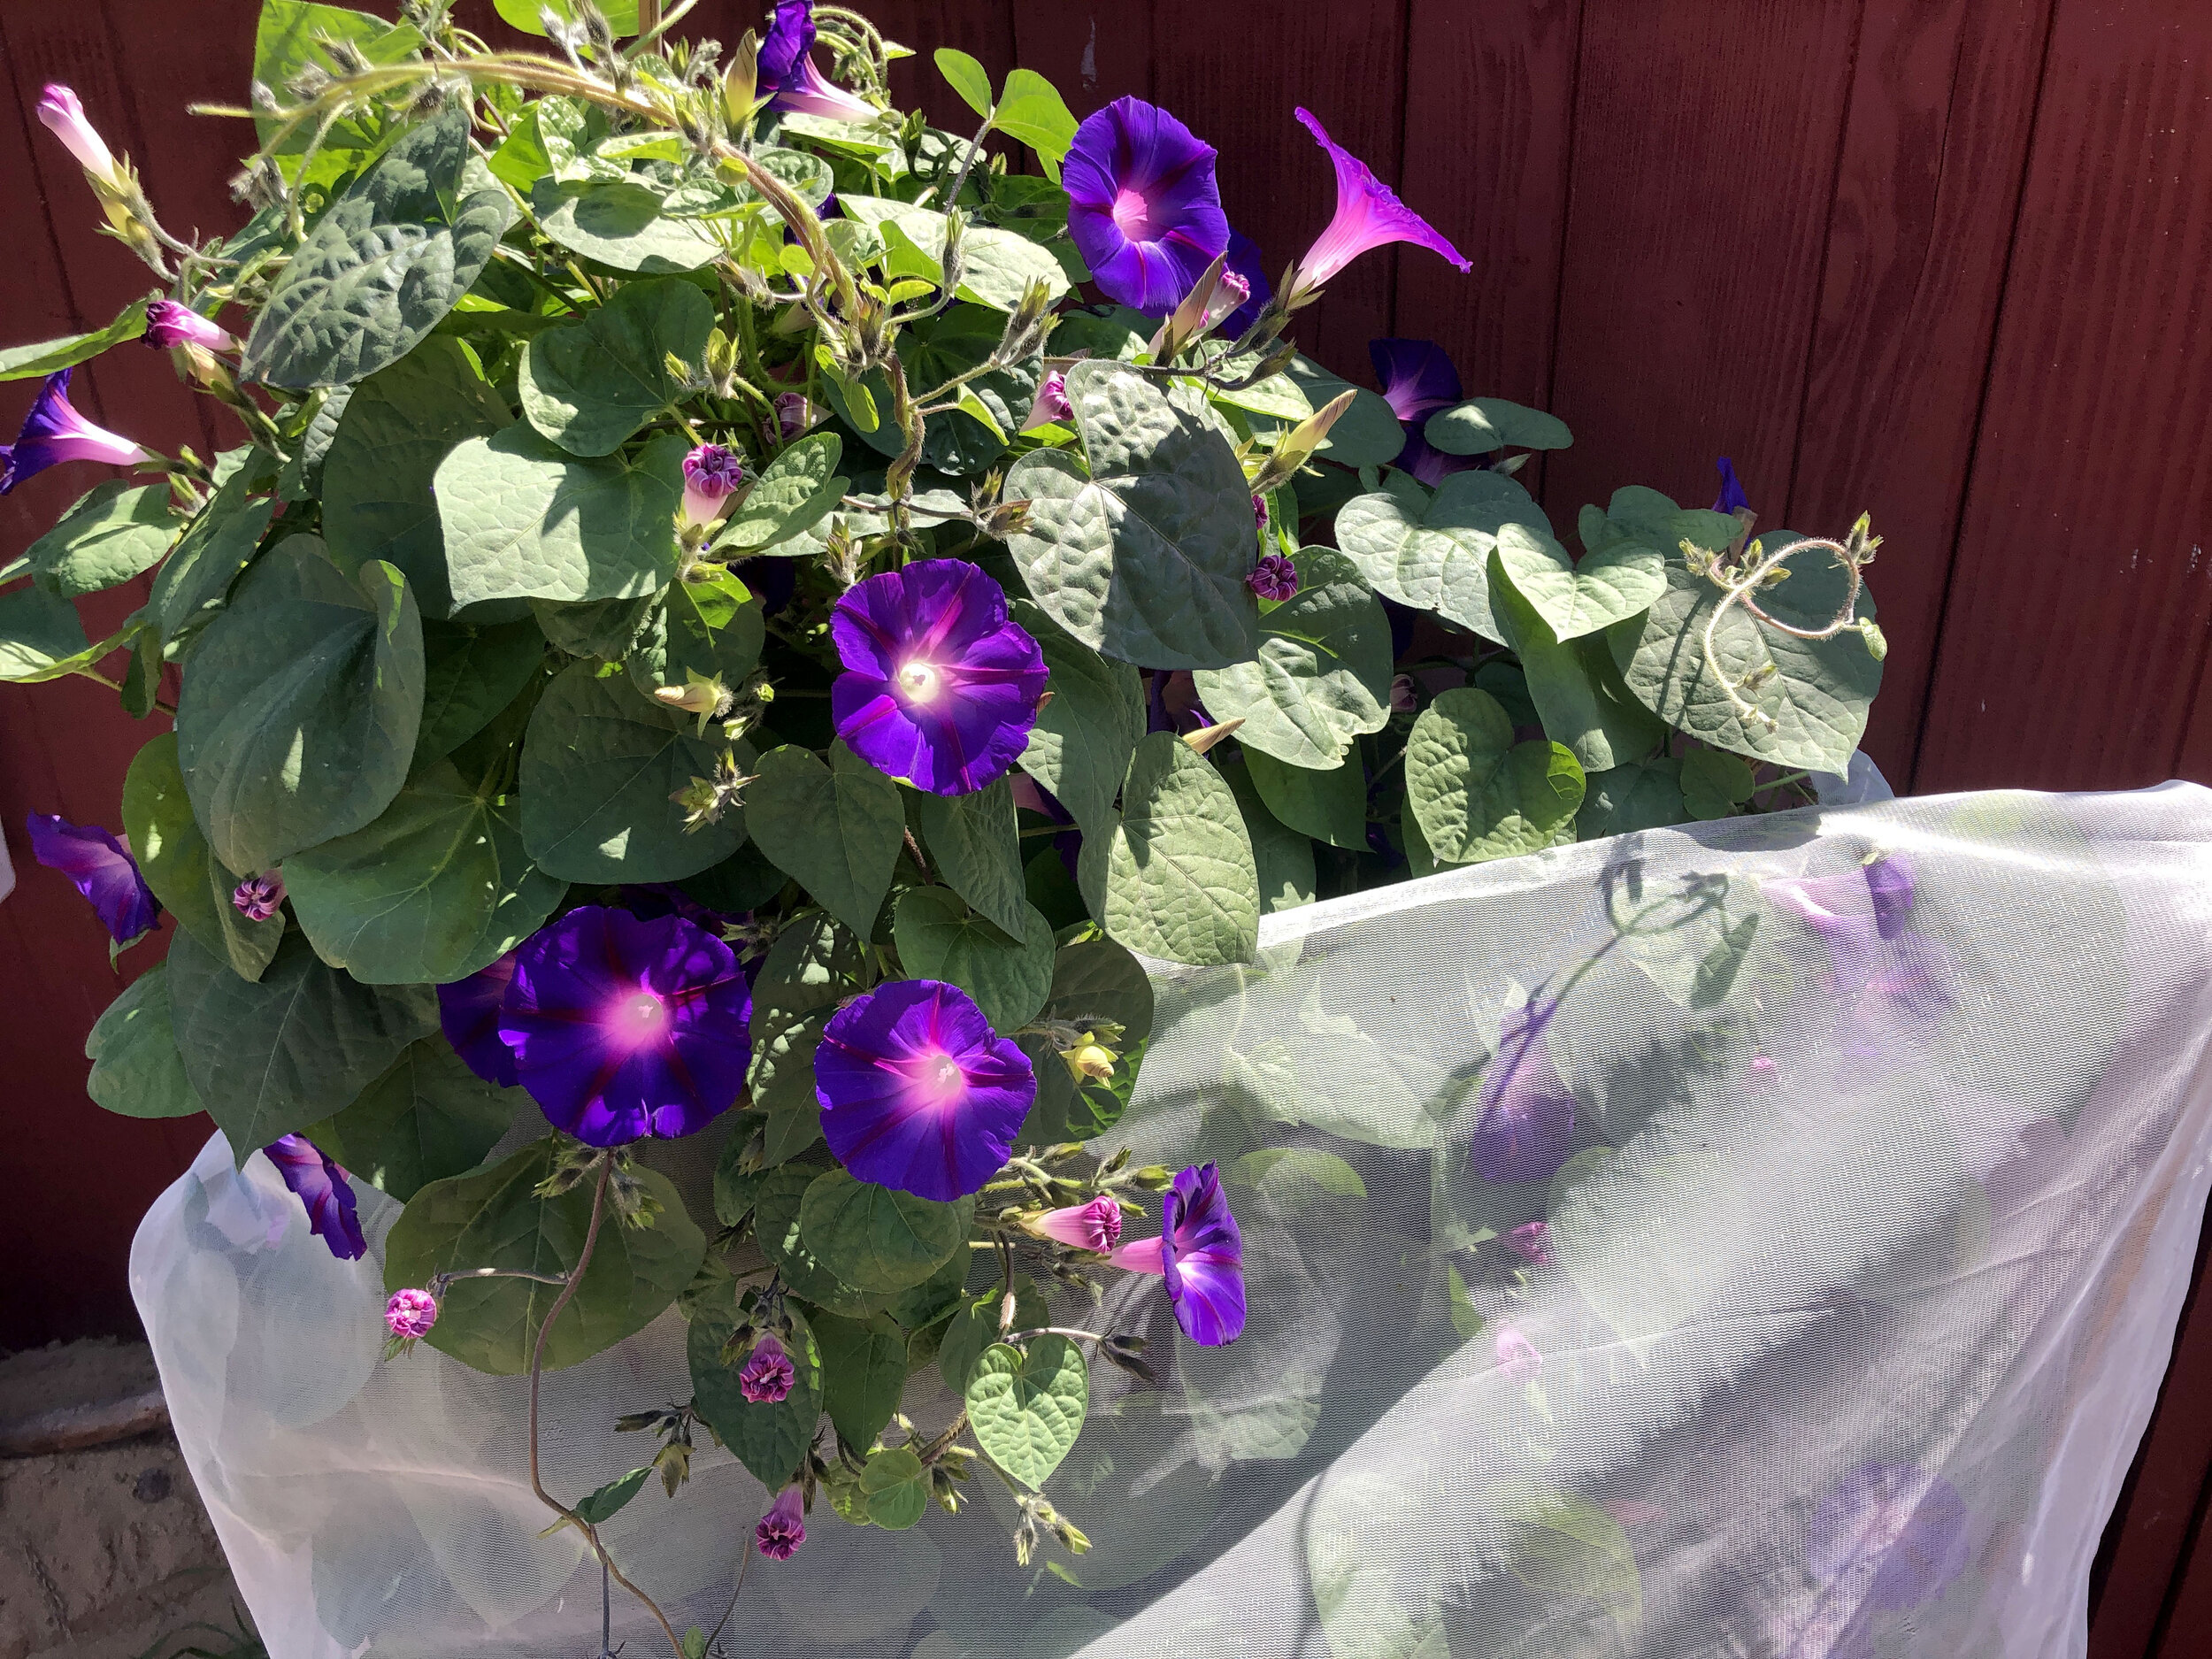
Morning Glories blooming in a mesh that catches fog for watering.
Step 2: Extracting pigment
Flowers can be:
Hung up to dry. I use a needle and thread to sew the flowers and then hang them upside down, so you can use them later. If you want to use them immediately, there’s no need to dry them.
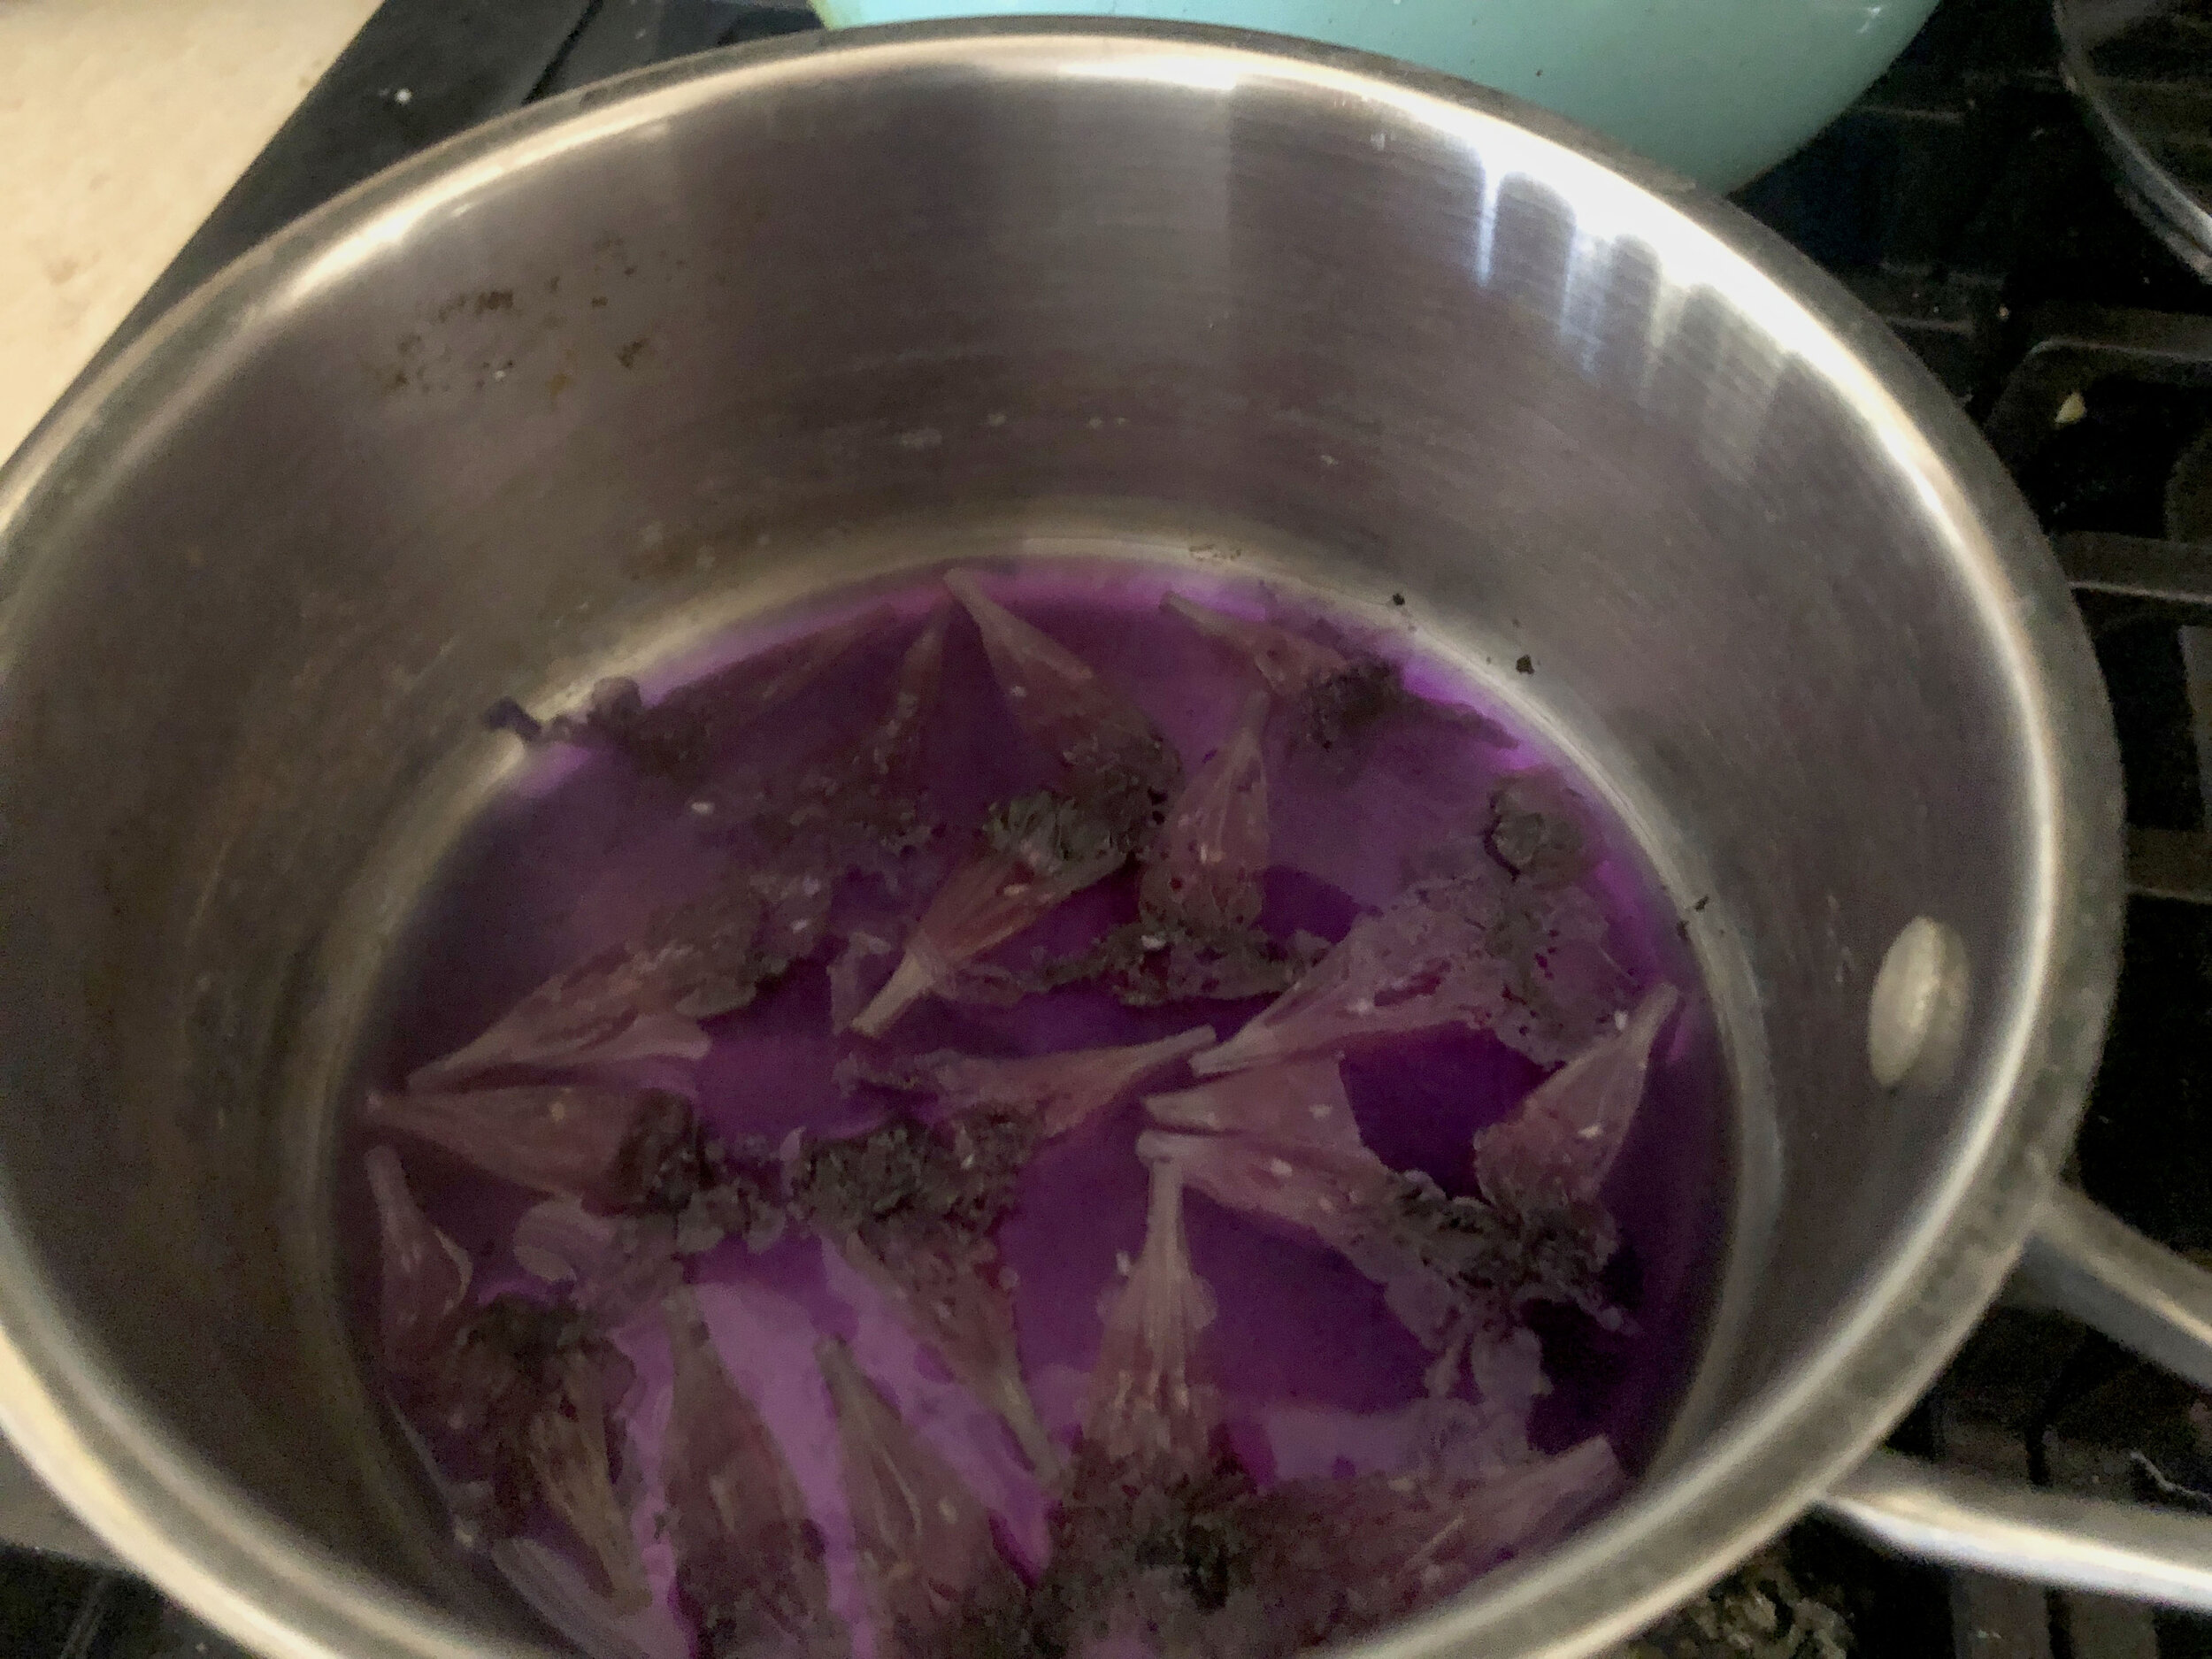
Simmered in water. If you use distilled water or rainwater, the water will have fewer chemicals than tap water.
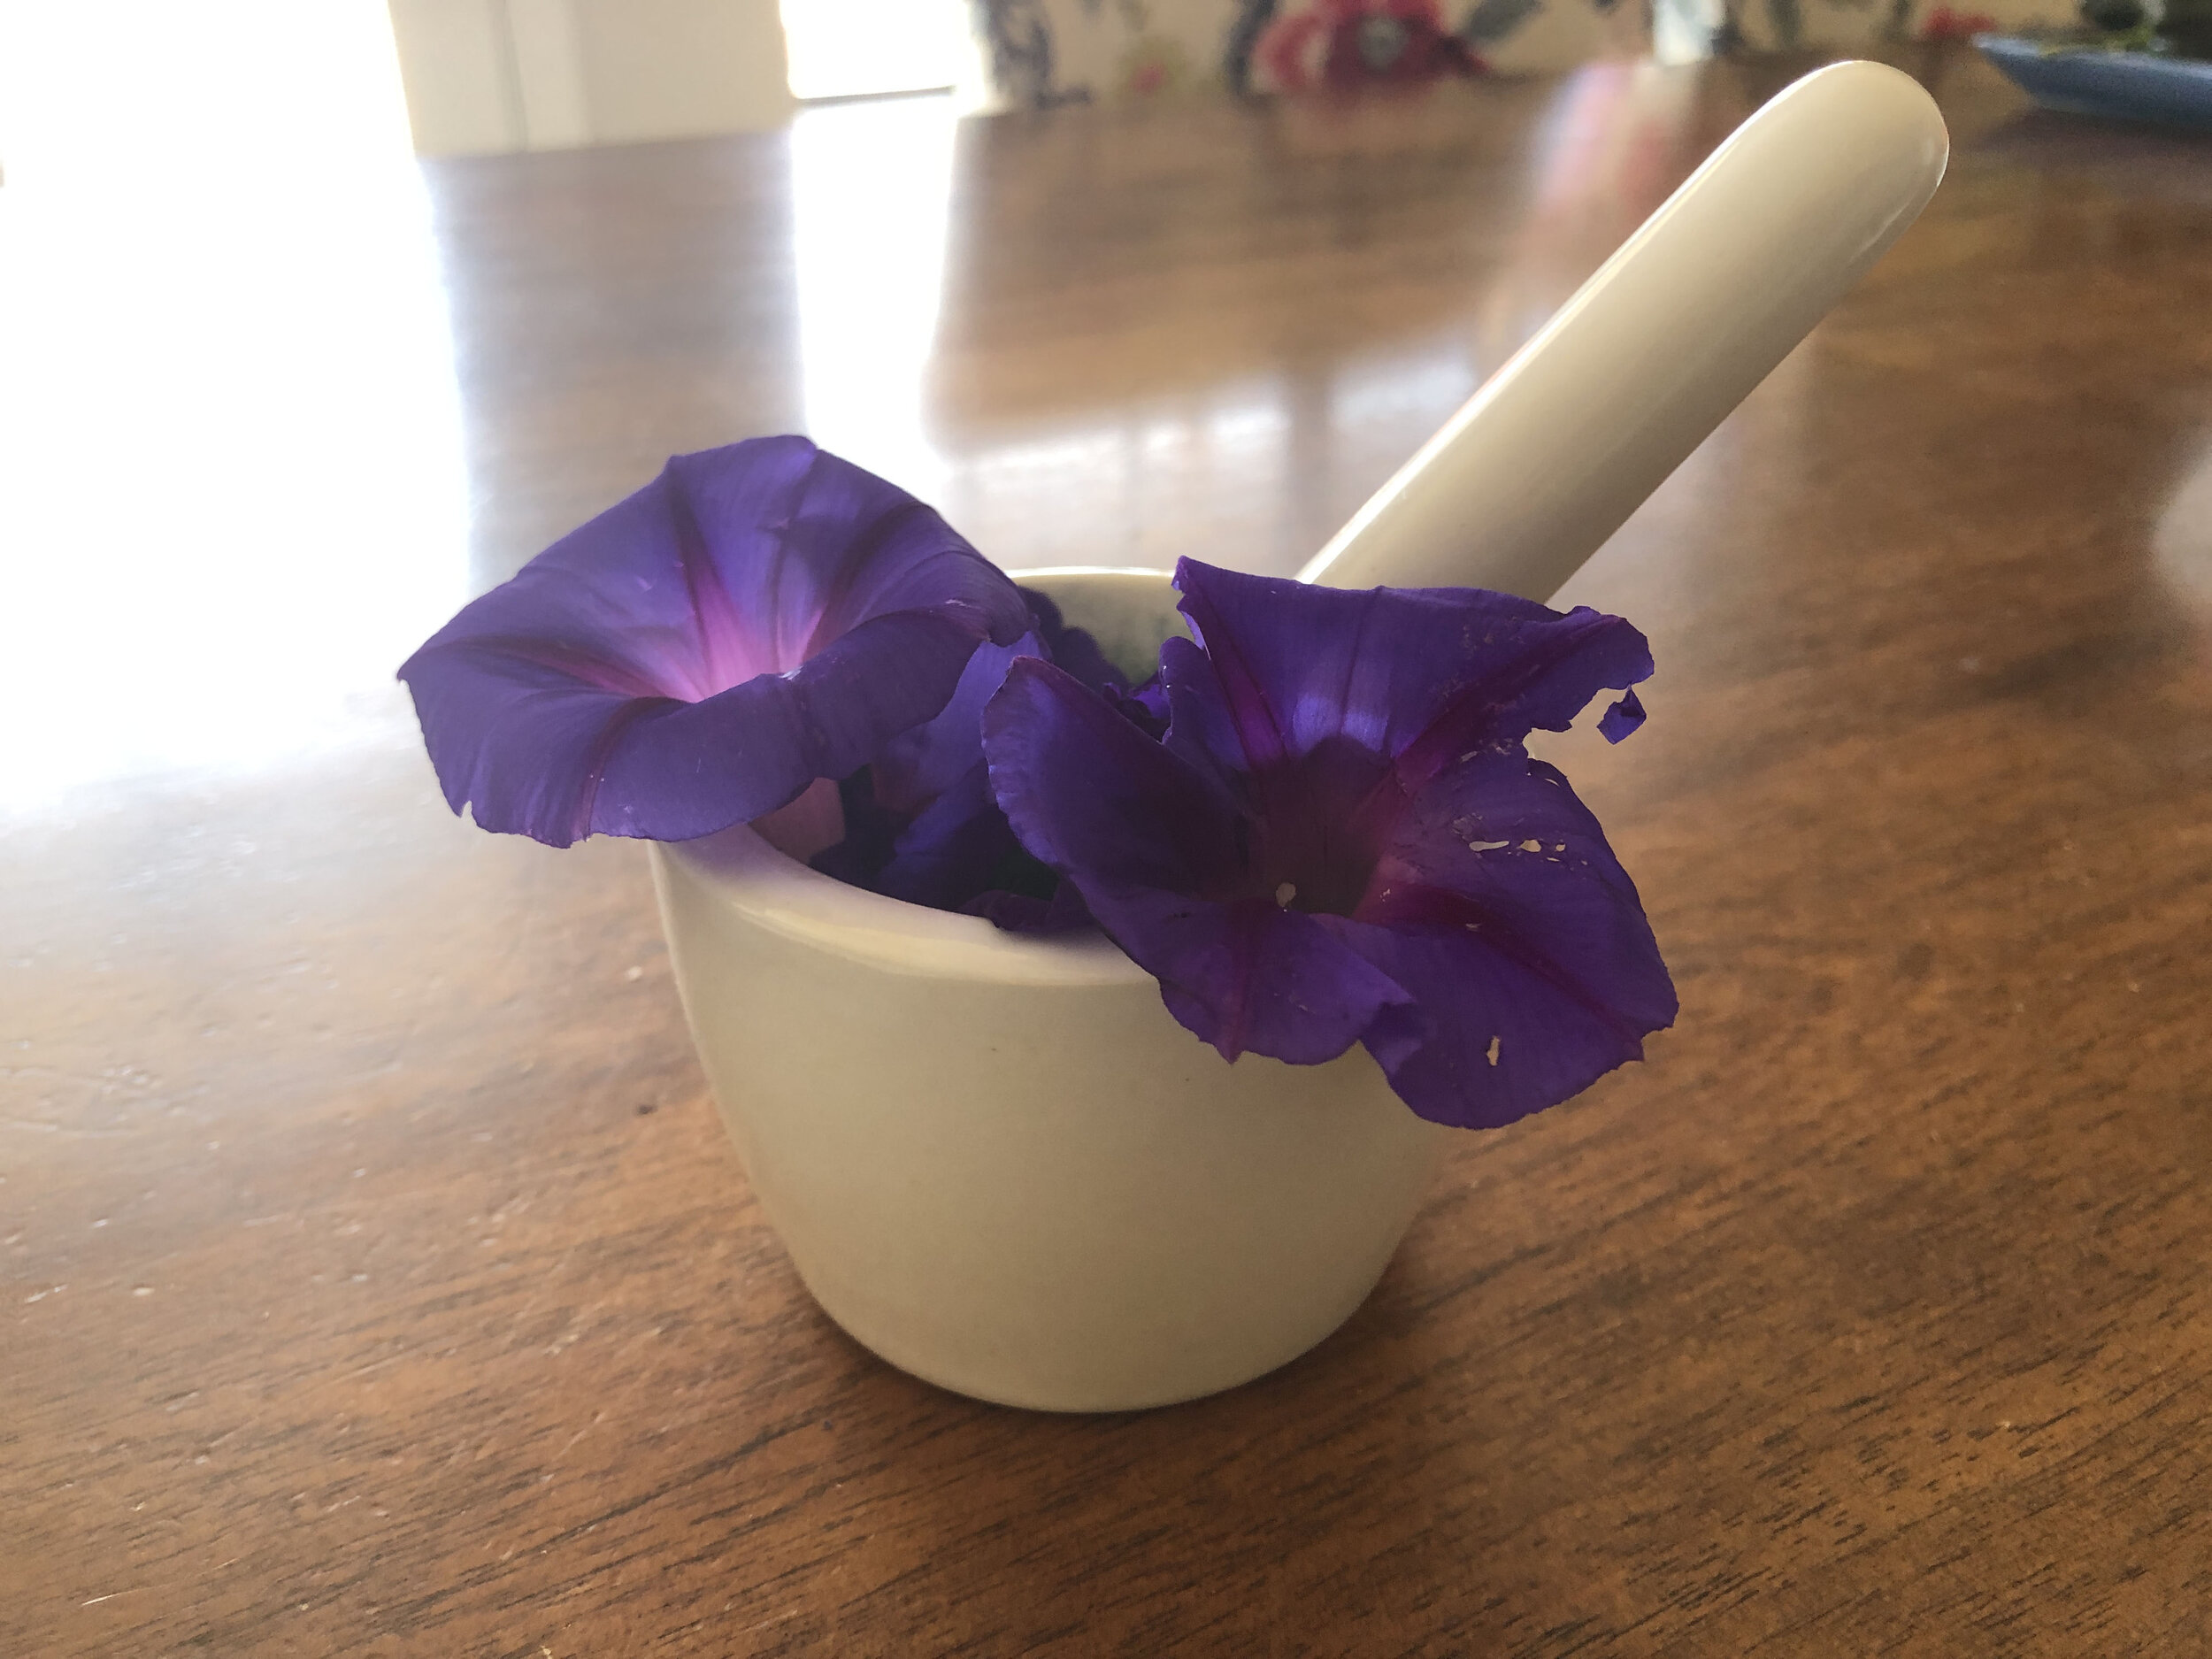
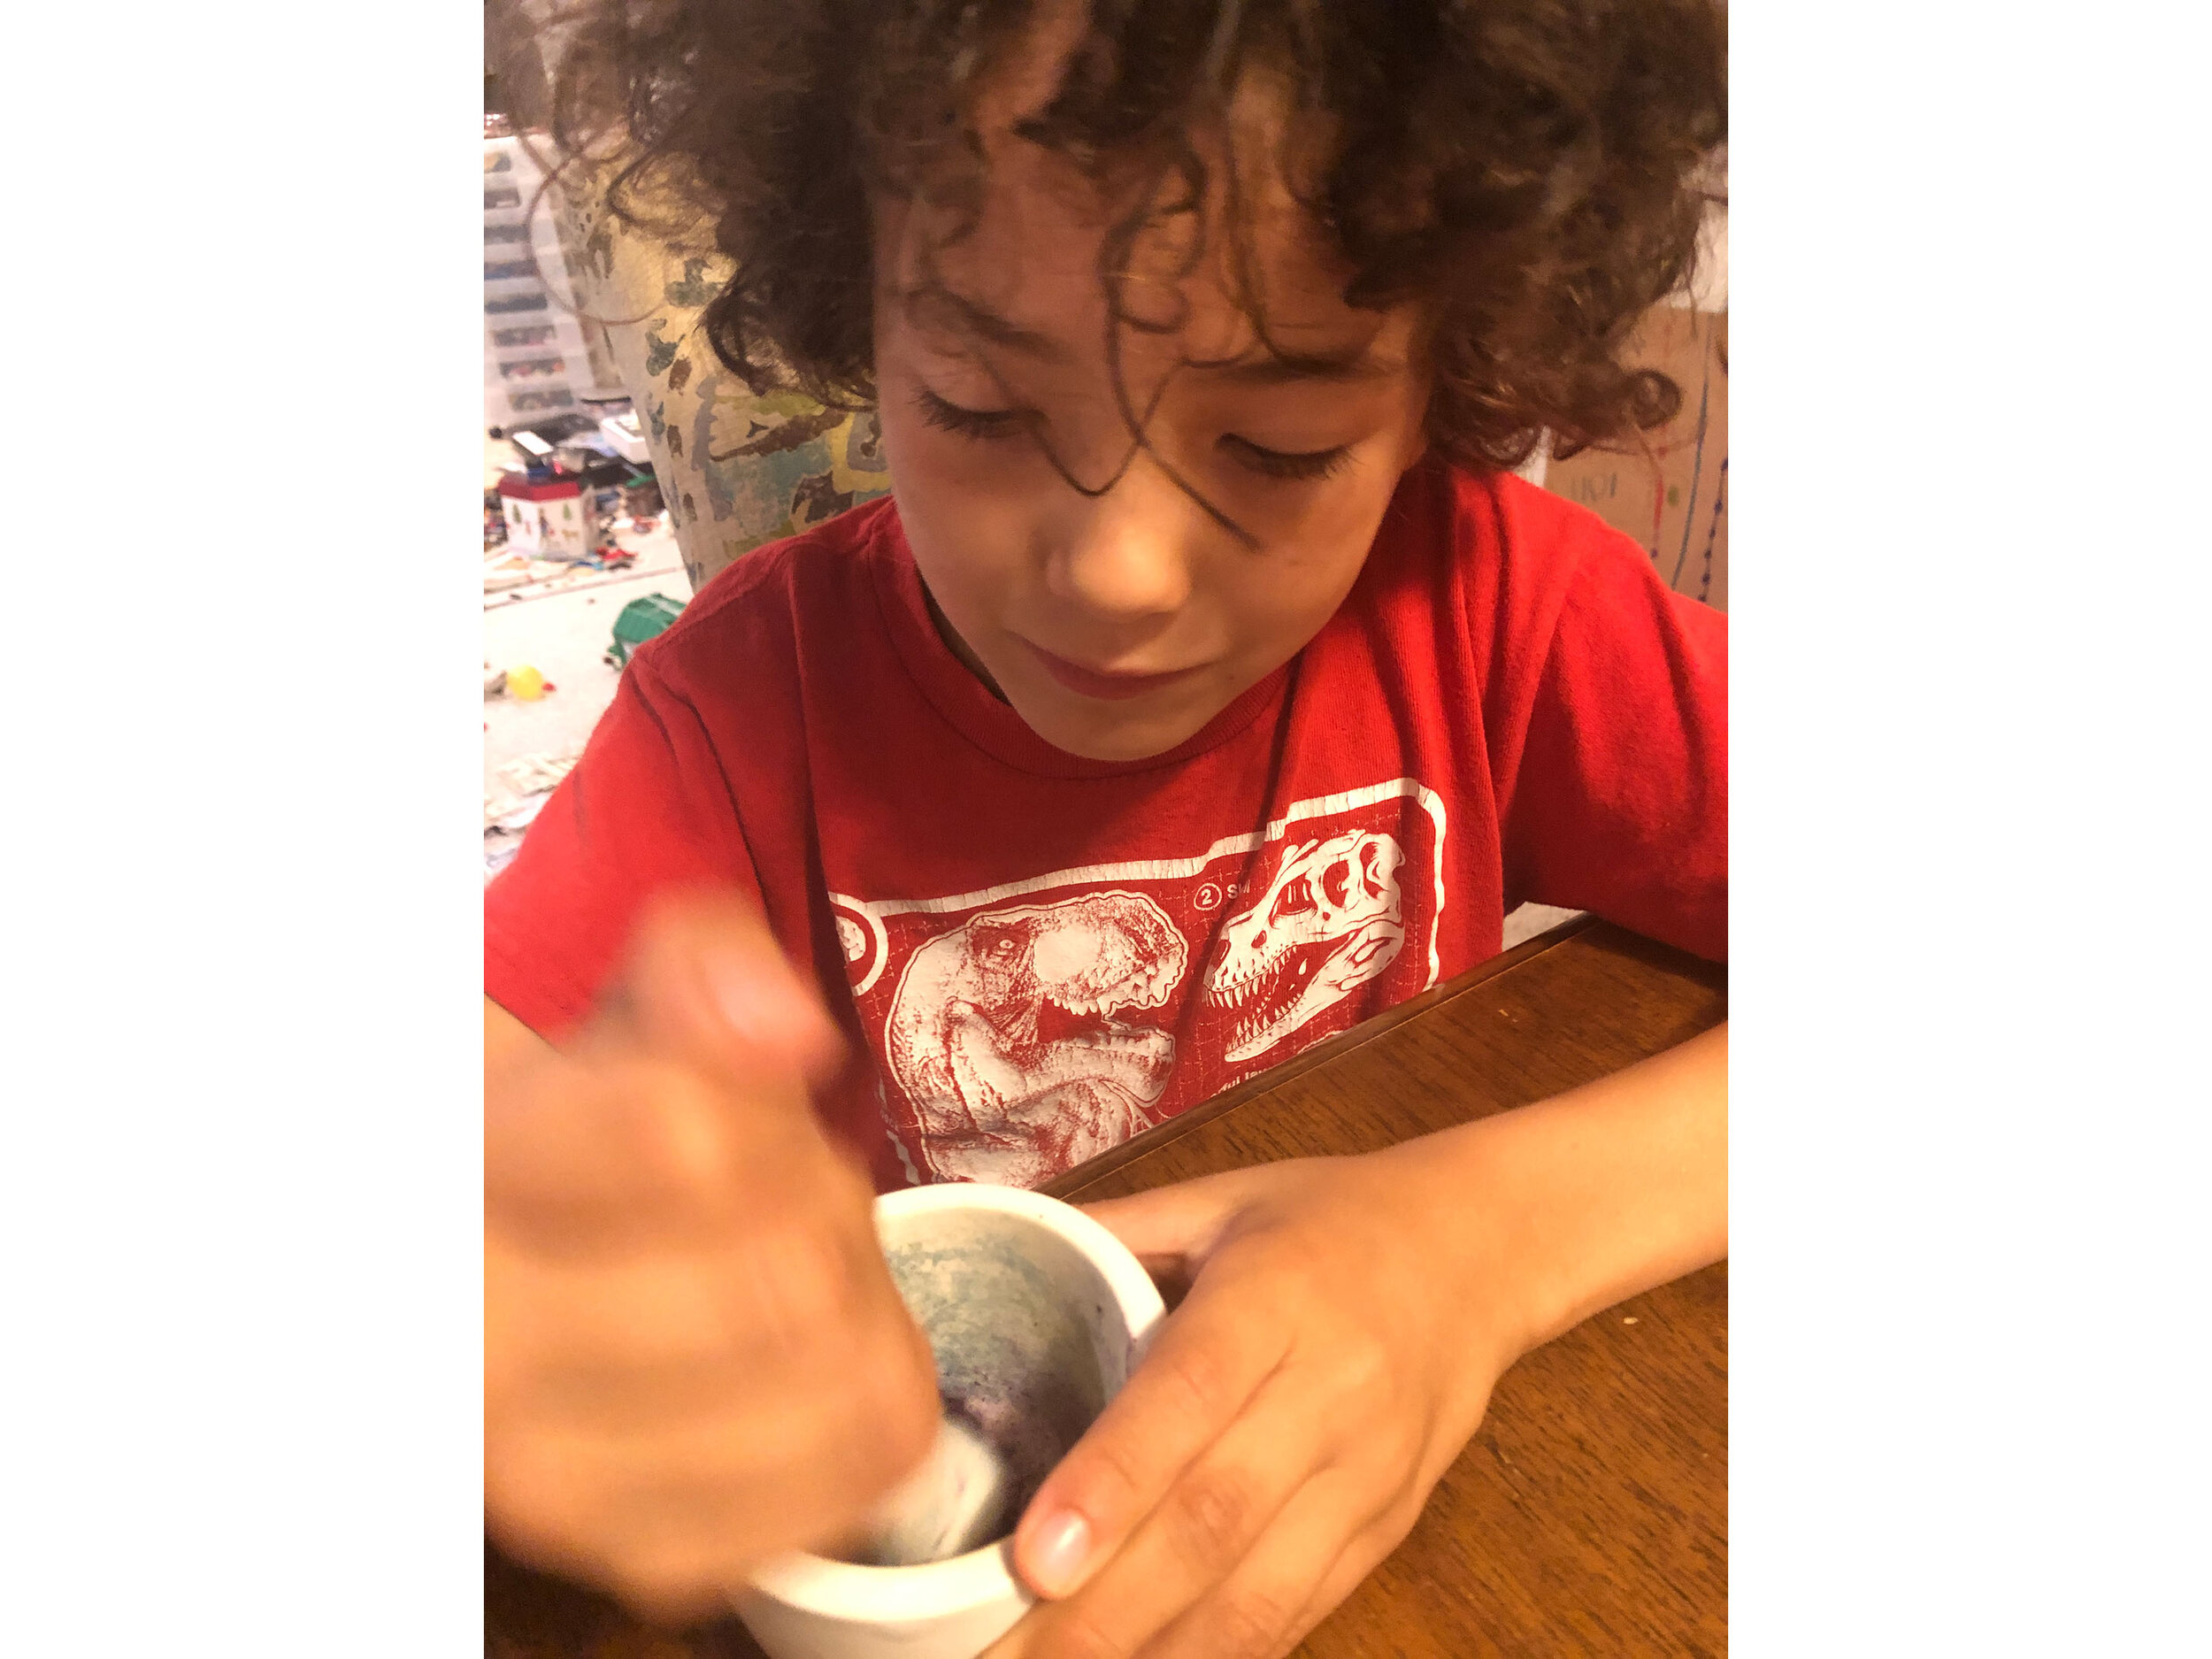
Ground-up so that liquid is pressed out. I use a mortar and pestle. Add water - a little at a time - to create a puddle of color.
Hammered in between sheets of paper. Hammering breaks the cell walls and pigment will be deposited on the paper like a print. Also, hammering is fun!
Making pigments is a favorite activity at our house. We like to go on walks, and collect plants to see what colors we can make. The colors become mementos from places we visit.
Step 3: Experimenting with Chemicals (from the kitchen)
Divide your morning glory solution into a few different containers - one for each additive that you want to try. And, one that you will keep additive free.
Add a small pinch of salt, baking soda, soda ash, vinegar, or alum to each container. Try other materials, too!
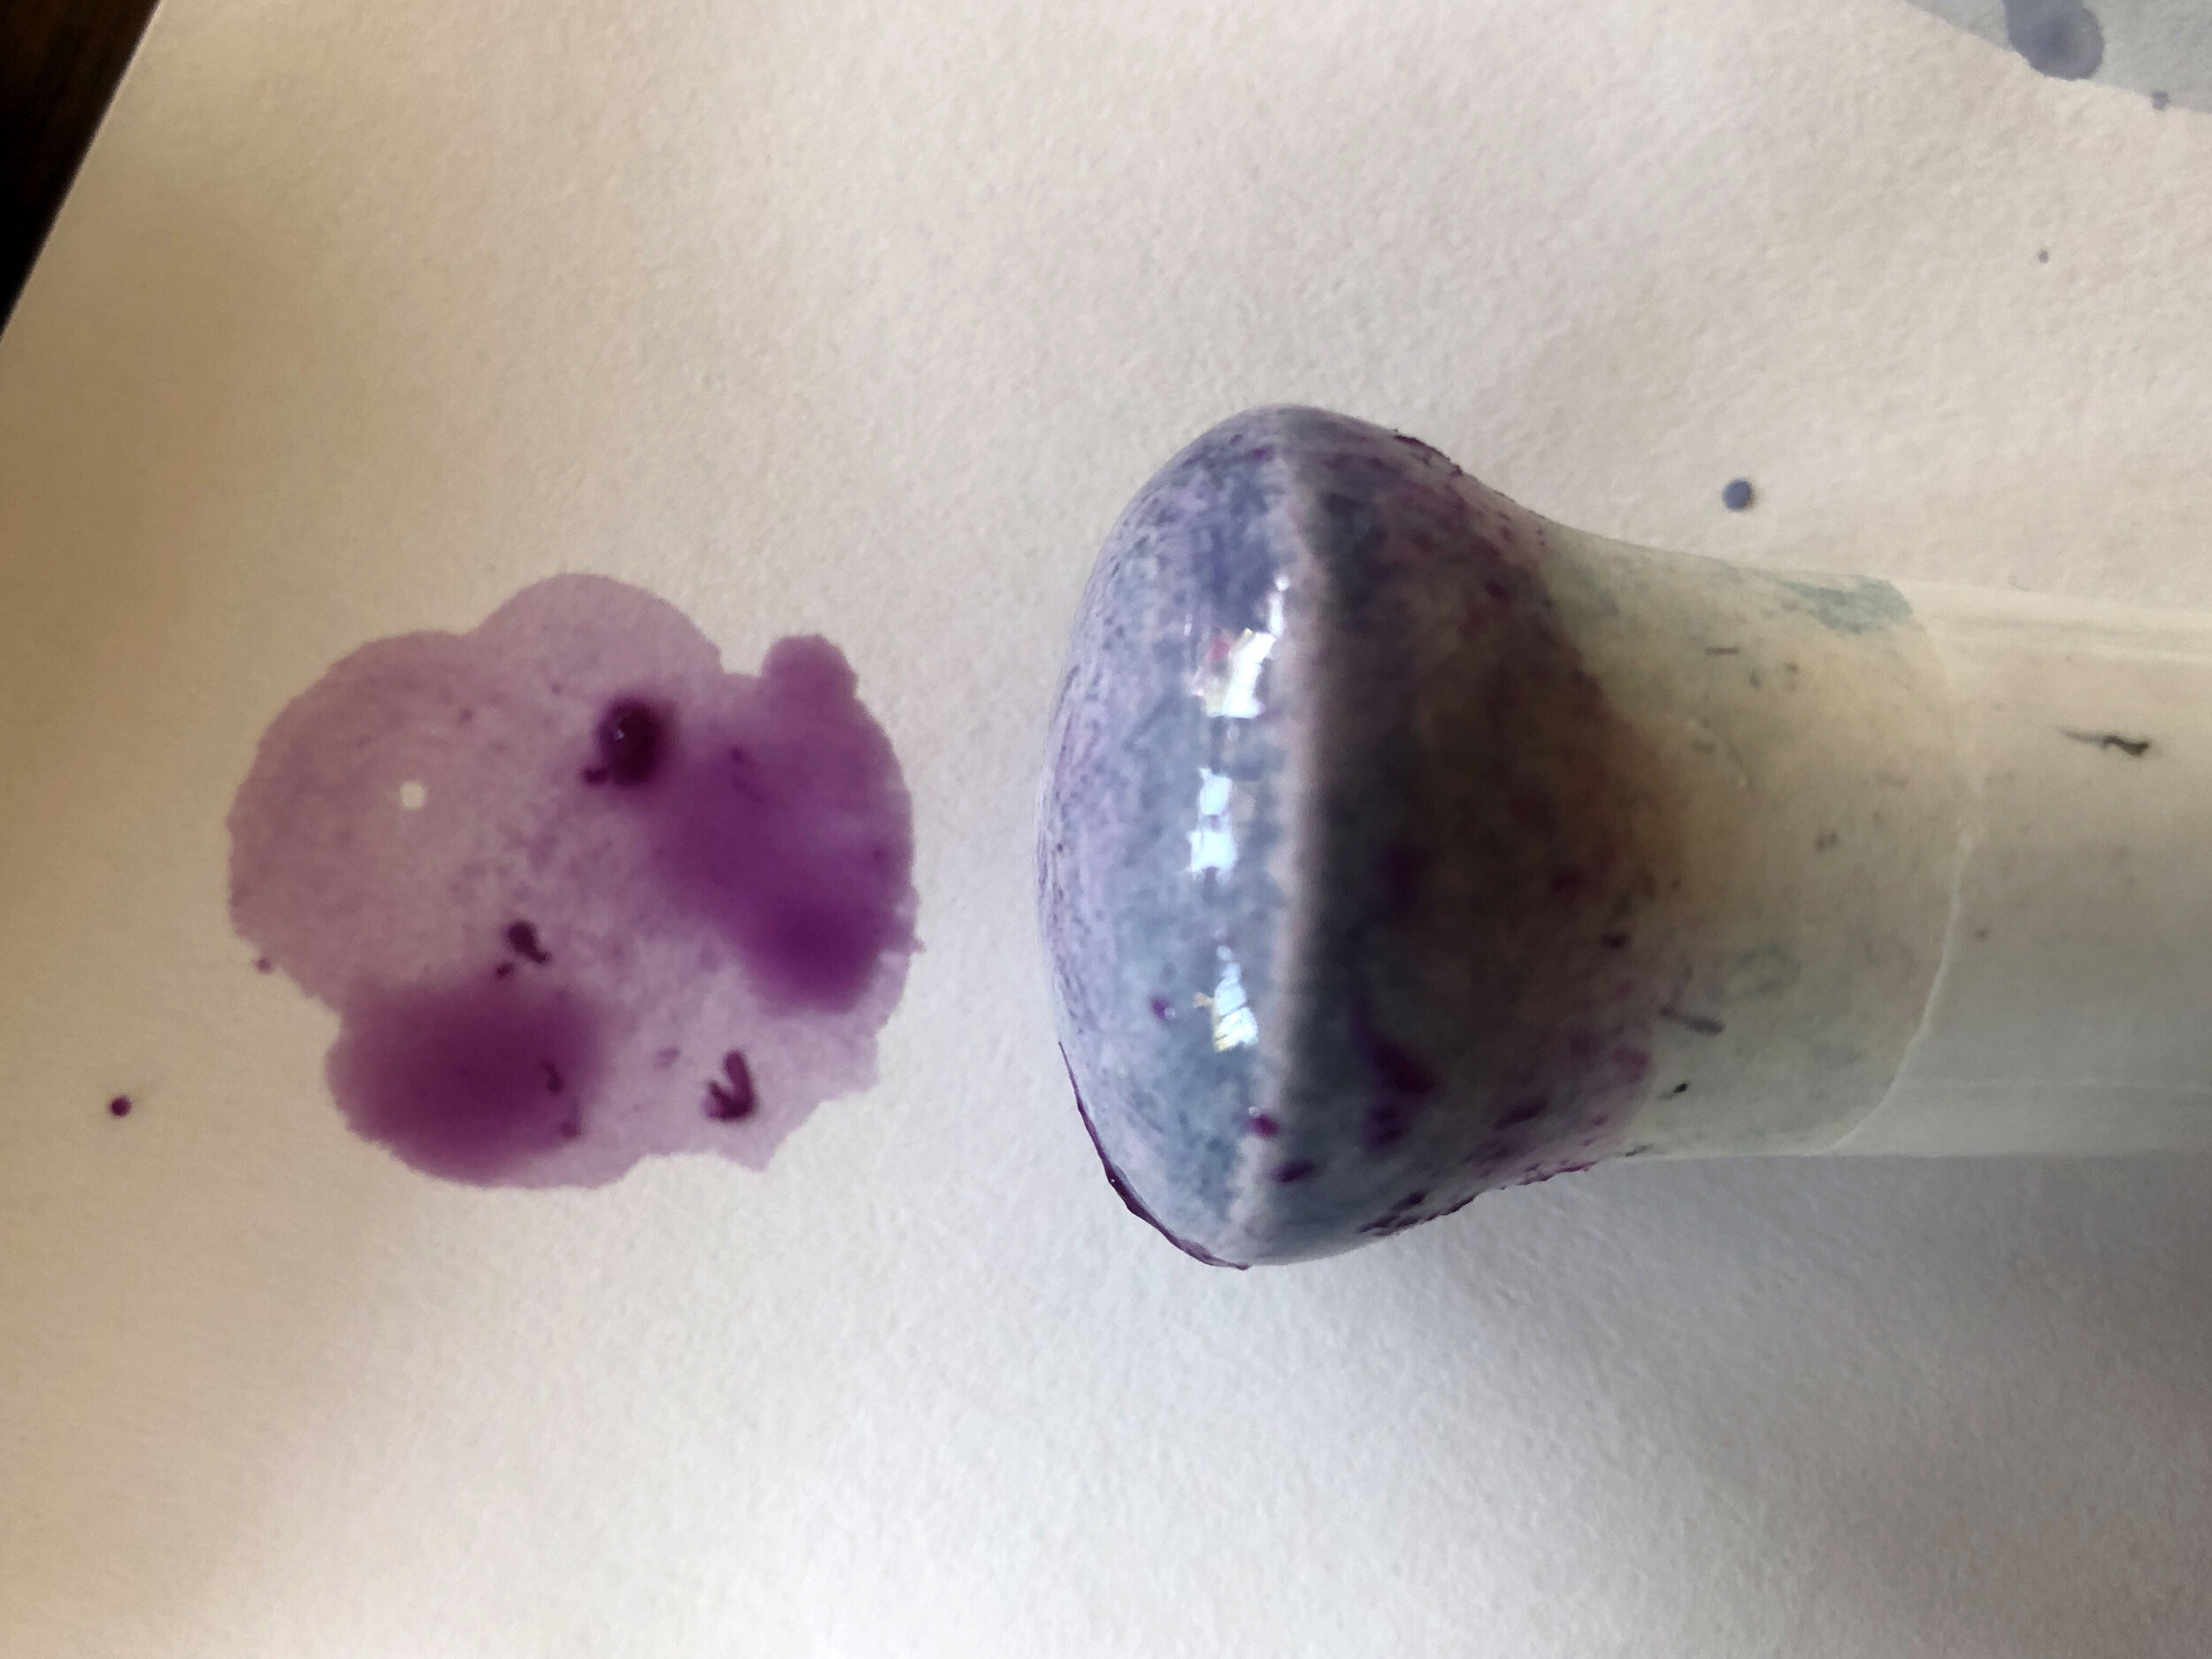
Place a small swatch of paper in your container to check and see if the pigment is developing.
When you have good color on your swatch, dip a watercolor brush into your solution and test the color. Make sure and leave lots of color and moisture on the paper. Be sure not to tip your paper while your color is drying.
Make a note under each test swatch of what you used. Use a pencil, so that the note won’t smudge. What temperature of water did you use? Dried or fresh flowers? What chemical did you add? What happens if you wait an hour? Or, add more?
Notice that the color changes as the liquid dries.

I didn’t expect this beautiful blue color when we added Baking Soda! Blue is a hard color to get.
Step Four: Storing your paint/ink
Choose a small jar and pour the color you’d like to keep in using a funnel, if needed.
Add a clove or a few drops of wintergreen or thyme oil to prevent molding.
Label your color with the flower, date, and ingredients. You can also write a note about where you collected it and what was fun about that place!

Testing and bottling beet powder, indigo and morning glory color. The cups each have a clove in them to prevent mold.
Experiments:

Wet… tap water vs. baking soda and tap water.
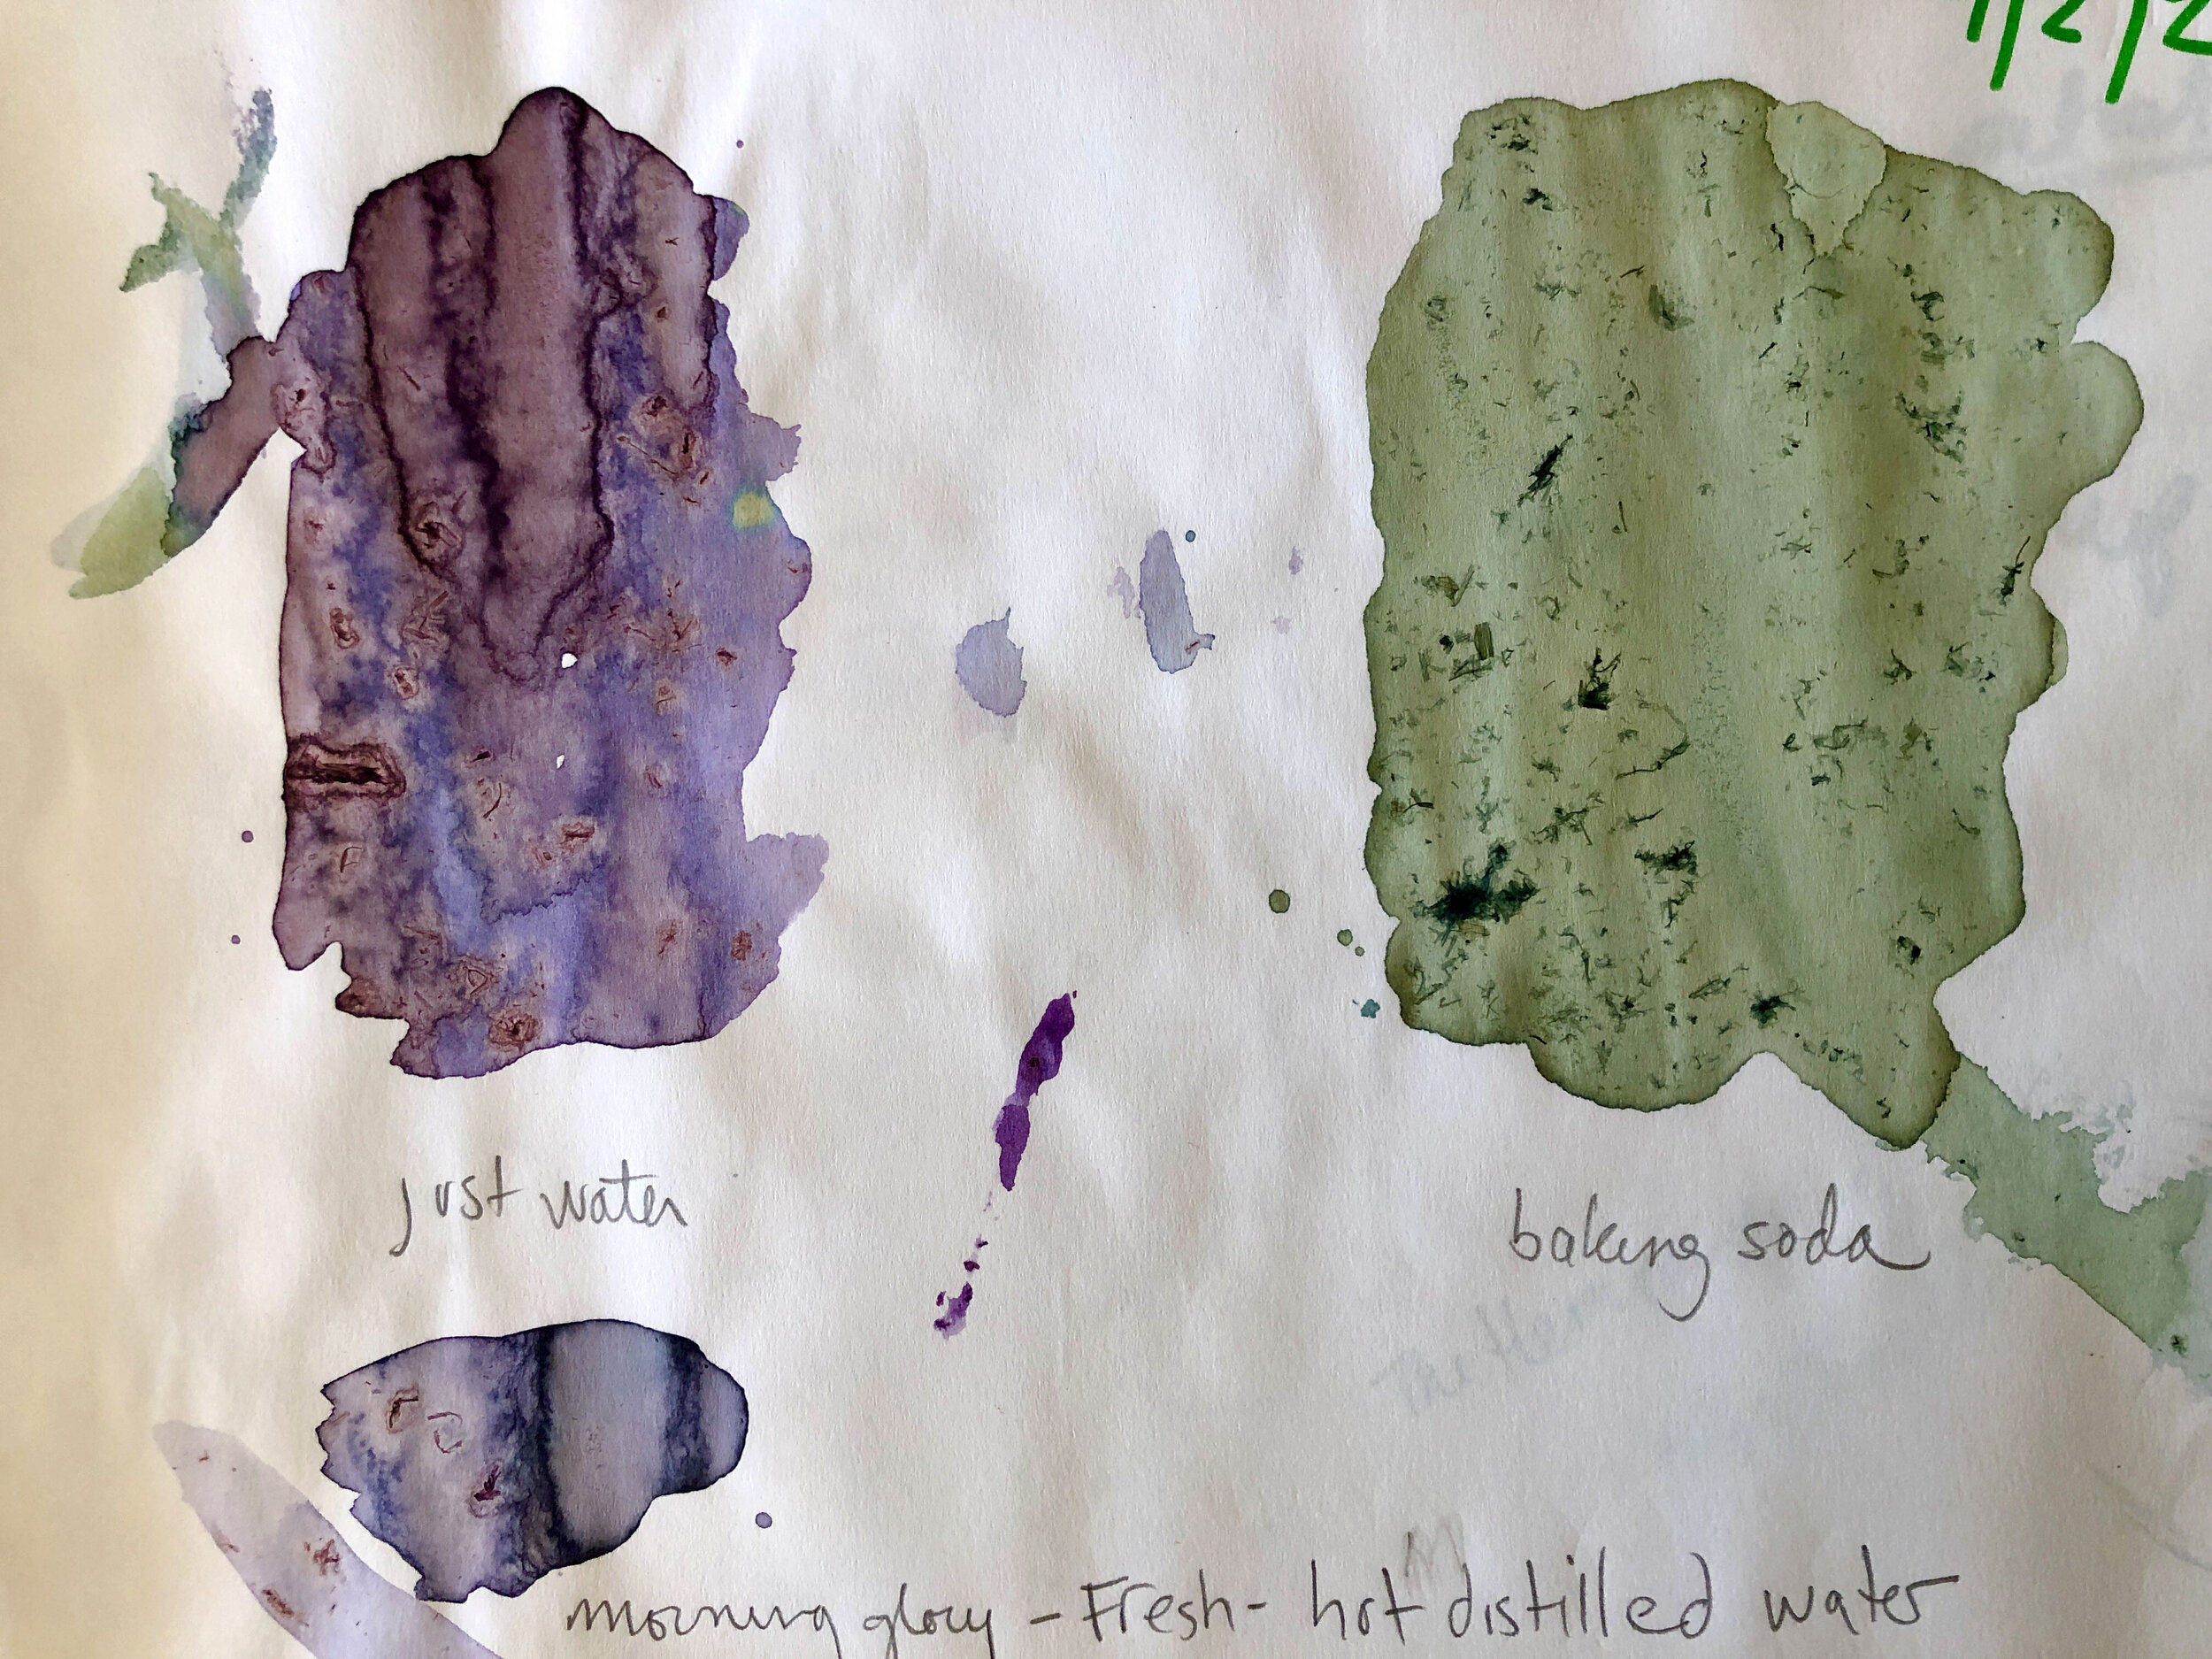
A few hours later: after drying the color has changed.


Please share your experiments with me! I’d love to see them and feature them, here.