Natural Egg Dyes
Go for a walk to collect plants for the most beautifully decorated eggs for Spring celebrations!
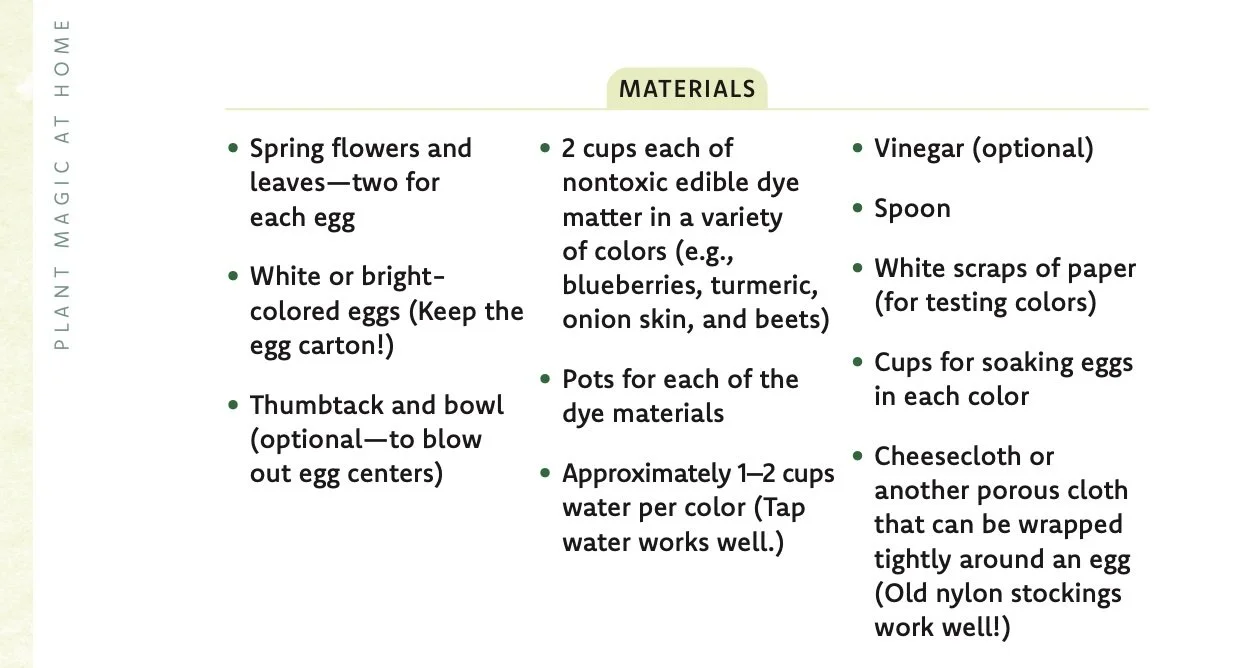
But first, materials:
Collect flowers
To make our eggs, we first go on a walk to collect spring flowers.

These flowers will be used to create the patterns on eggs. Some of the flowers and leaves will transfer their pigments, as well.
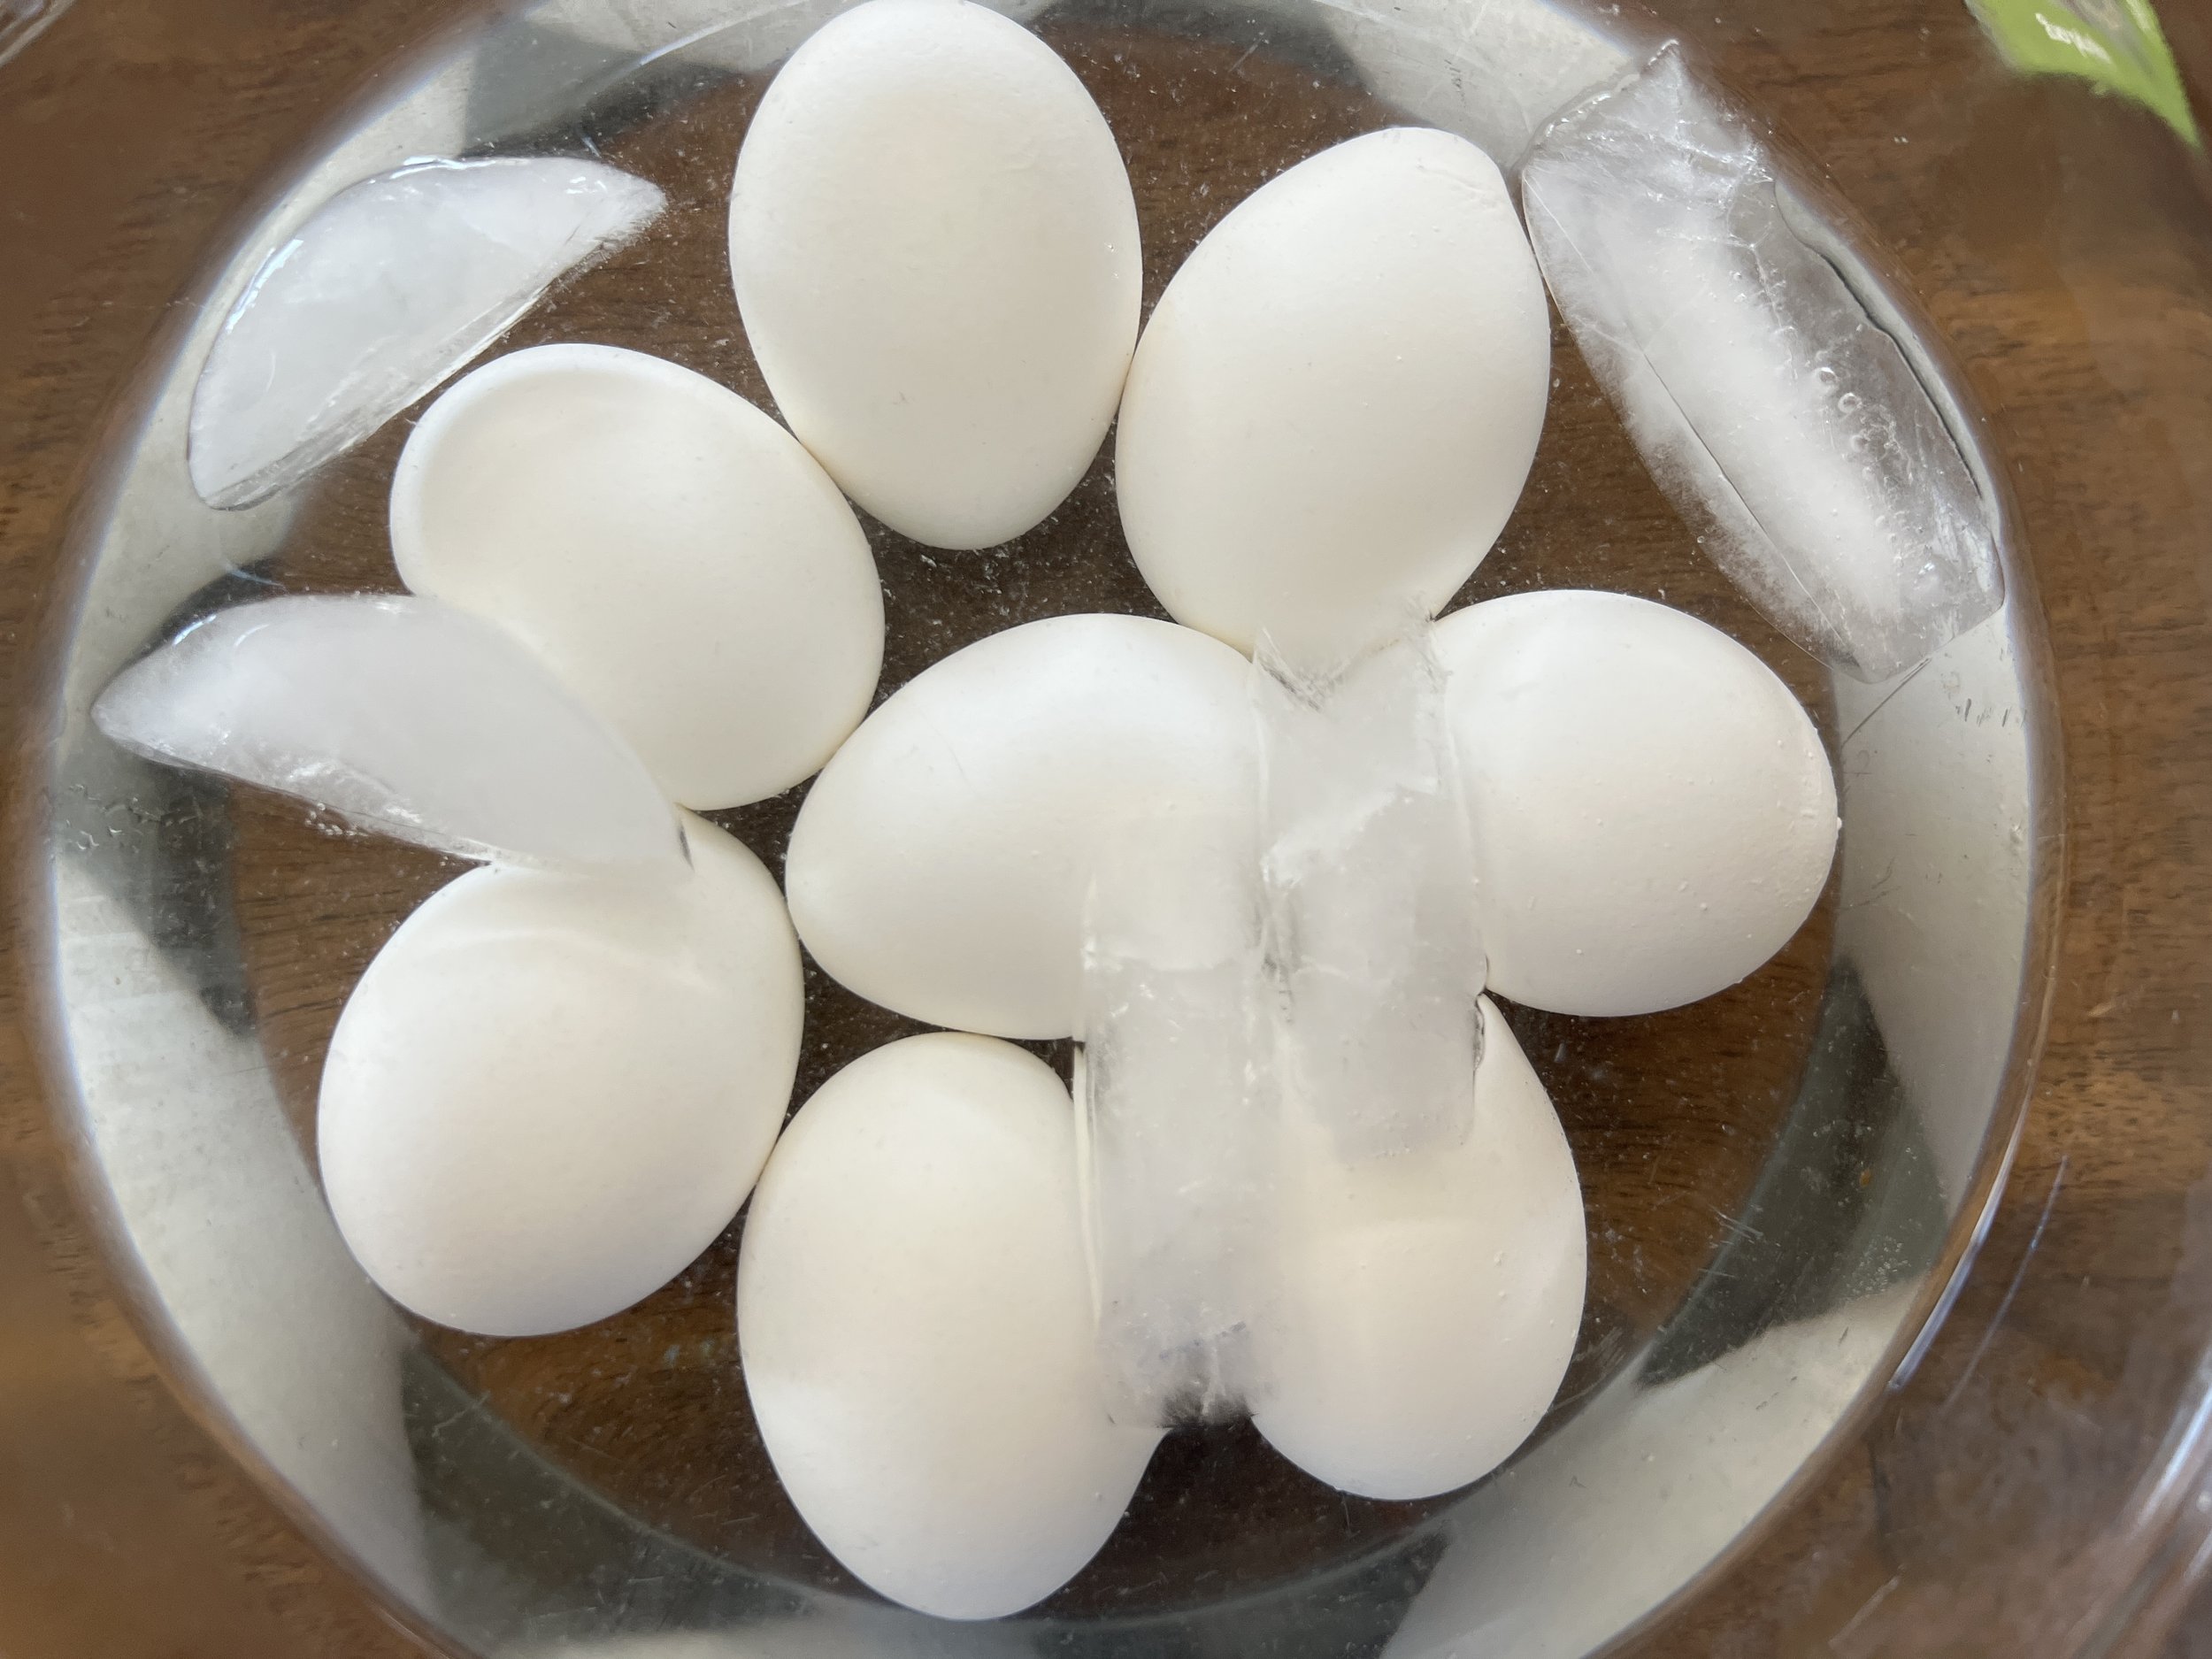
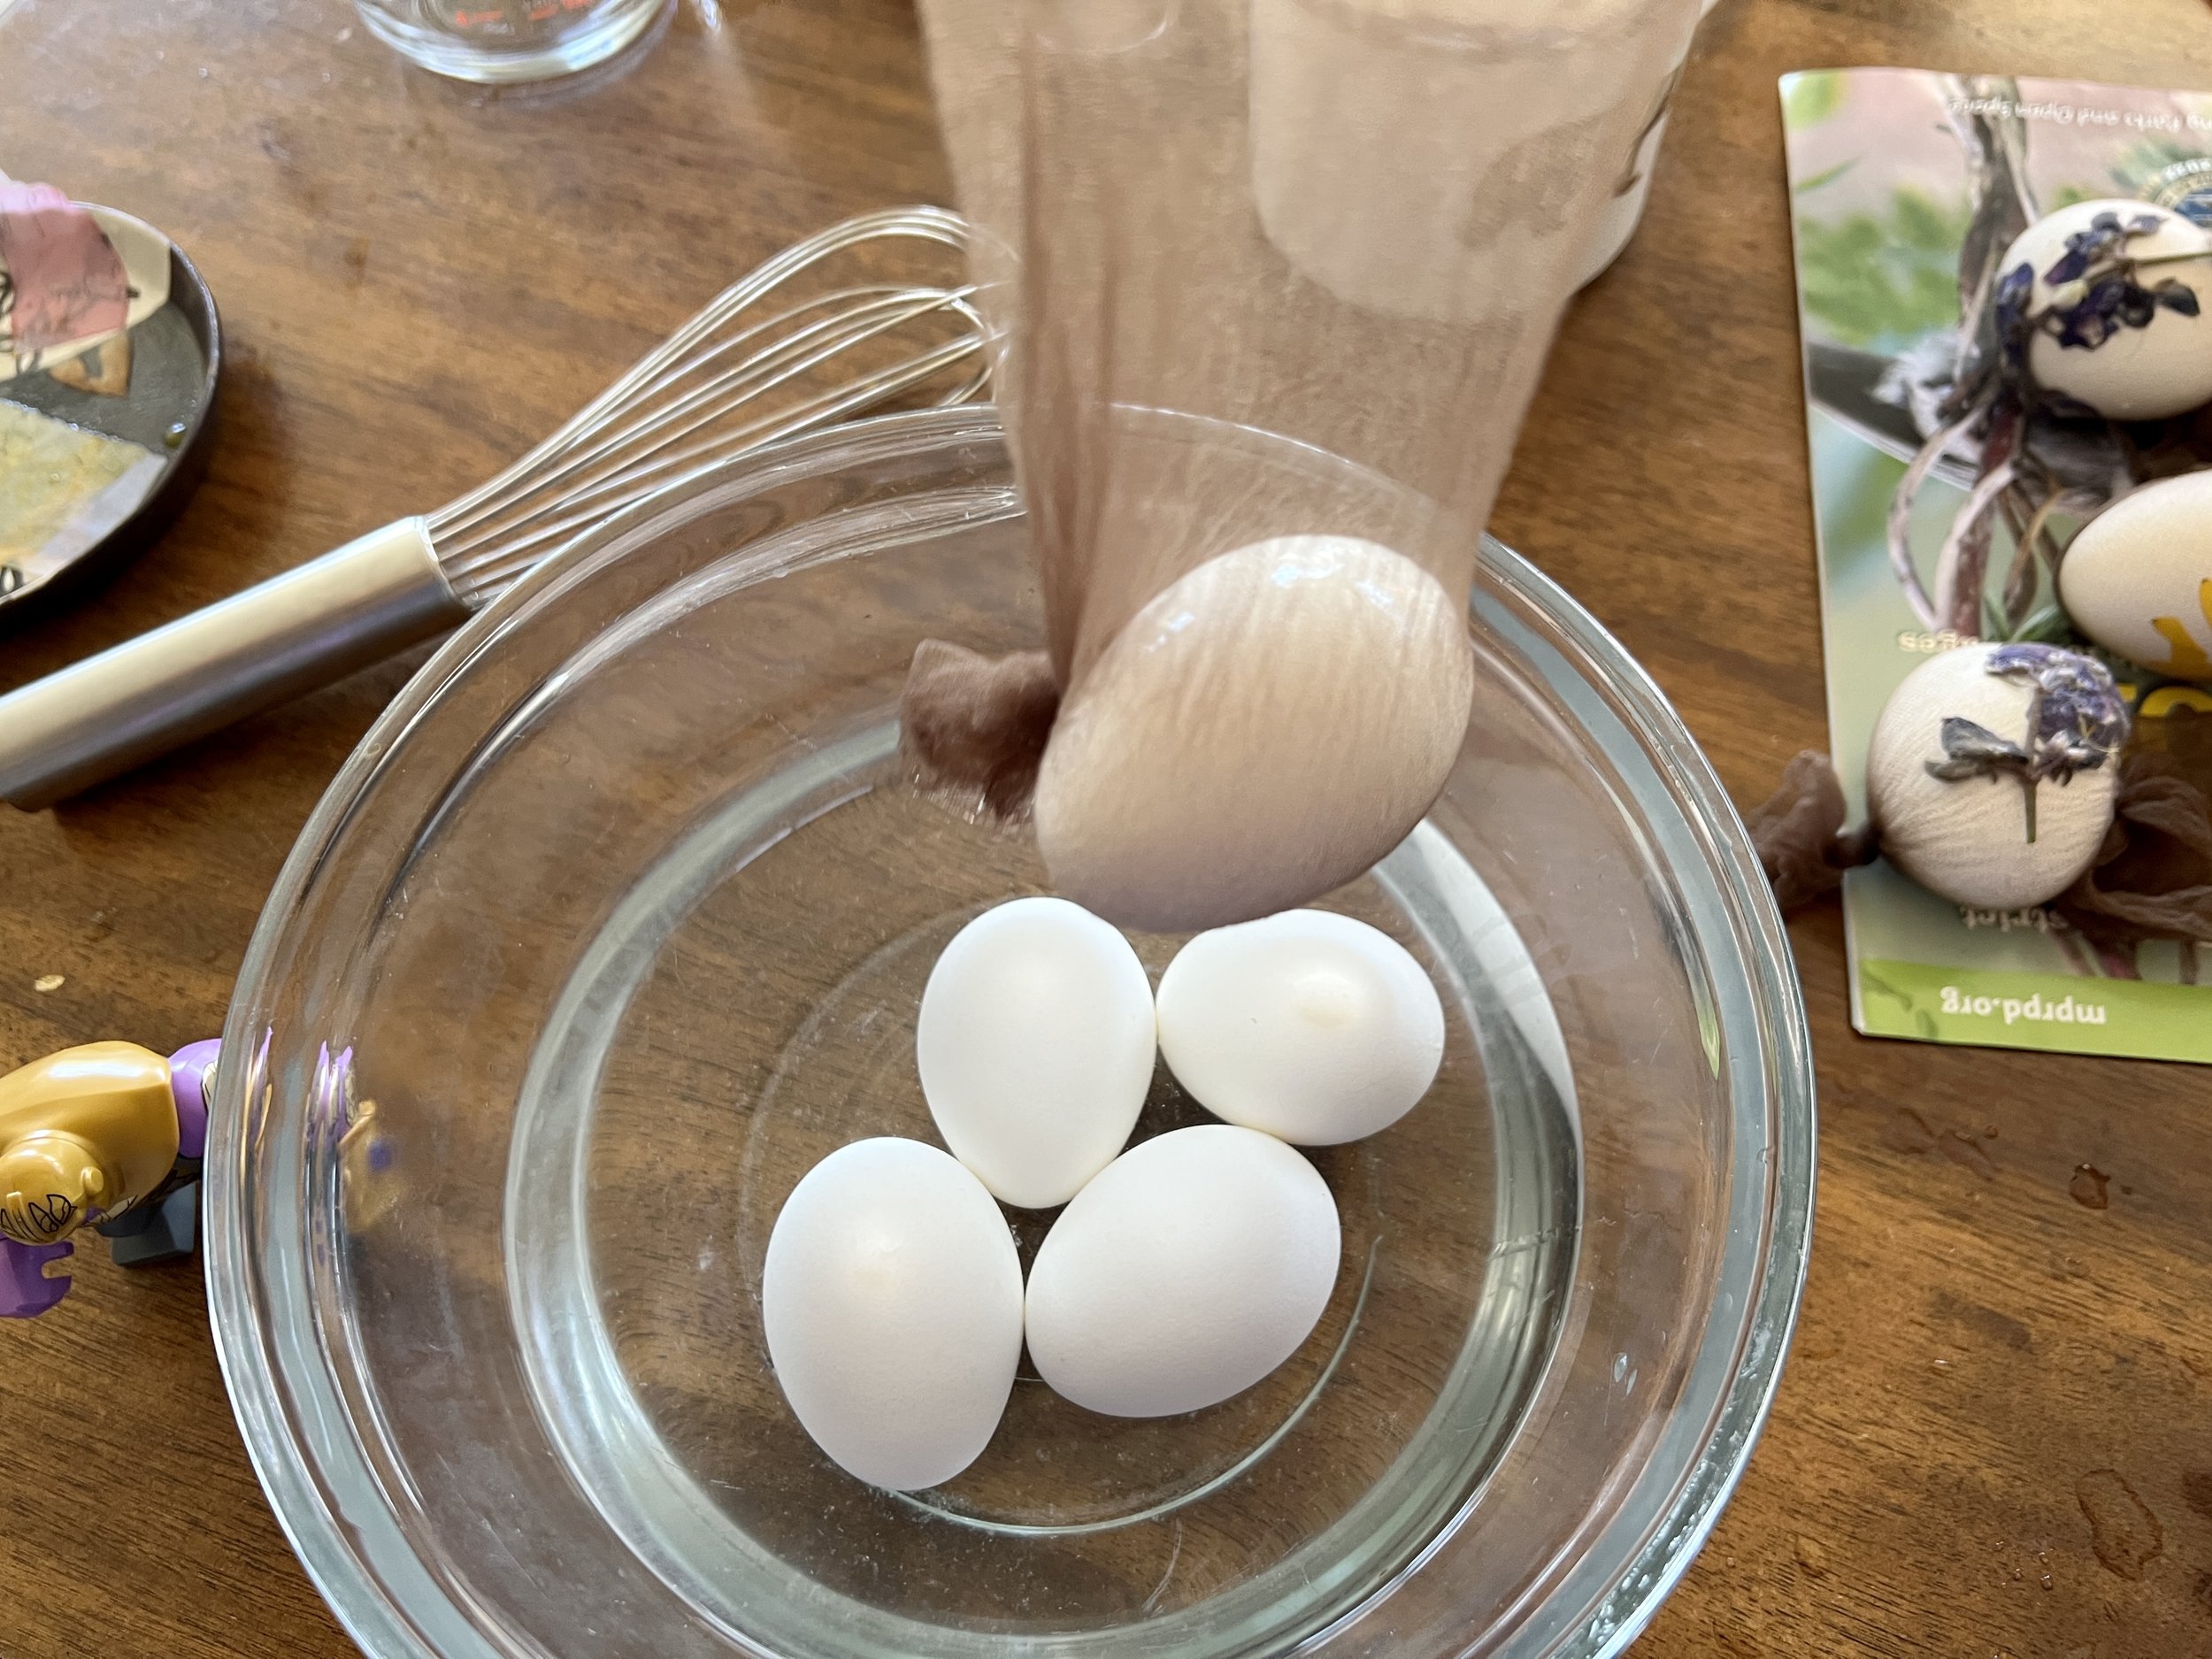
2. Prepare the Eggs
Next, we either cook or blow out the centers of the eggs. The best way to cook the eggs is to steam them for about 9 minutes and then place them in an ice bath. This is because the shells of steamed eggs are easier to remove than boiled eggs.
To blow out the eggs’ centers, use a sharp awl, shish-kebab skewer, or a thumbtack to poke and carve a hole at each end of the eggs. Place the egg to your lips and blow hard into one of the holes.
Eventually, the yolk and white will emerge from the other end.
After the centers are blown out, the eggs will not rot and can be kept indefinitely. The process will shock and gross out any children you work with, which adds to the fun!
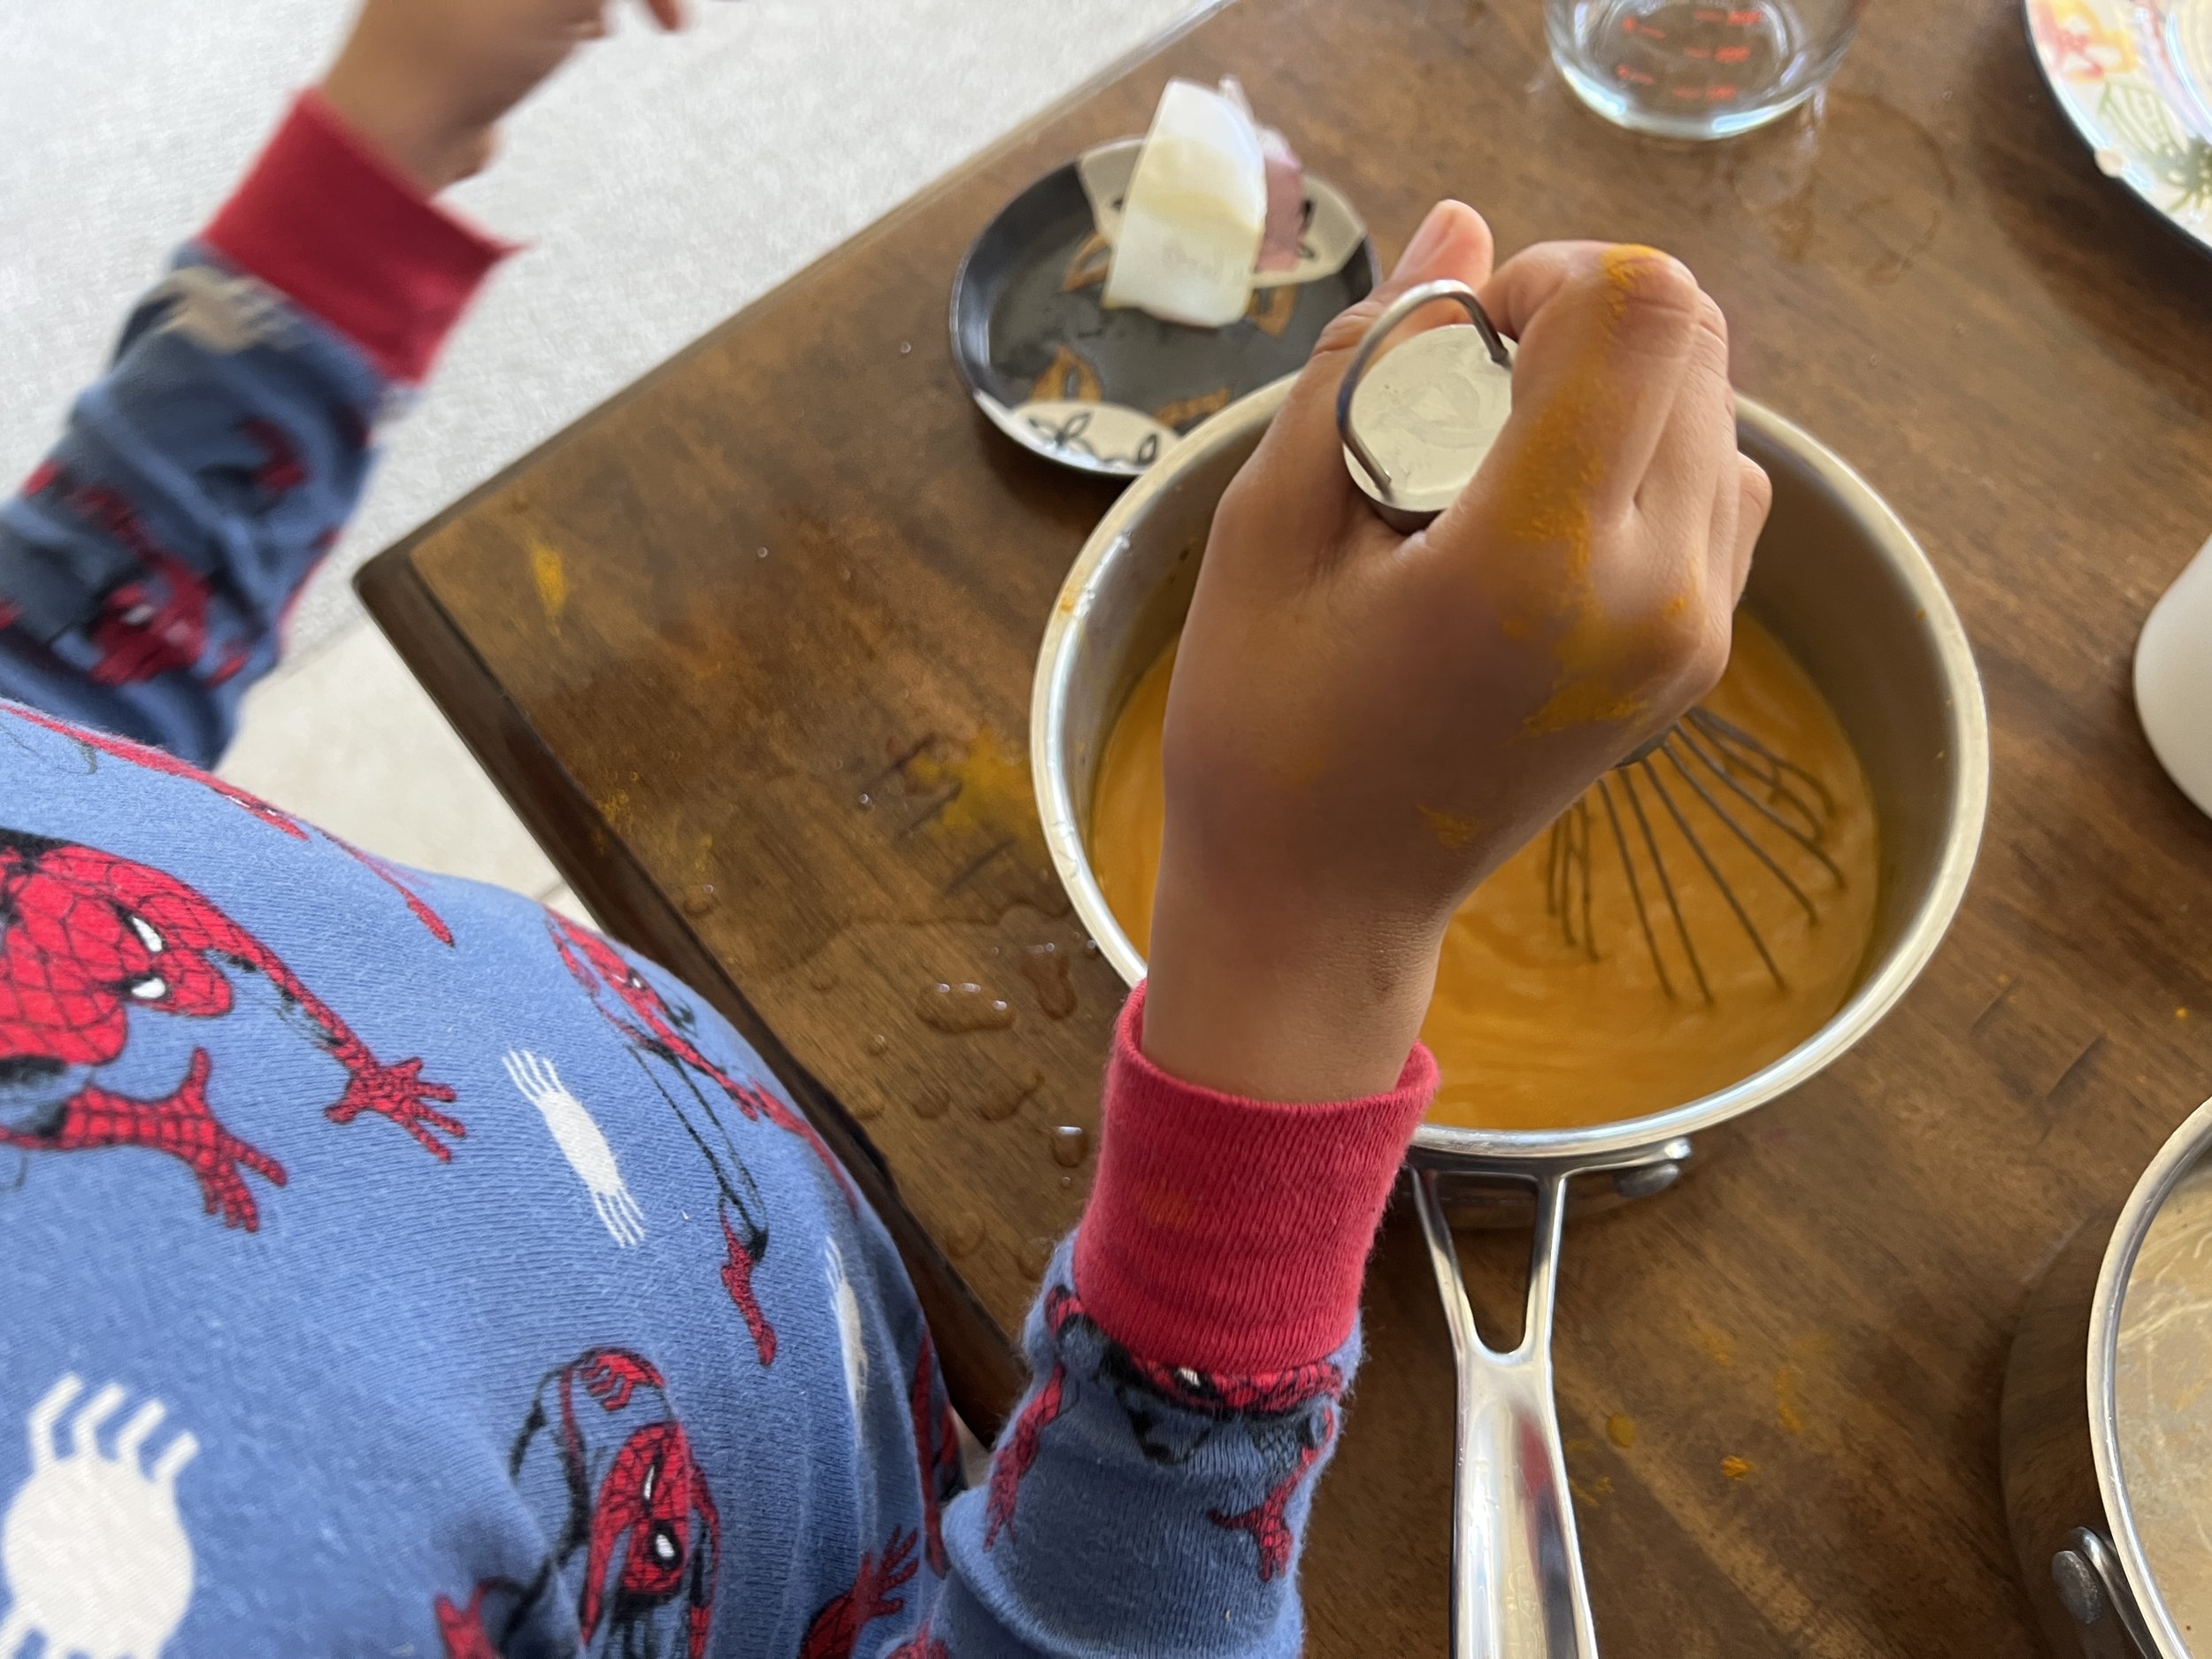
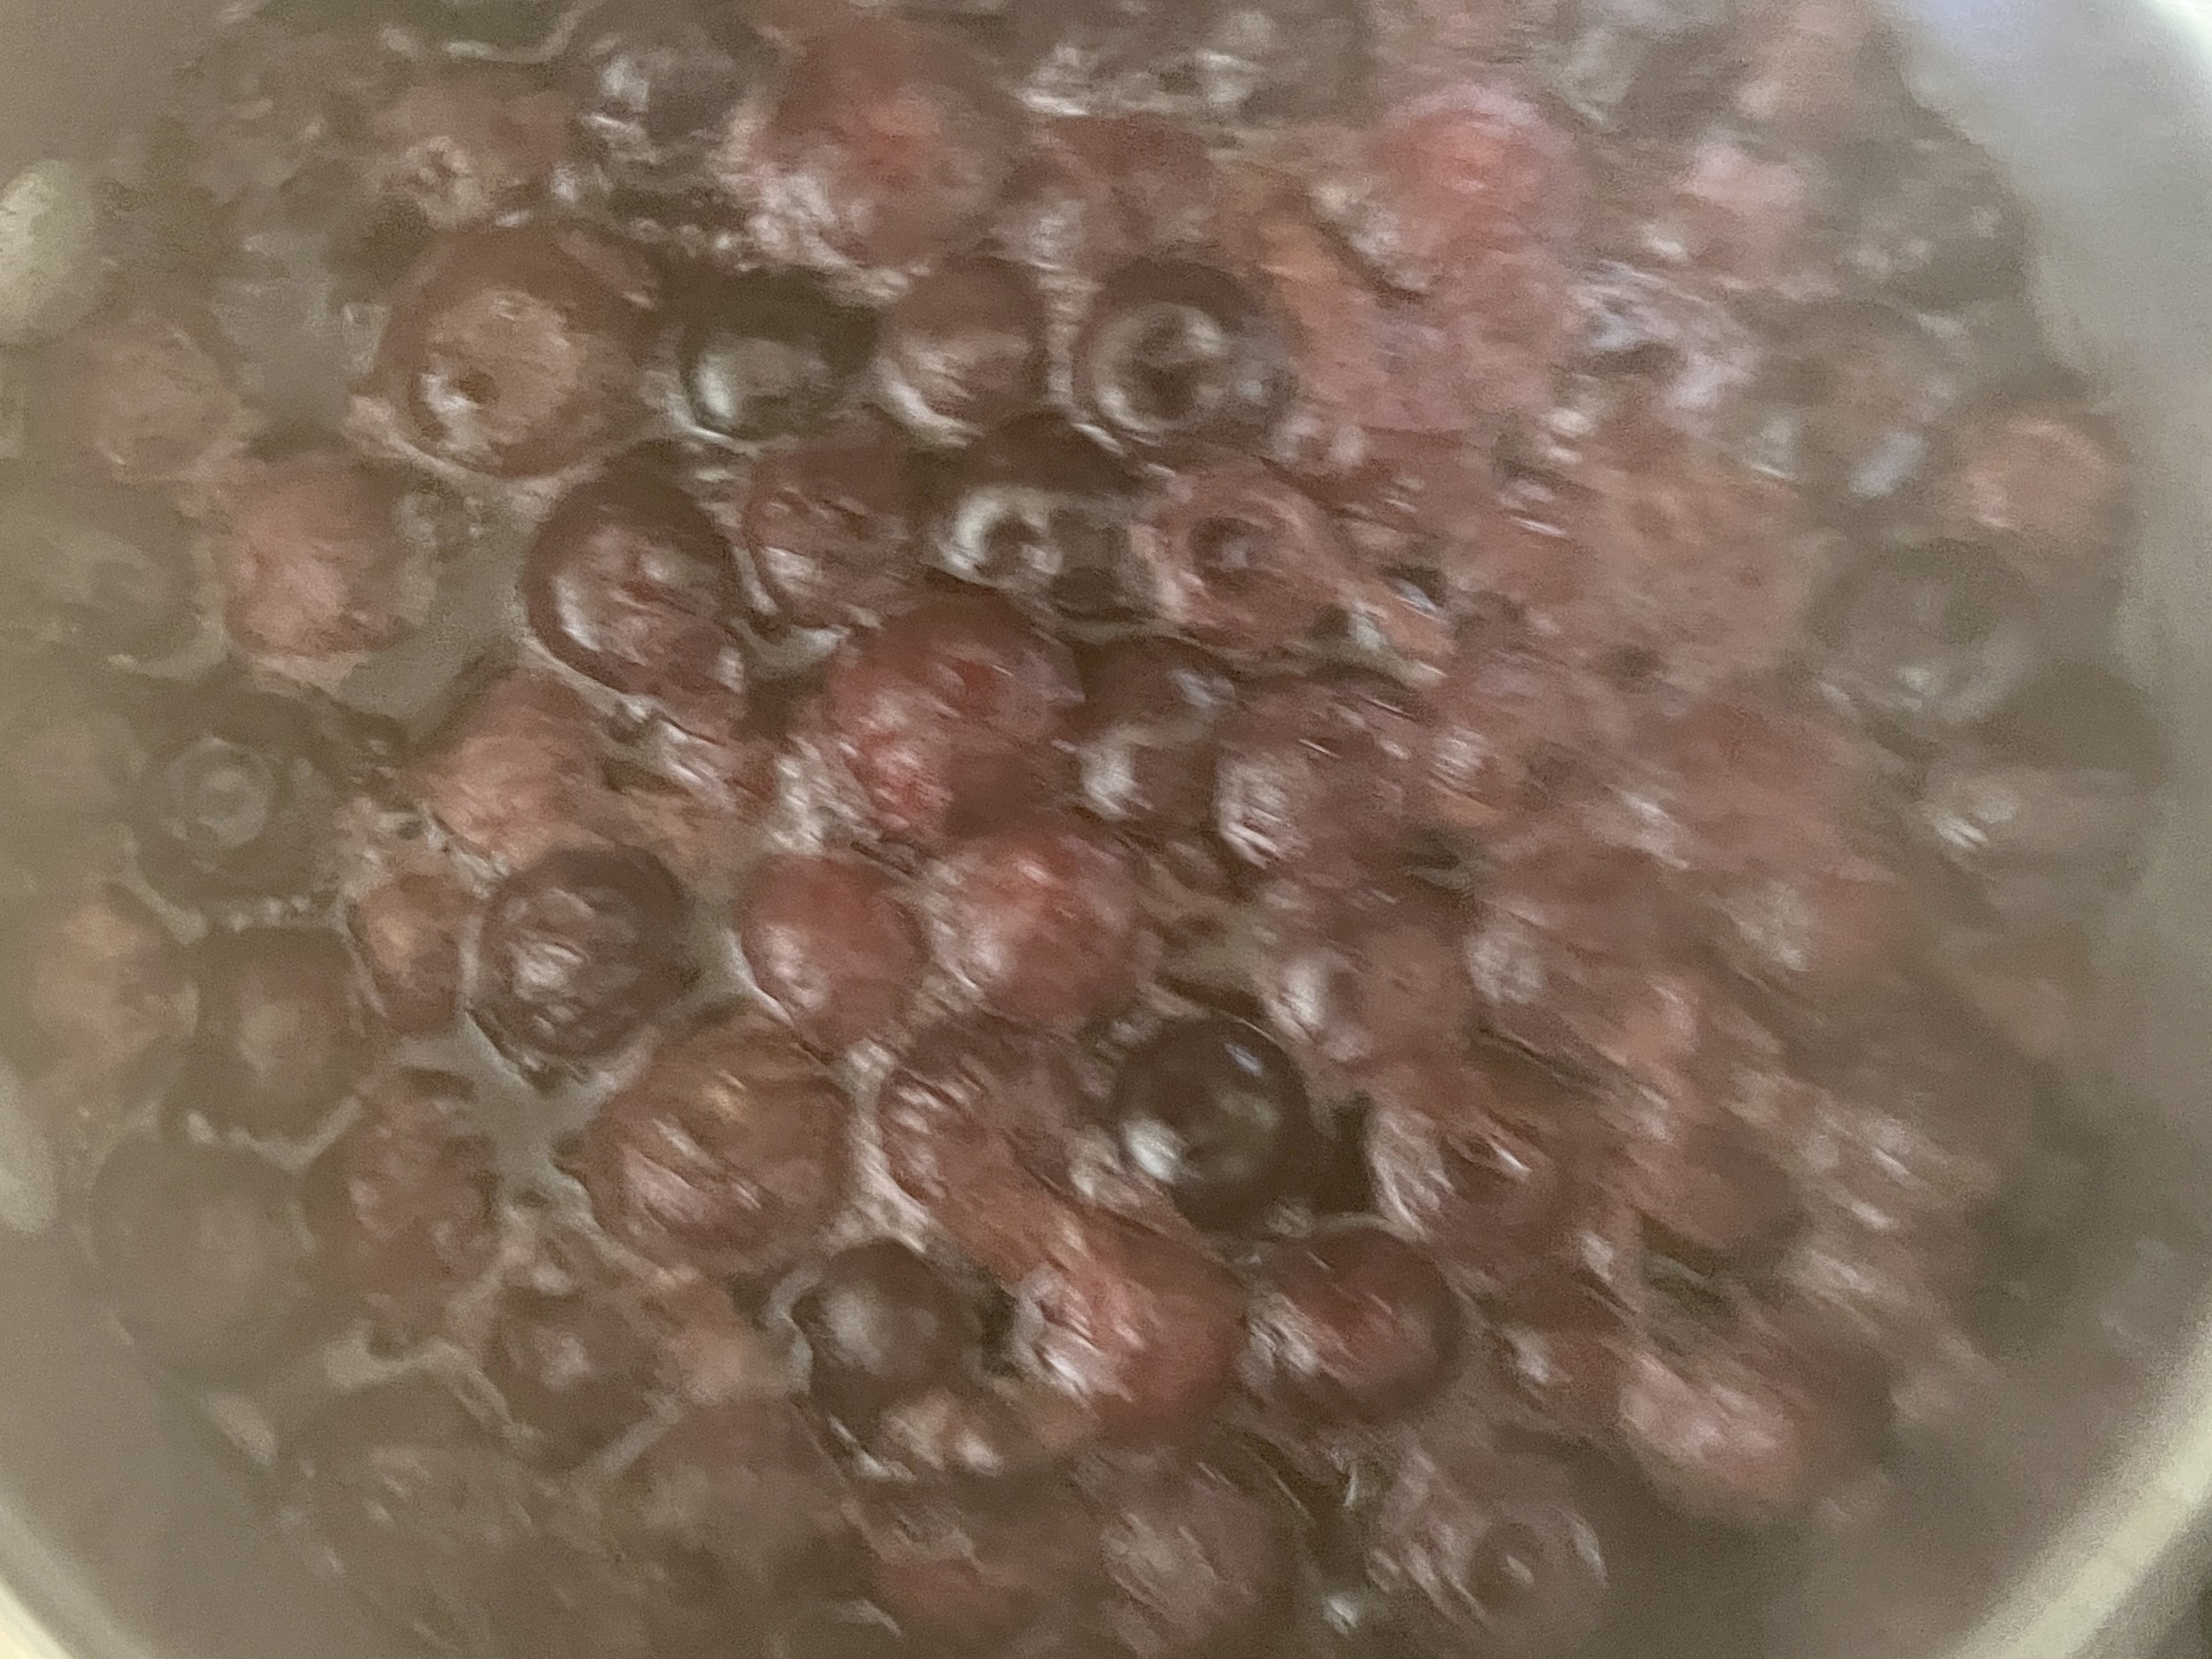
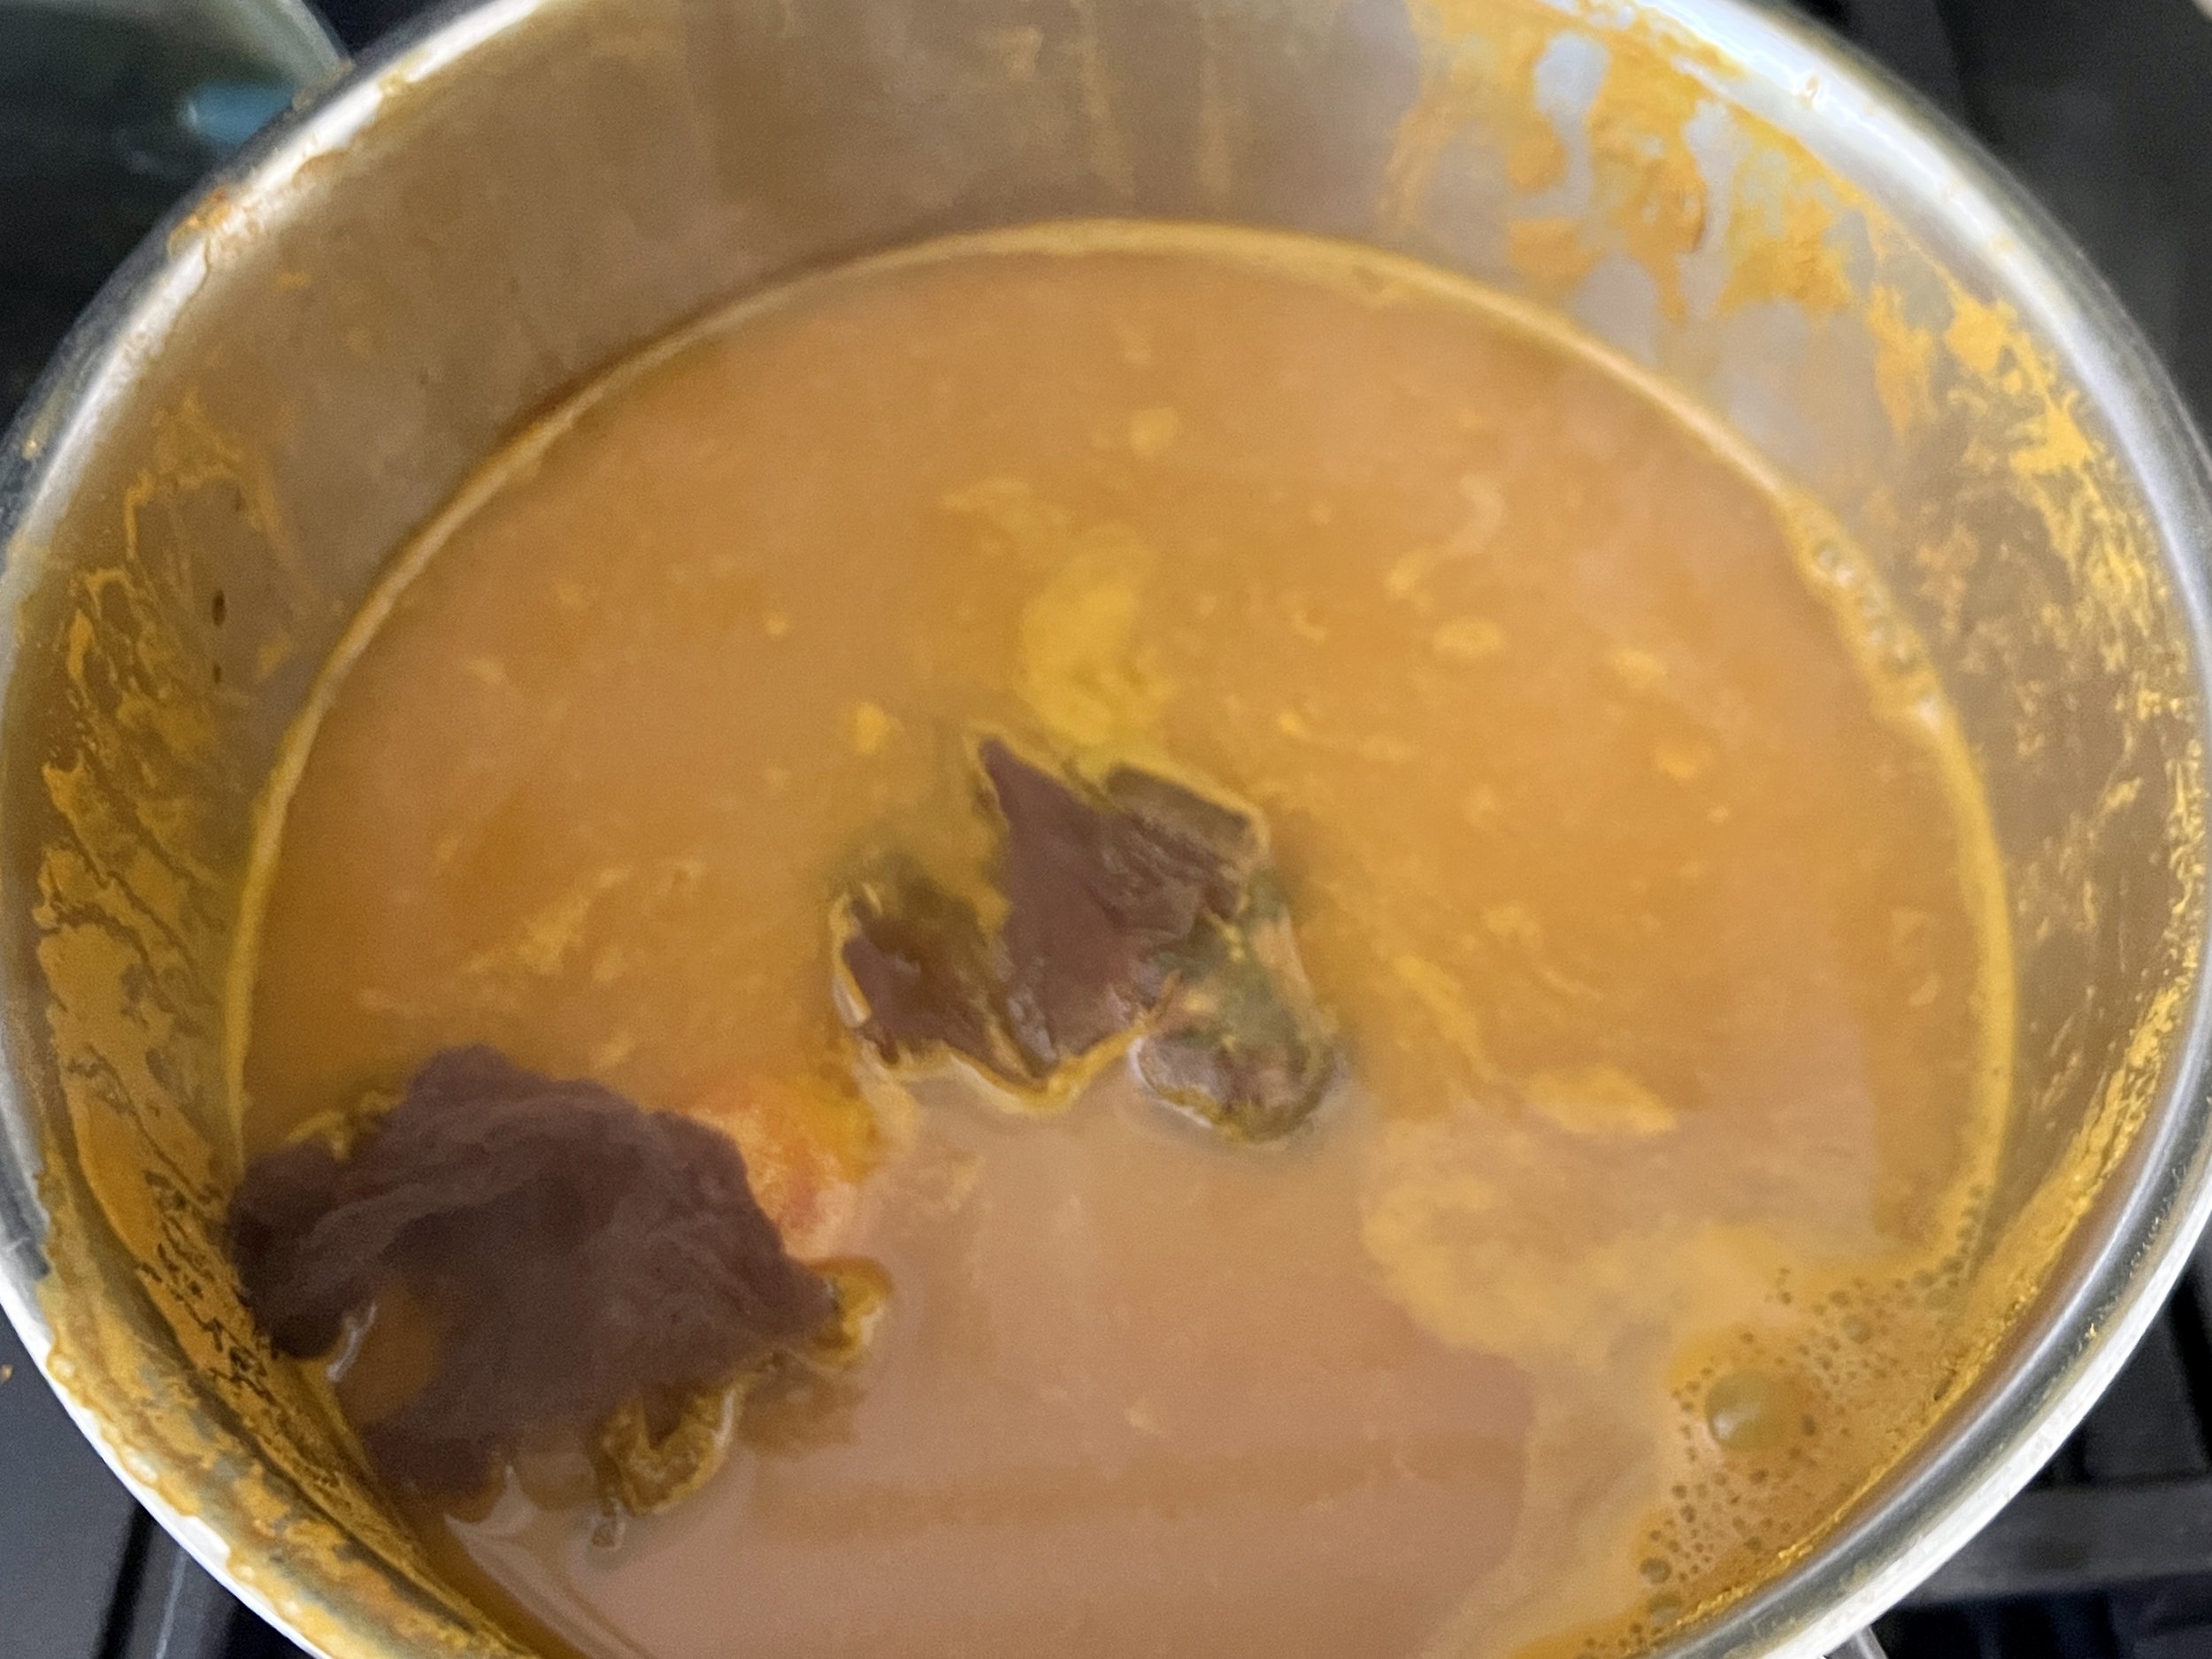
3. Make dyes
To make simple, natural egg dyes that can be mixed to create additional colors, we use:
blueberries for blue
turmeric for yellow
beets for red
We also use onion skins - any shade of onion skin gives a beautiful color when boiled.
Place the ingredients in separate pots.
Cover them with water and simmer gently to extract pigment for about 5 minutes or so.
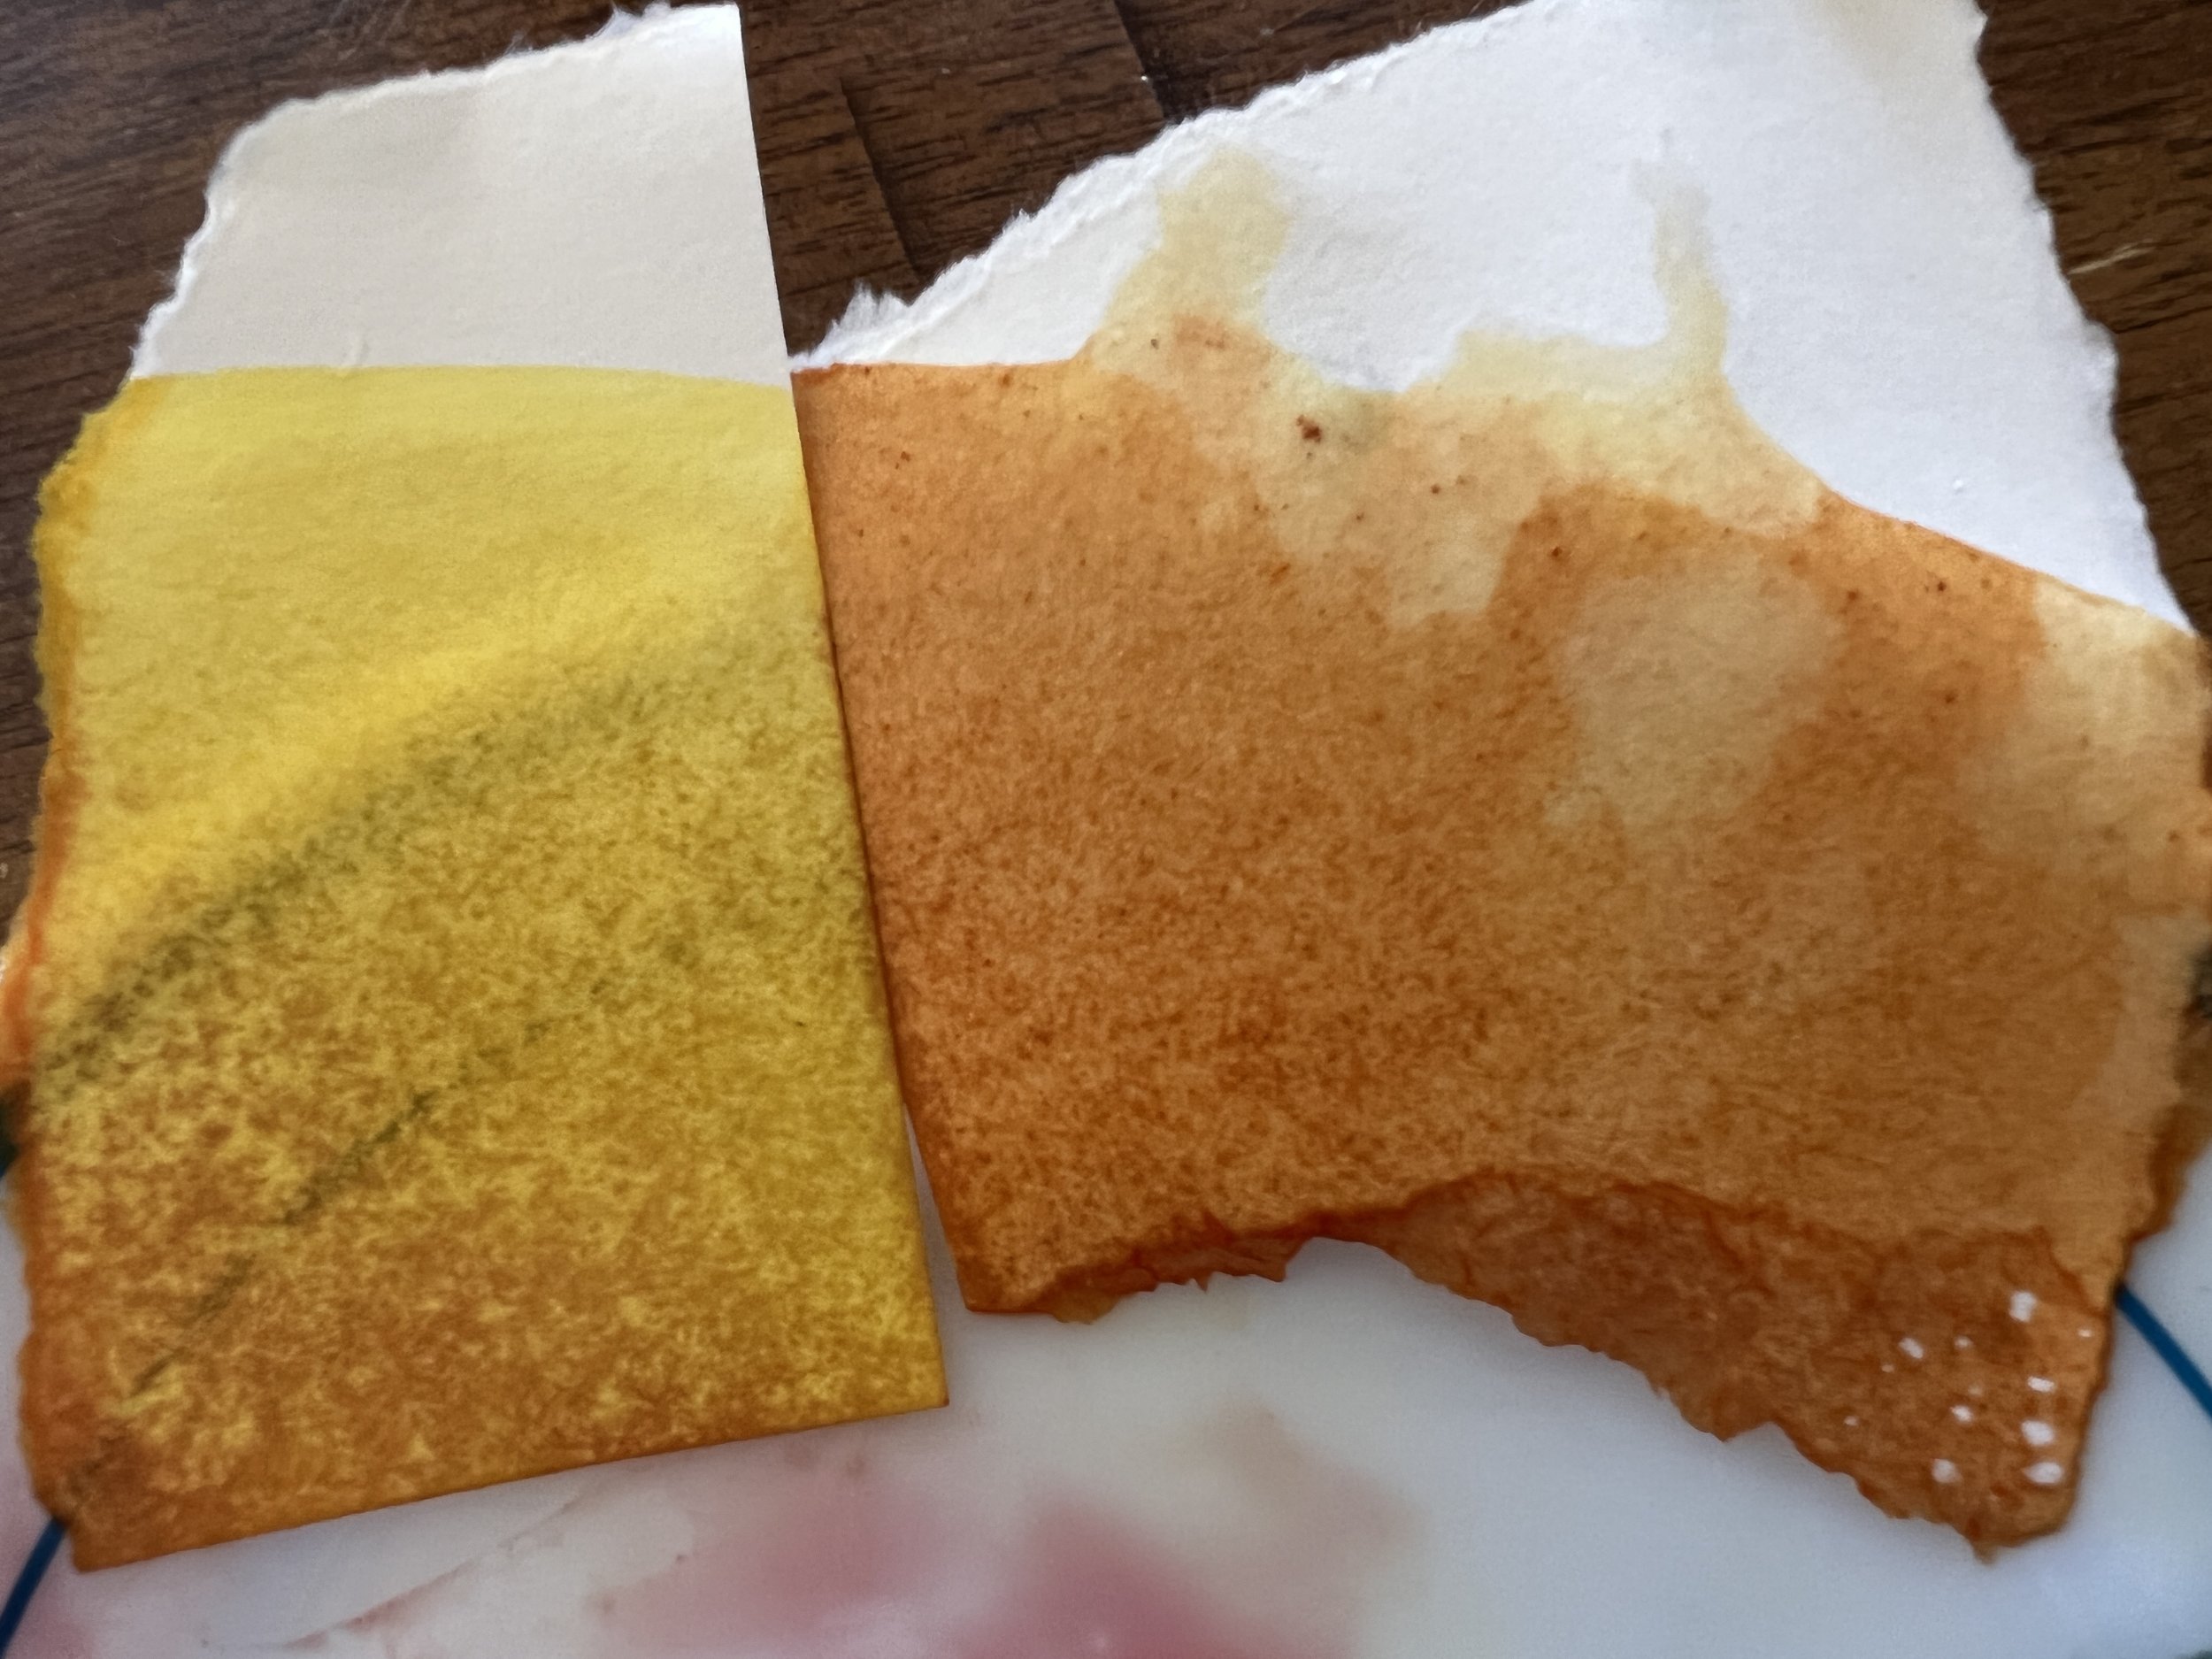
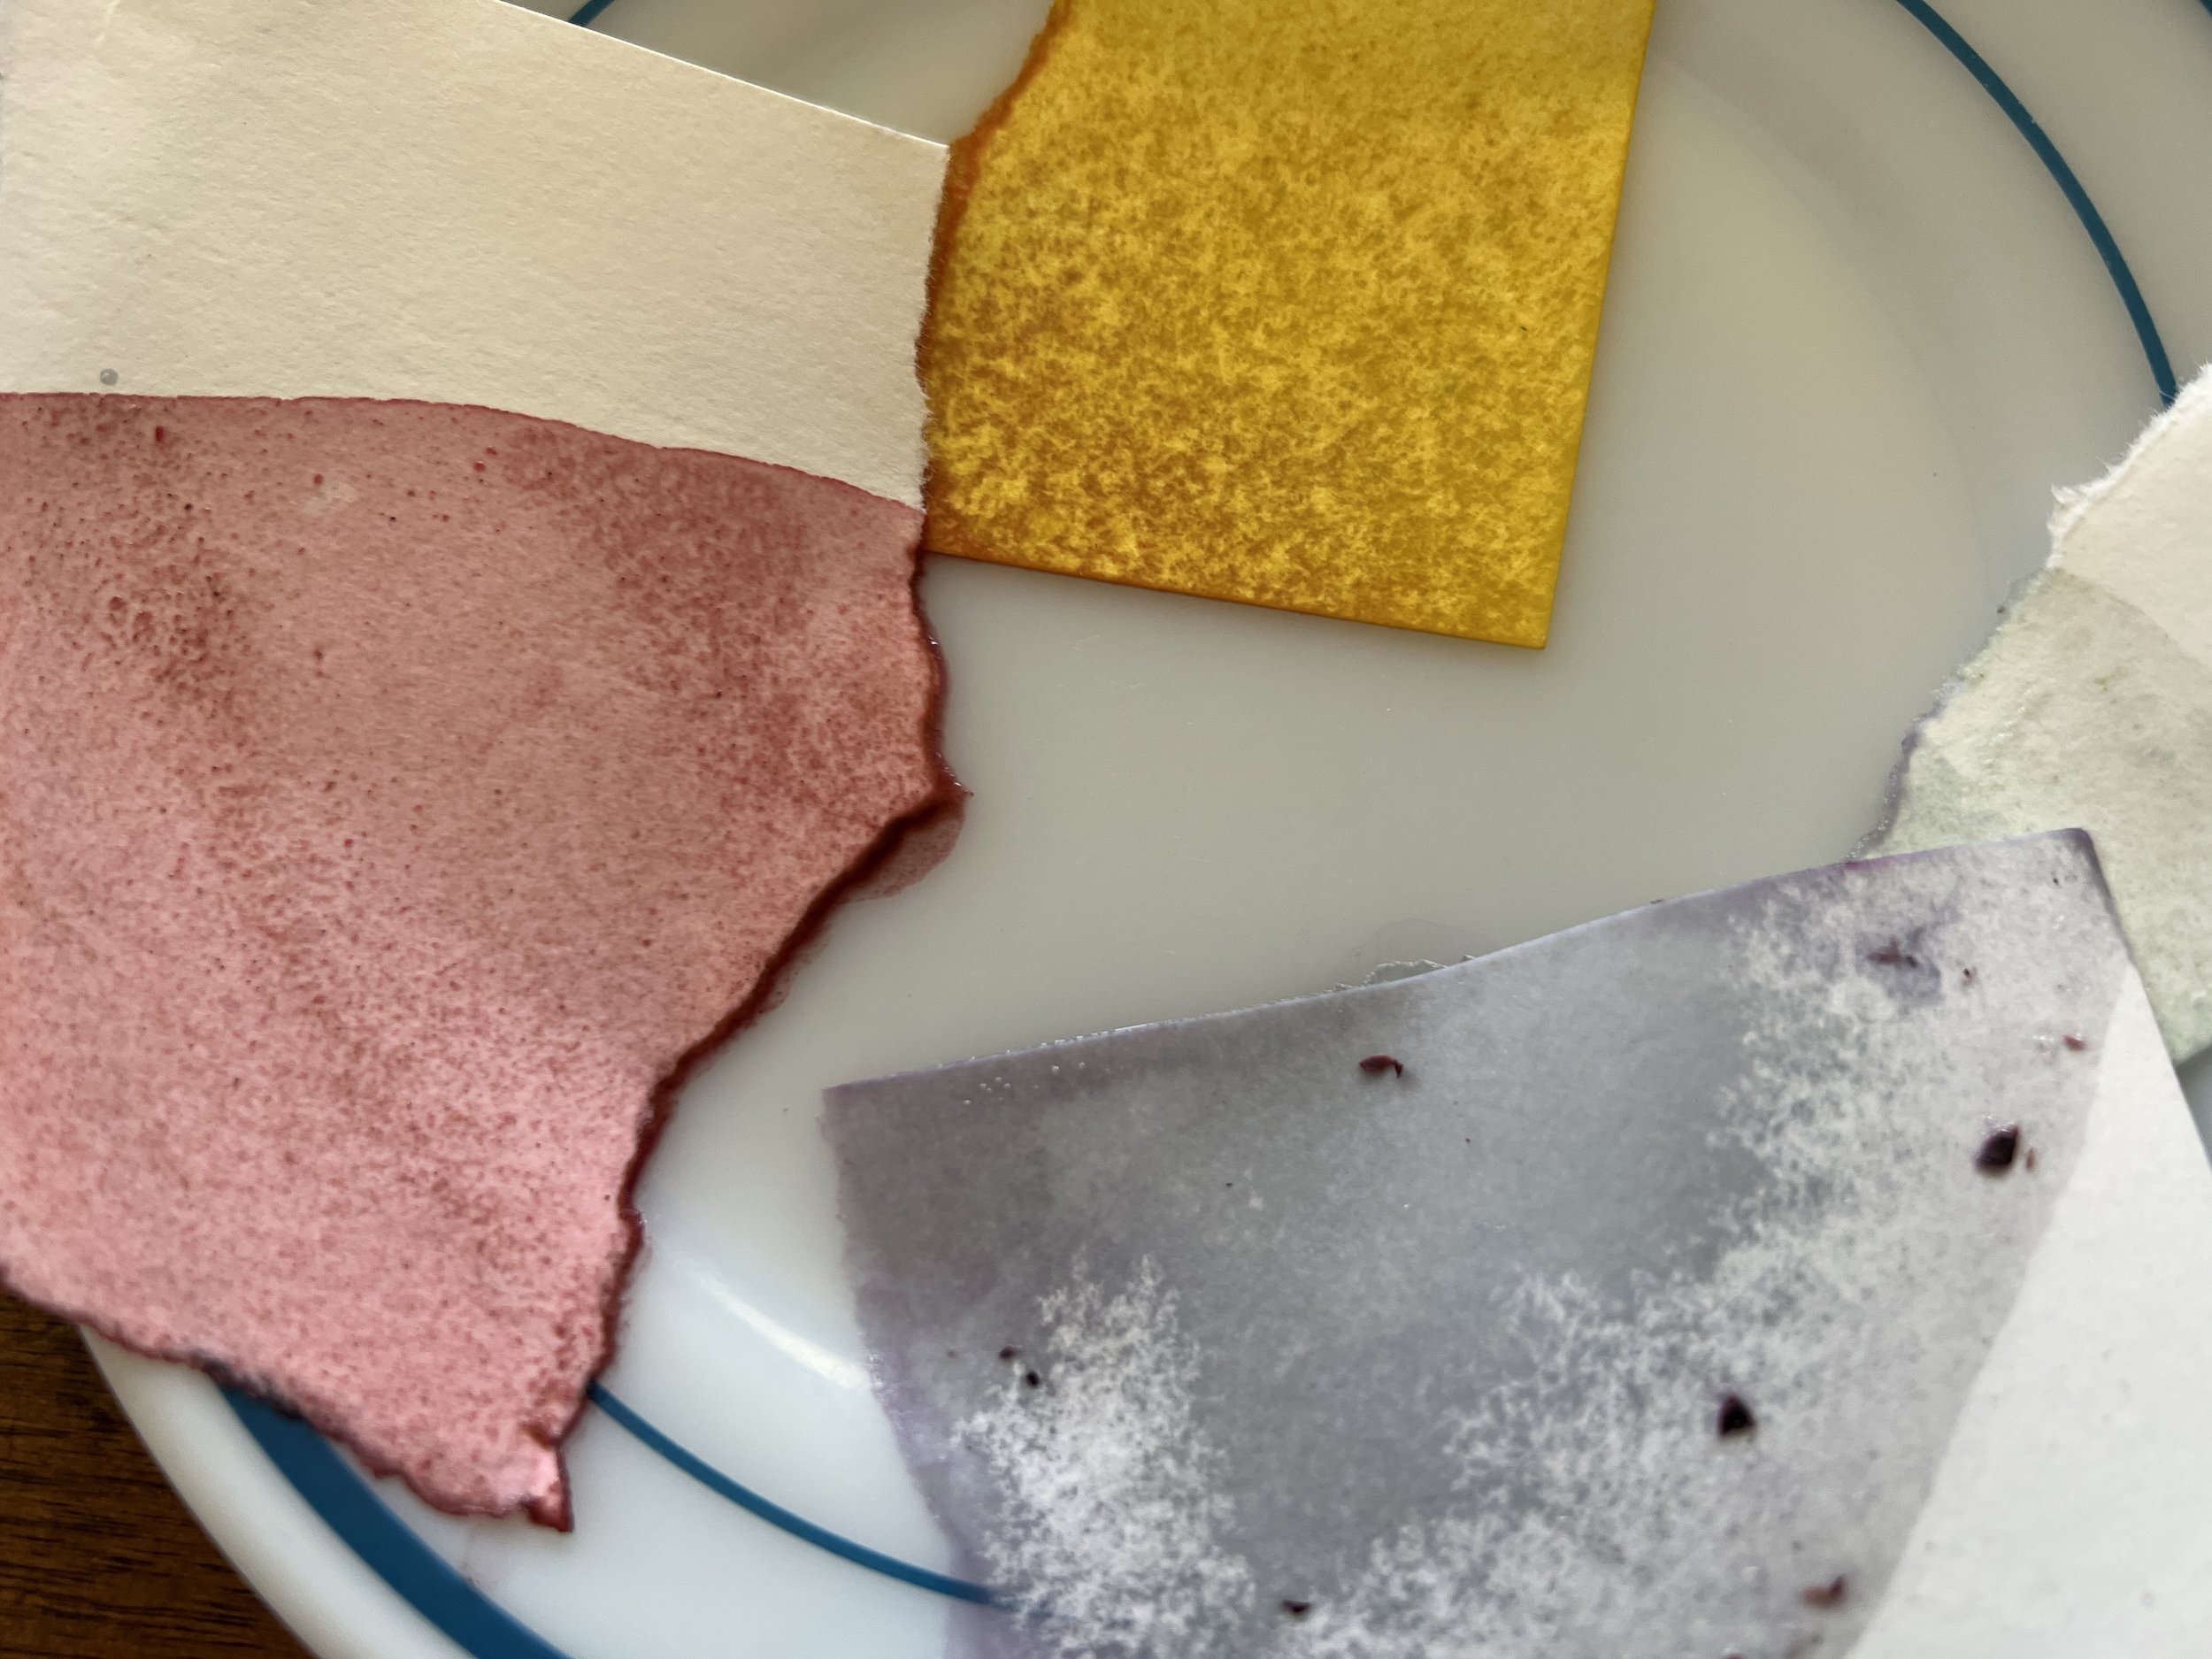
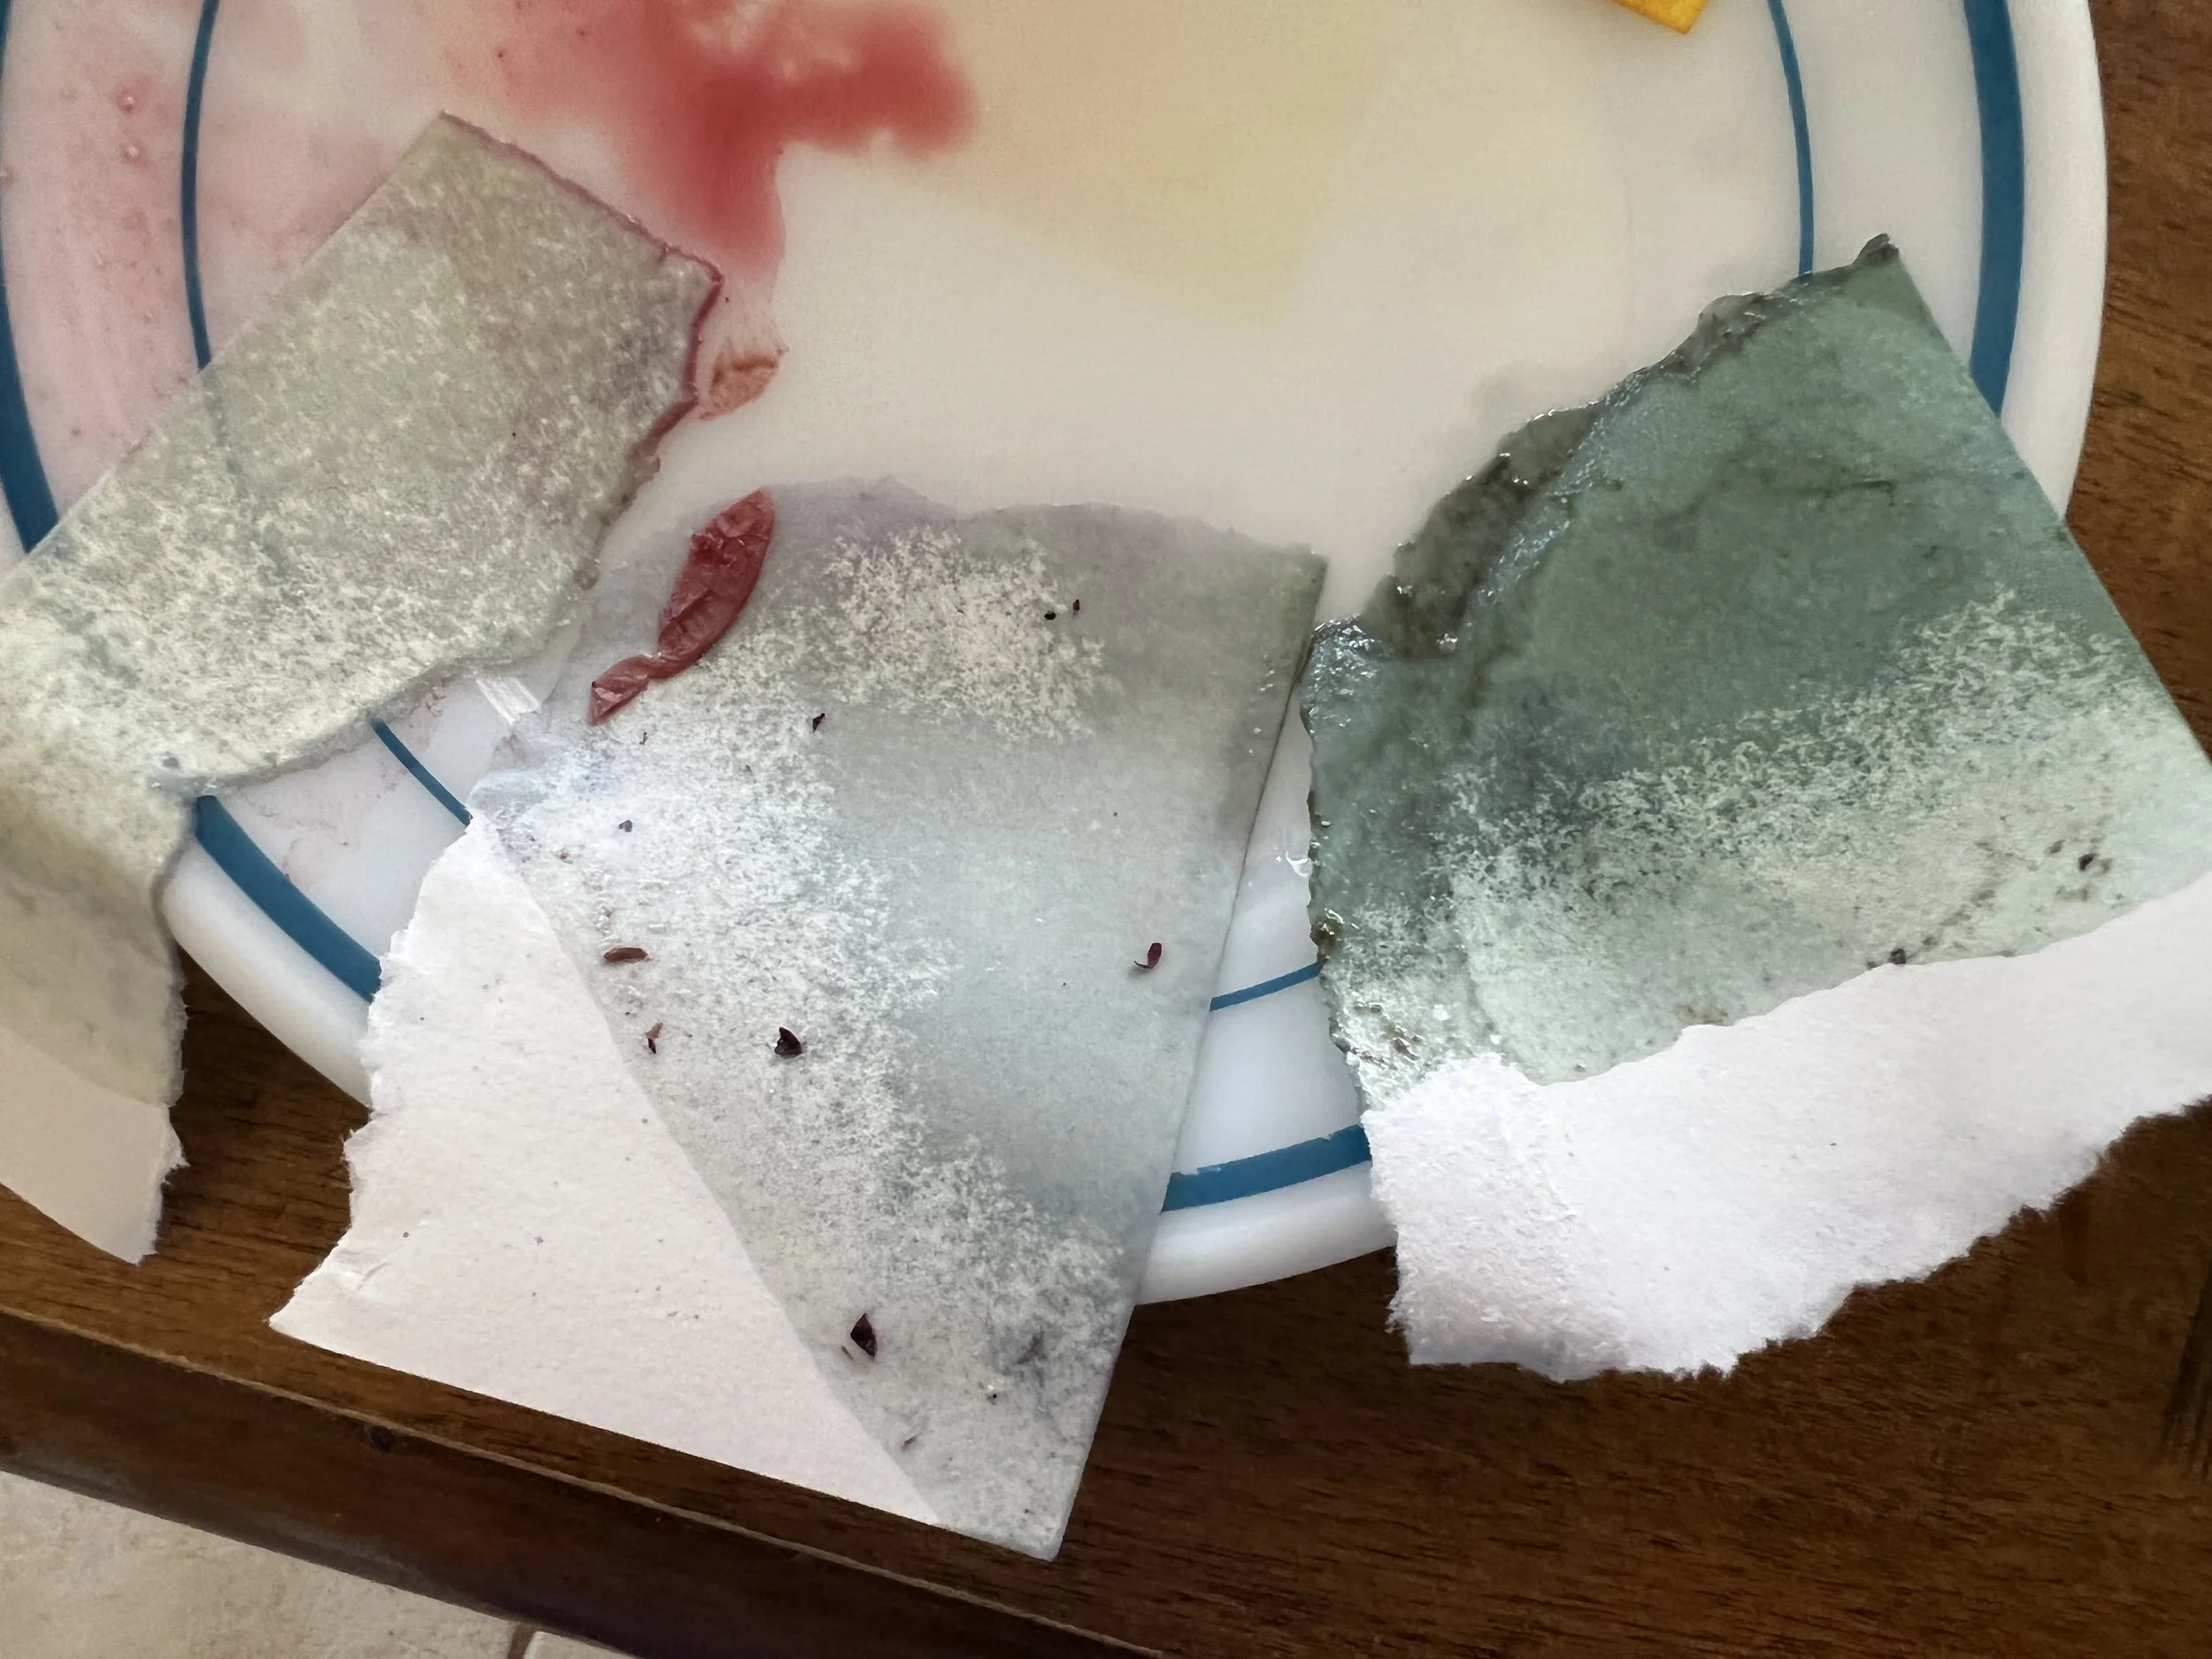
4. Test dyes
My kids love this part! We use scraps of white paper (watercolor paper works best, but any paper will do).
Dip strips of paper into your dyes.
2. If your color is too light, add more berries, herbs, beets, or skins and stir. Test again in a few minutes.
3. Separate a small amount of dye and experiment with Baking soda to shift the colors. For example, it will turn yellow and orange and make blues, greener.(as seen below).
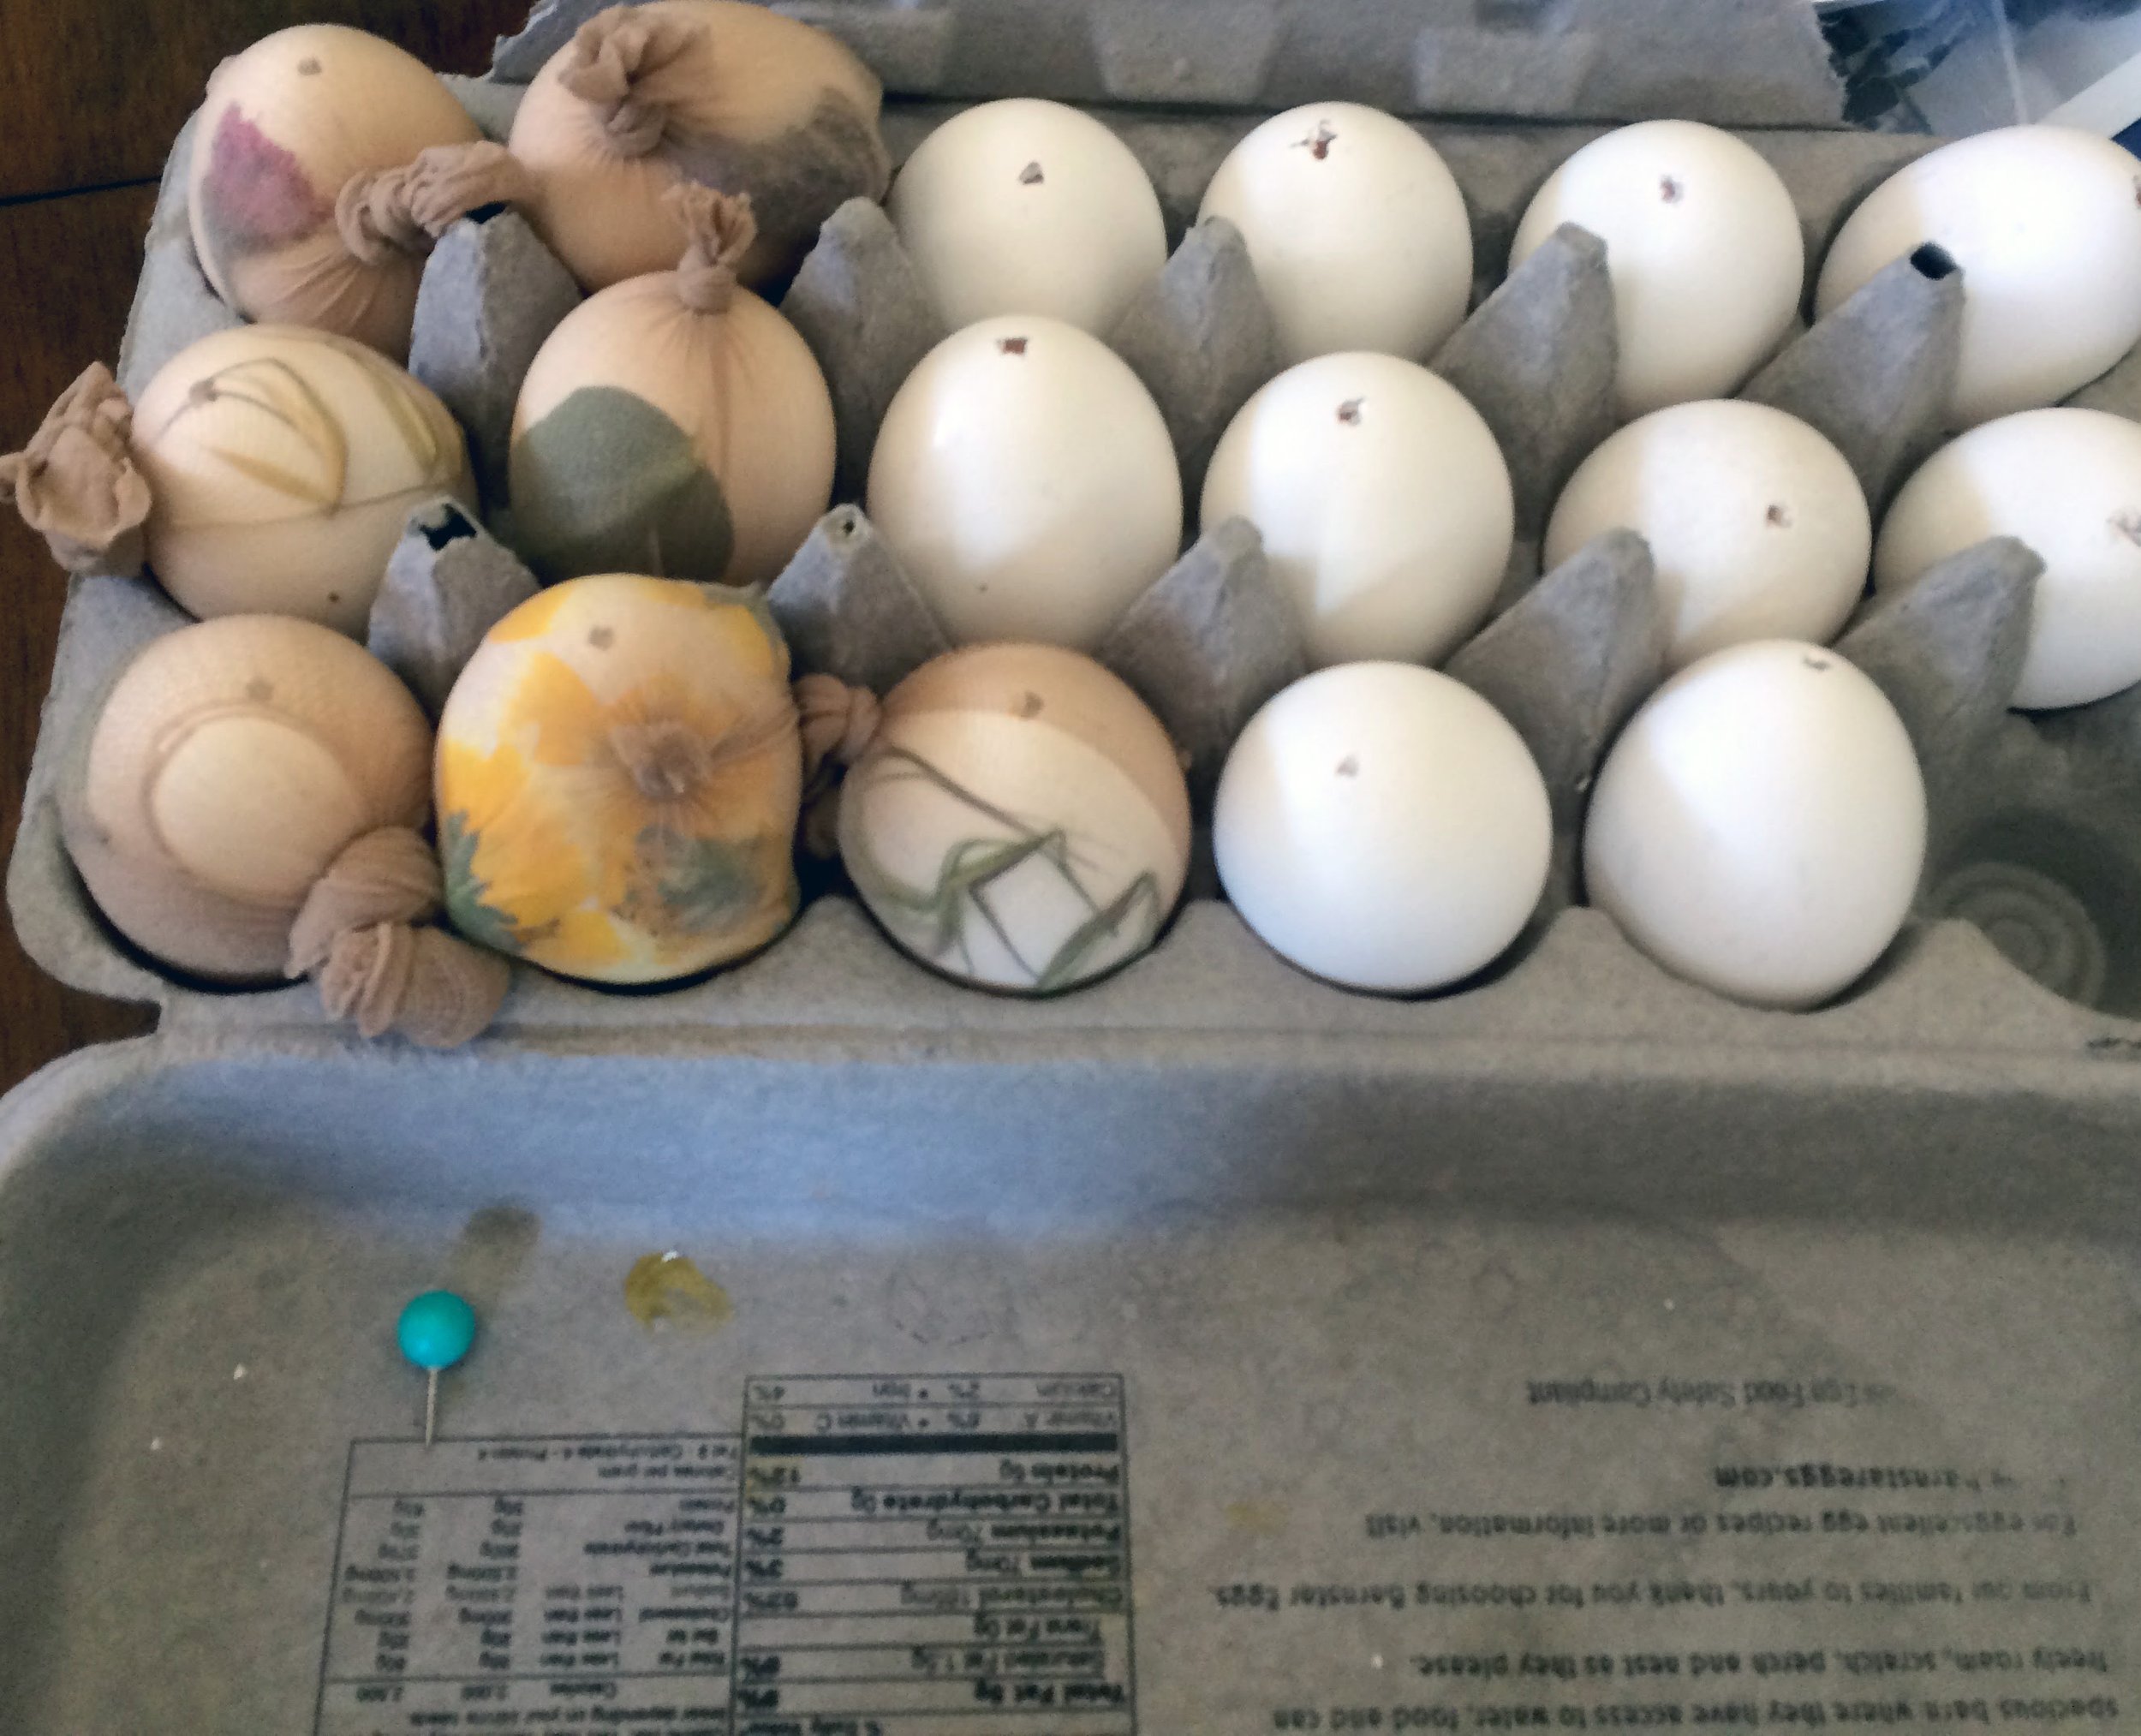
5. Wrap eggs
Use any porous cloth (ie, cheesecloth or pantyhose) to tightly wrap the flowers and leaves you’ve collected over the eggs. Submerge them in the dye pots and leave them in for at least 10 minutes.
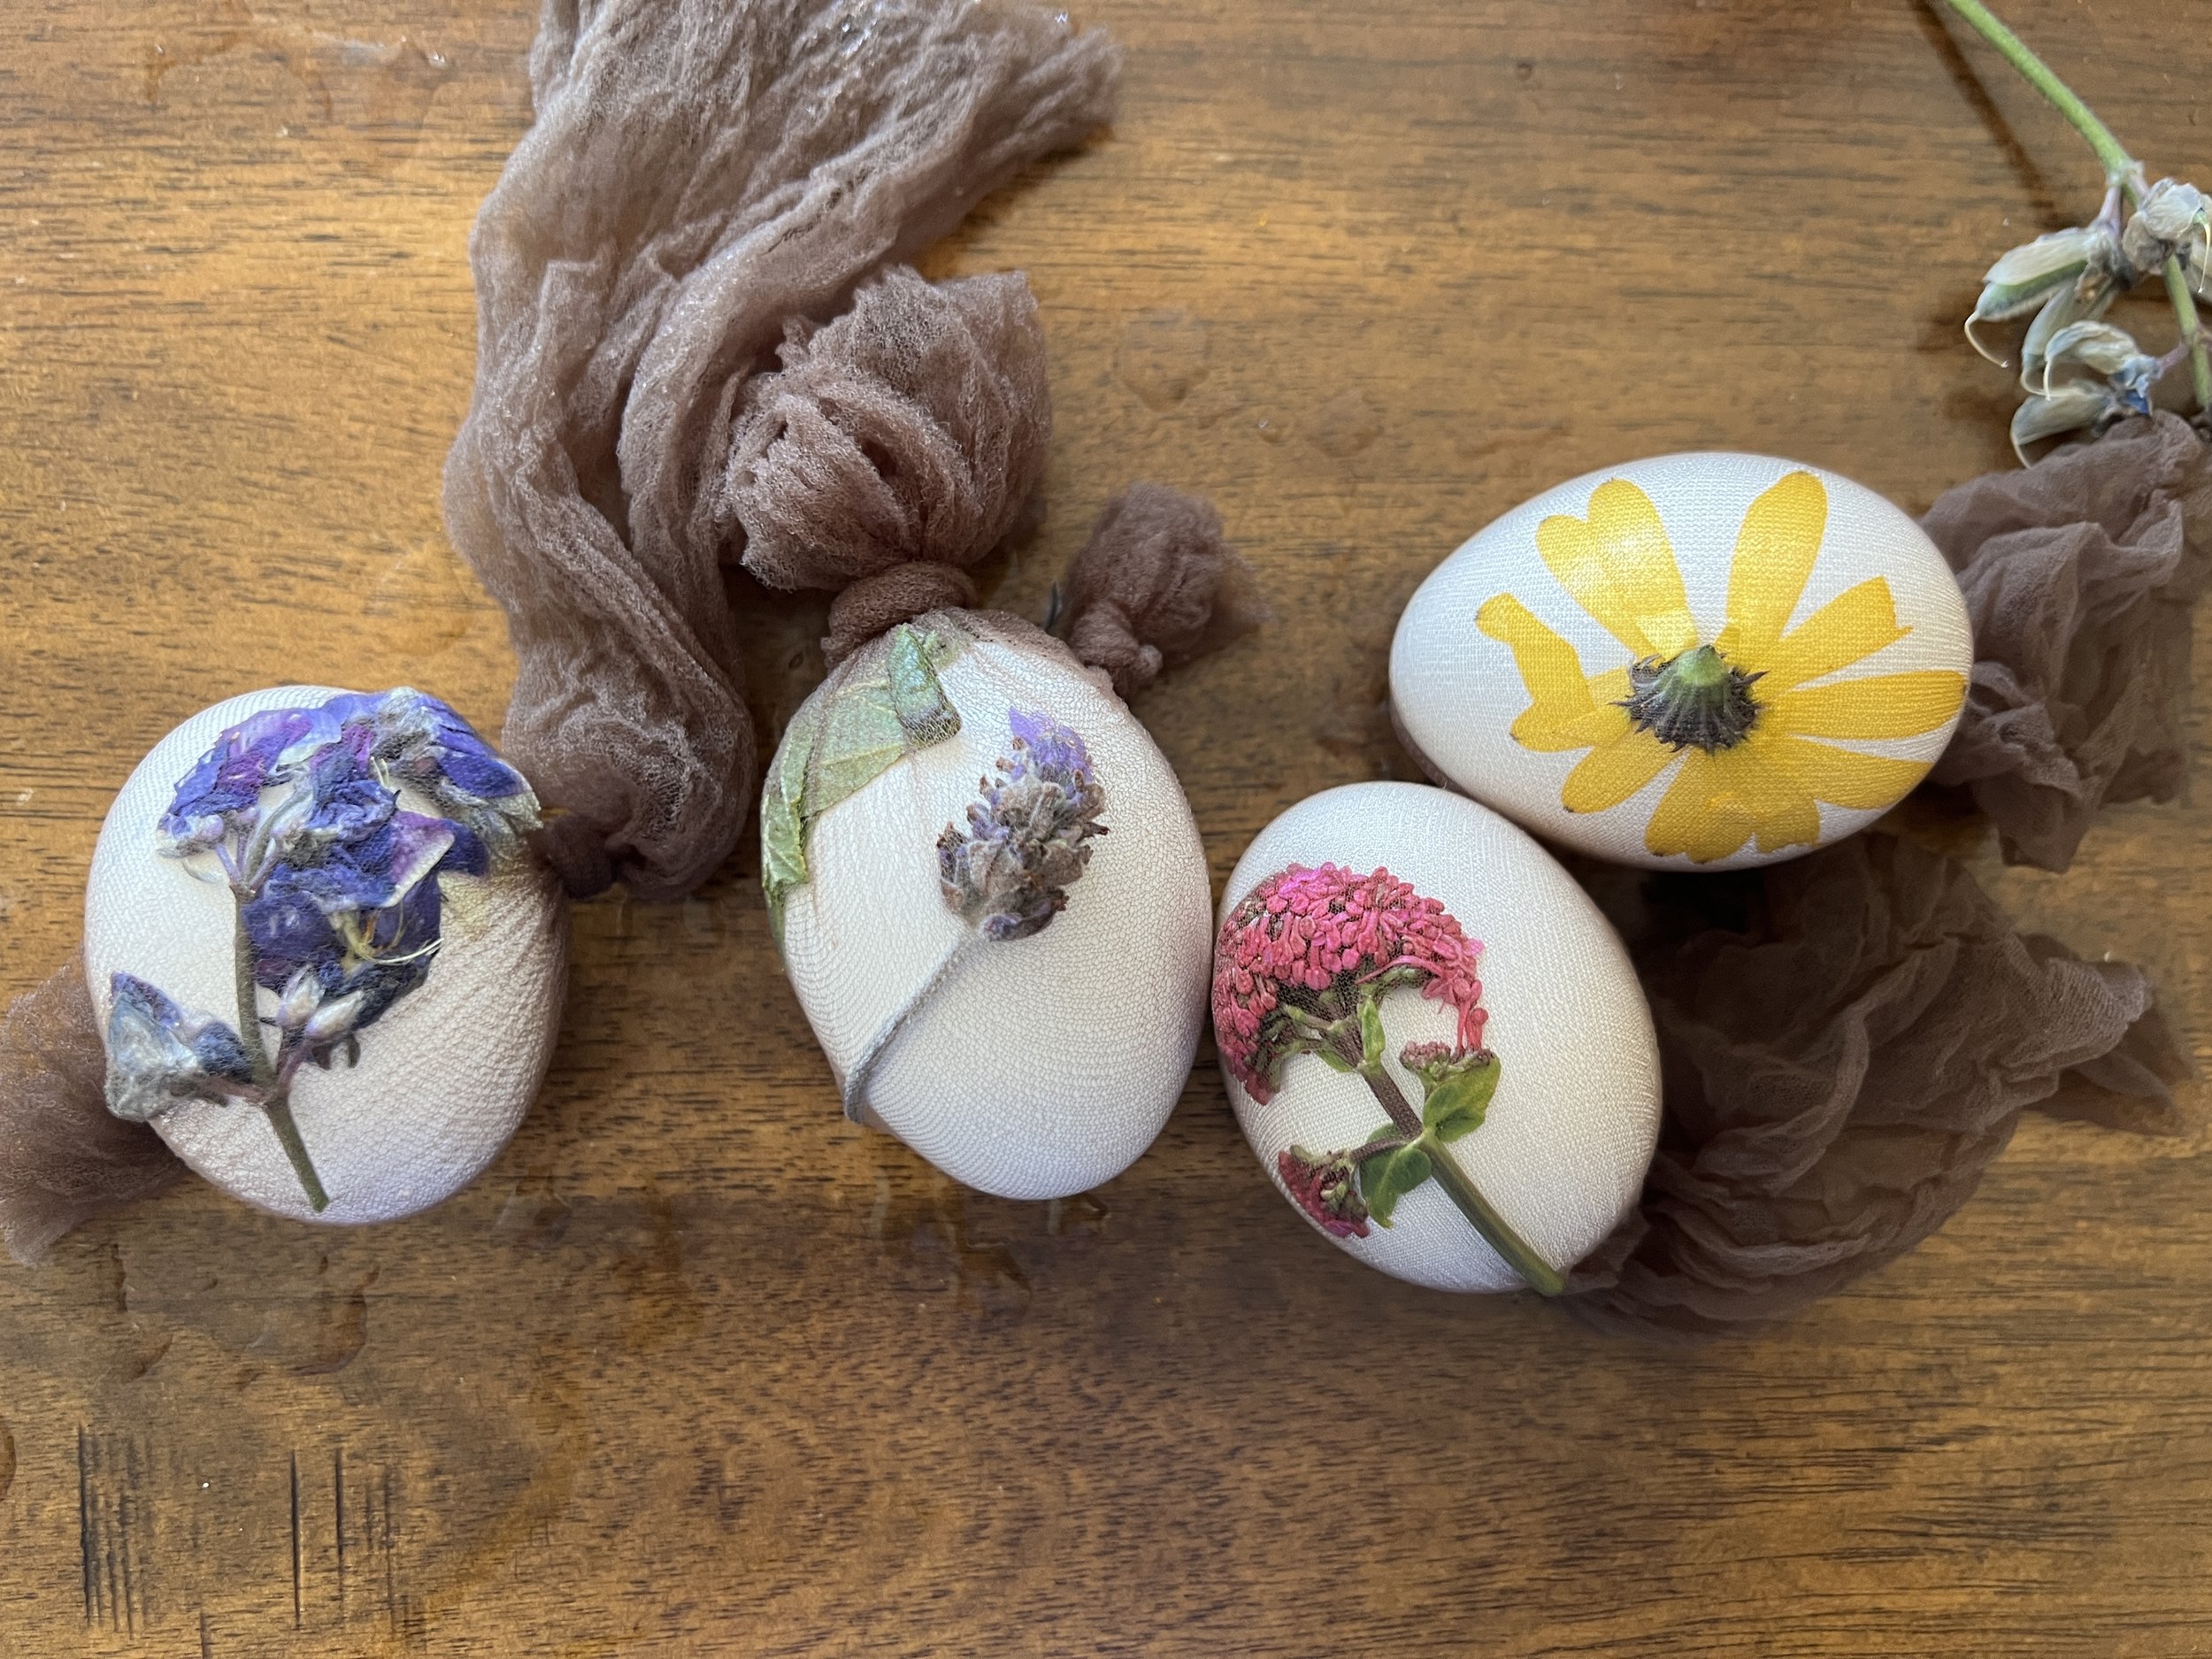
6. Dry and unwrap eggs
Place the eggs back into the carton, and let them dry. You will see the color change as they are exposed to the air.
After the eggs are dry, carefully cut the cloth and remove the eggs.
Peel away the flowers and leaves.
Gently rub dry to remove the plant residue.
Enjoy! Your eggs have been dyed using natural materials.
Want to learn more about plant colors? Here is one fun, easy project.


Update: This year, we used black tea, hibiscus tea, and turmeric blended with rose to dye the wrapped eggs. We got subtle and beautiful results. Happy Spring!


Enid Baxter Ryce is an author, artist, and professor. This project comes from her book, Plant Magic at Home. Her artwork has been exhibited at the National Gallery of Art, the Getty, and the Library of Congress. She’s a professor at CSU Monterey Bay and makes her art supplies from plants in her garden.