Plant Sprouts and Sketch

We started this project by sprouting seeds in the classroom, which you can read about here.
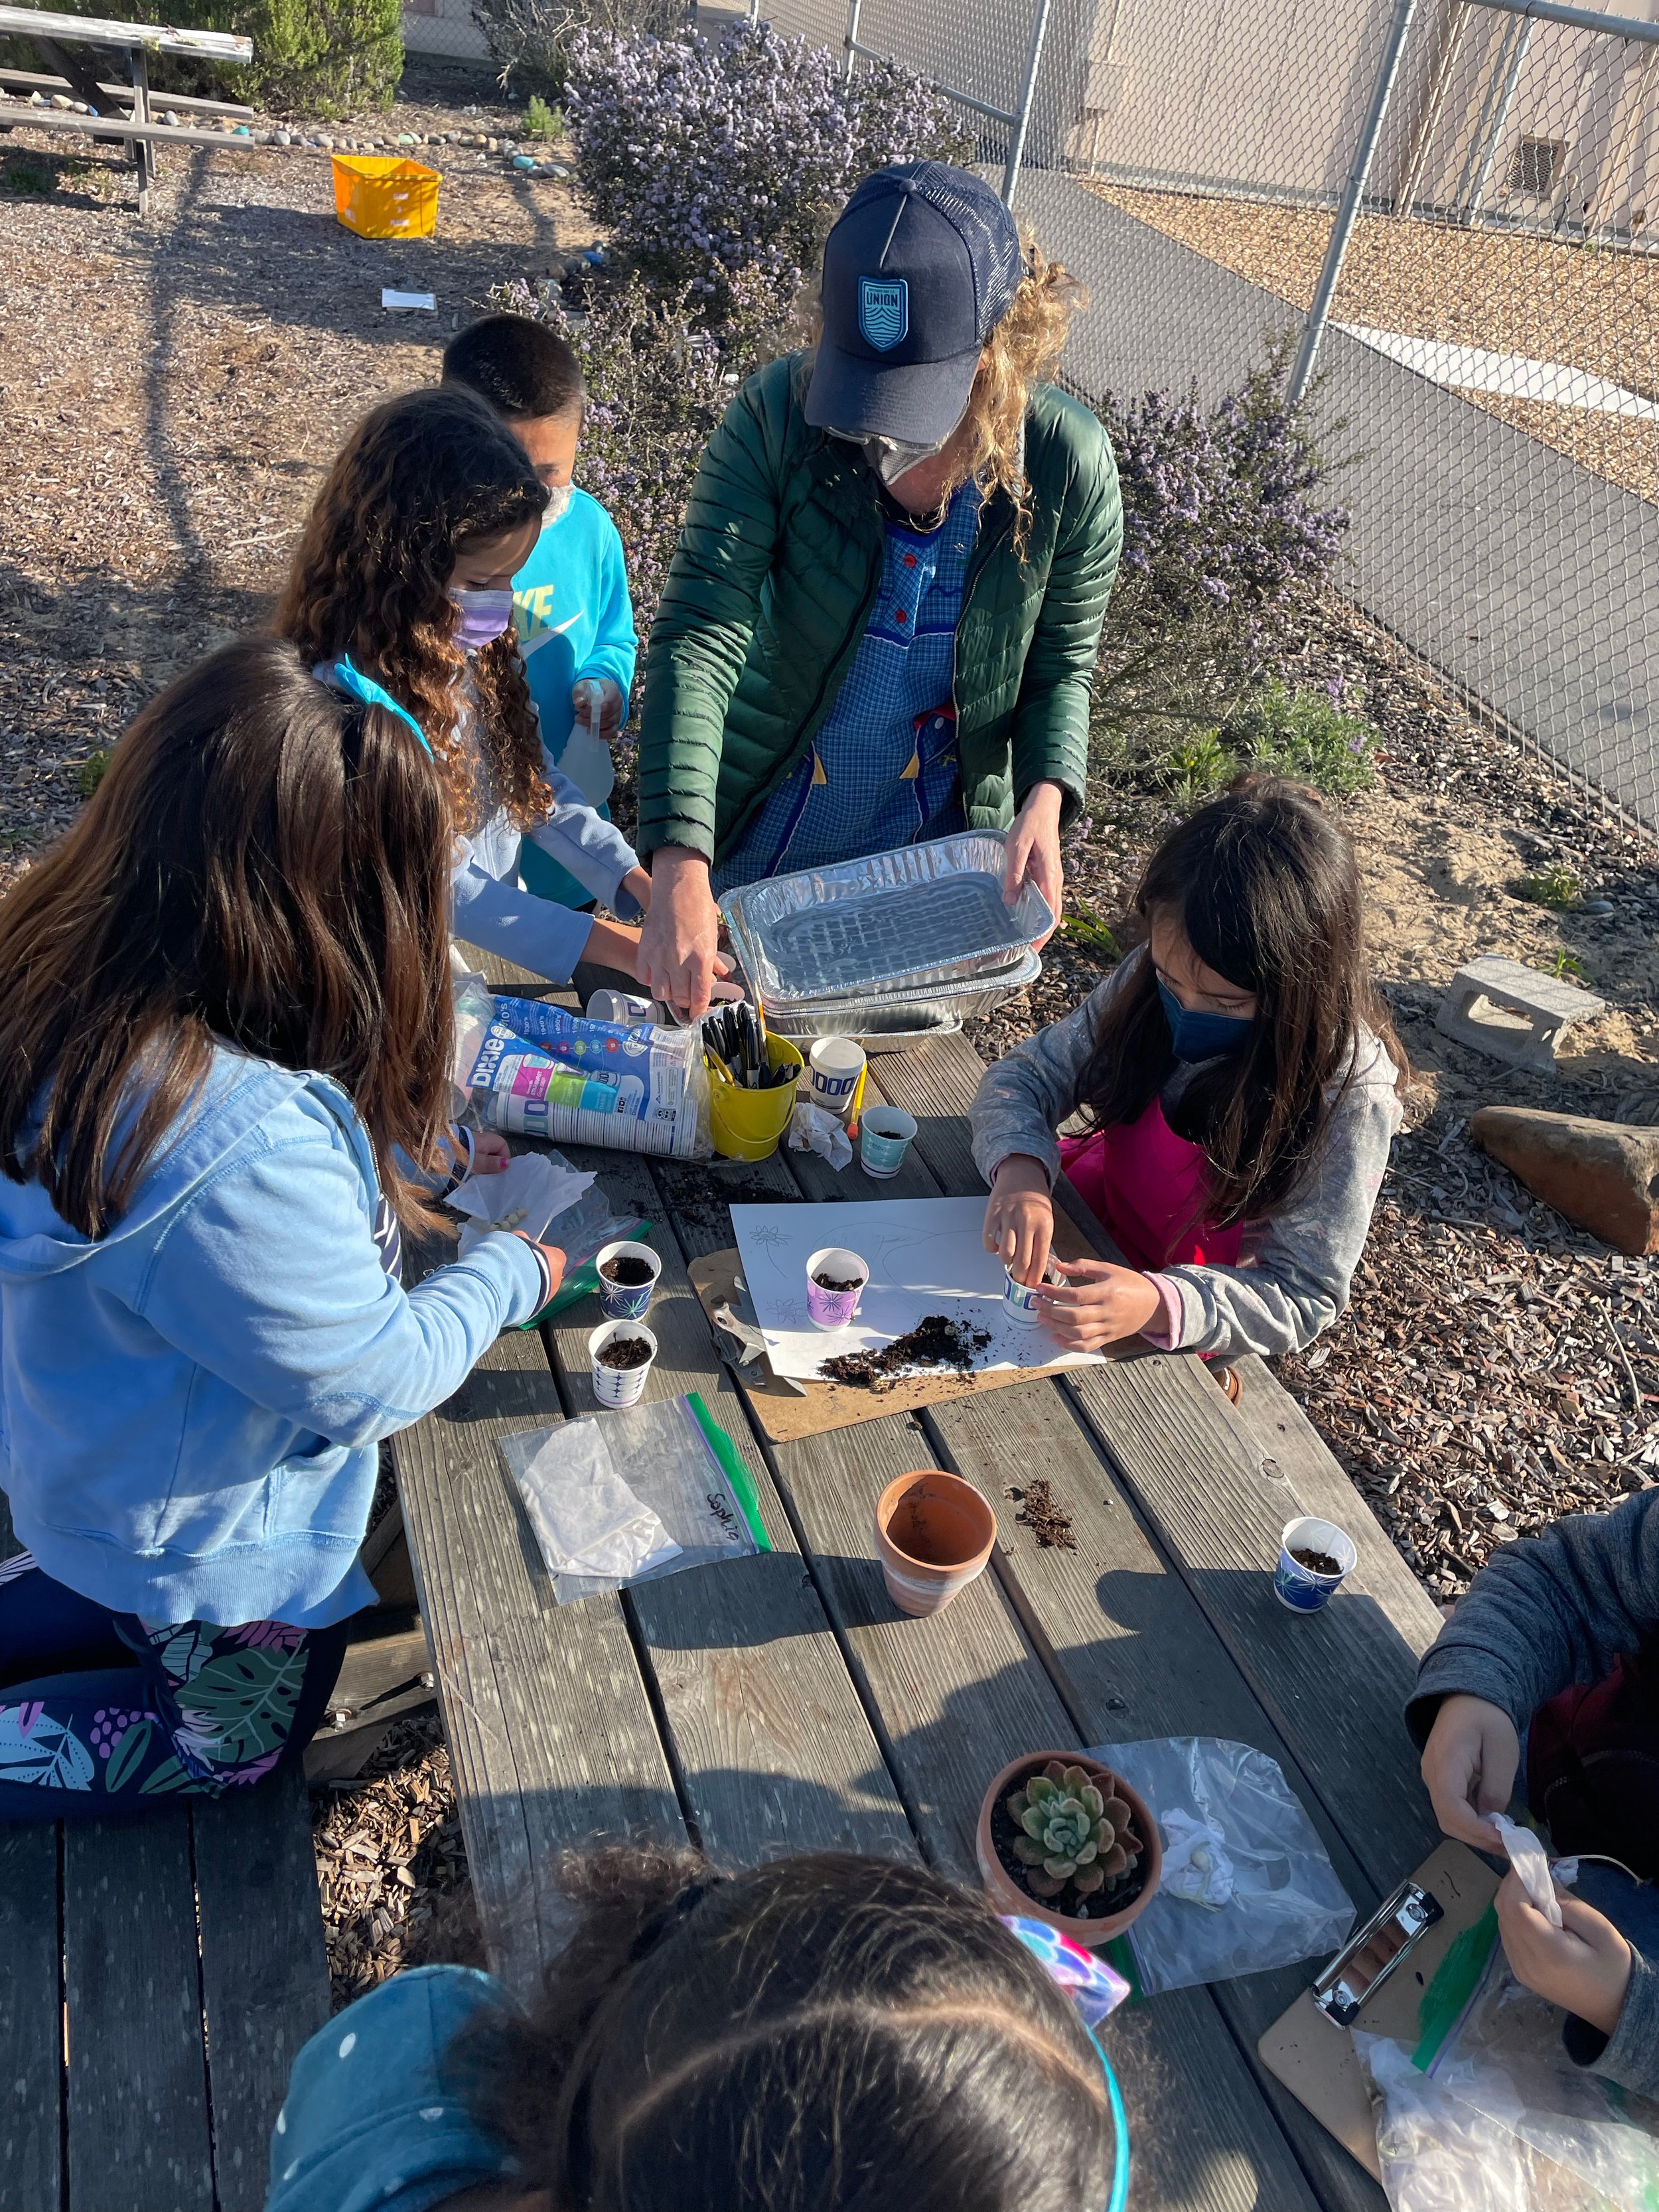
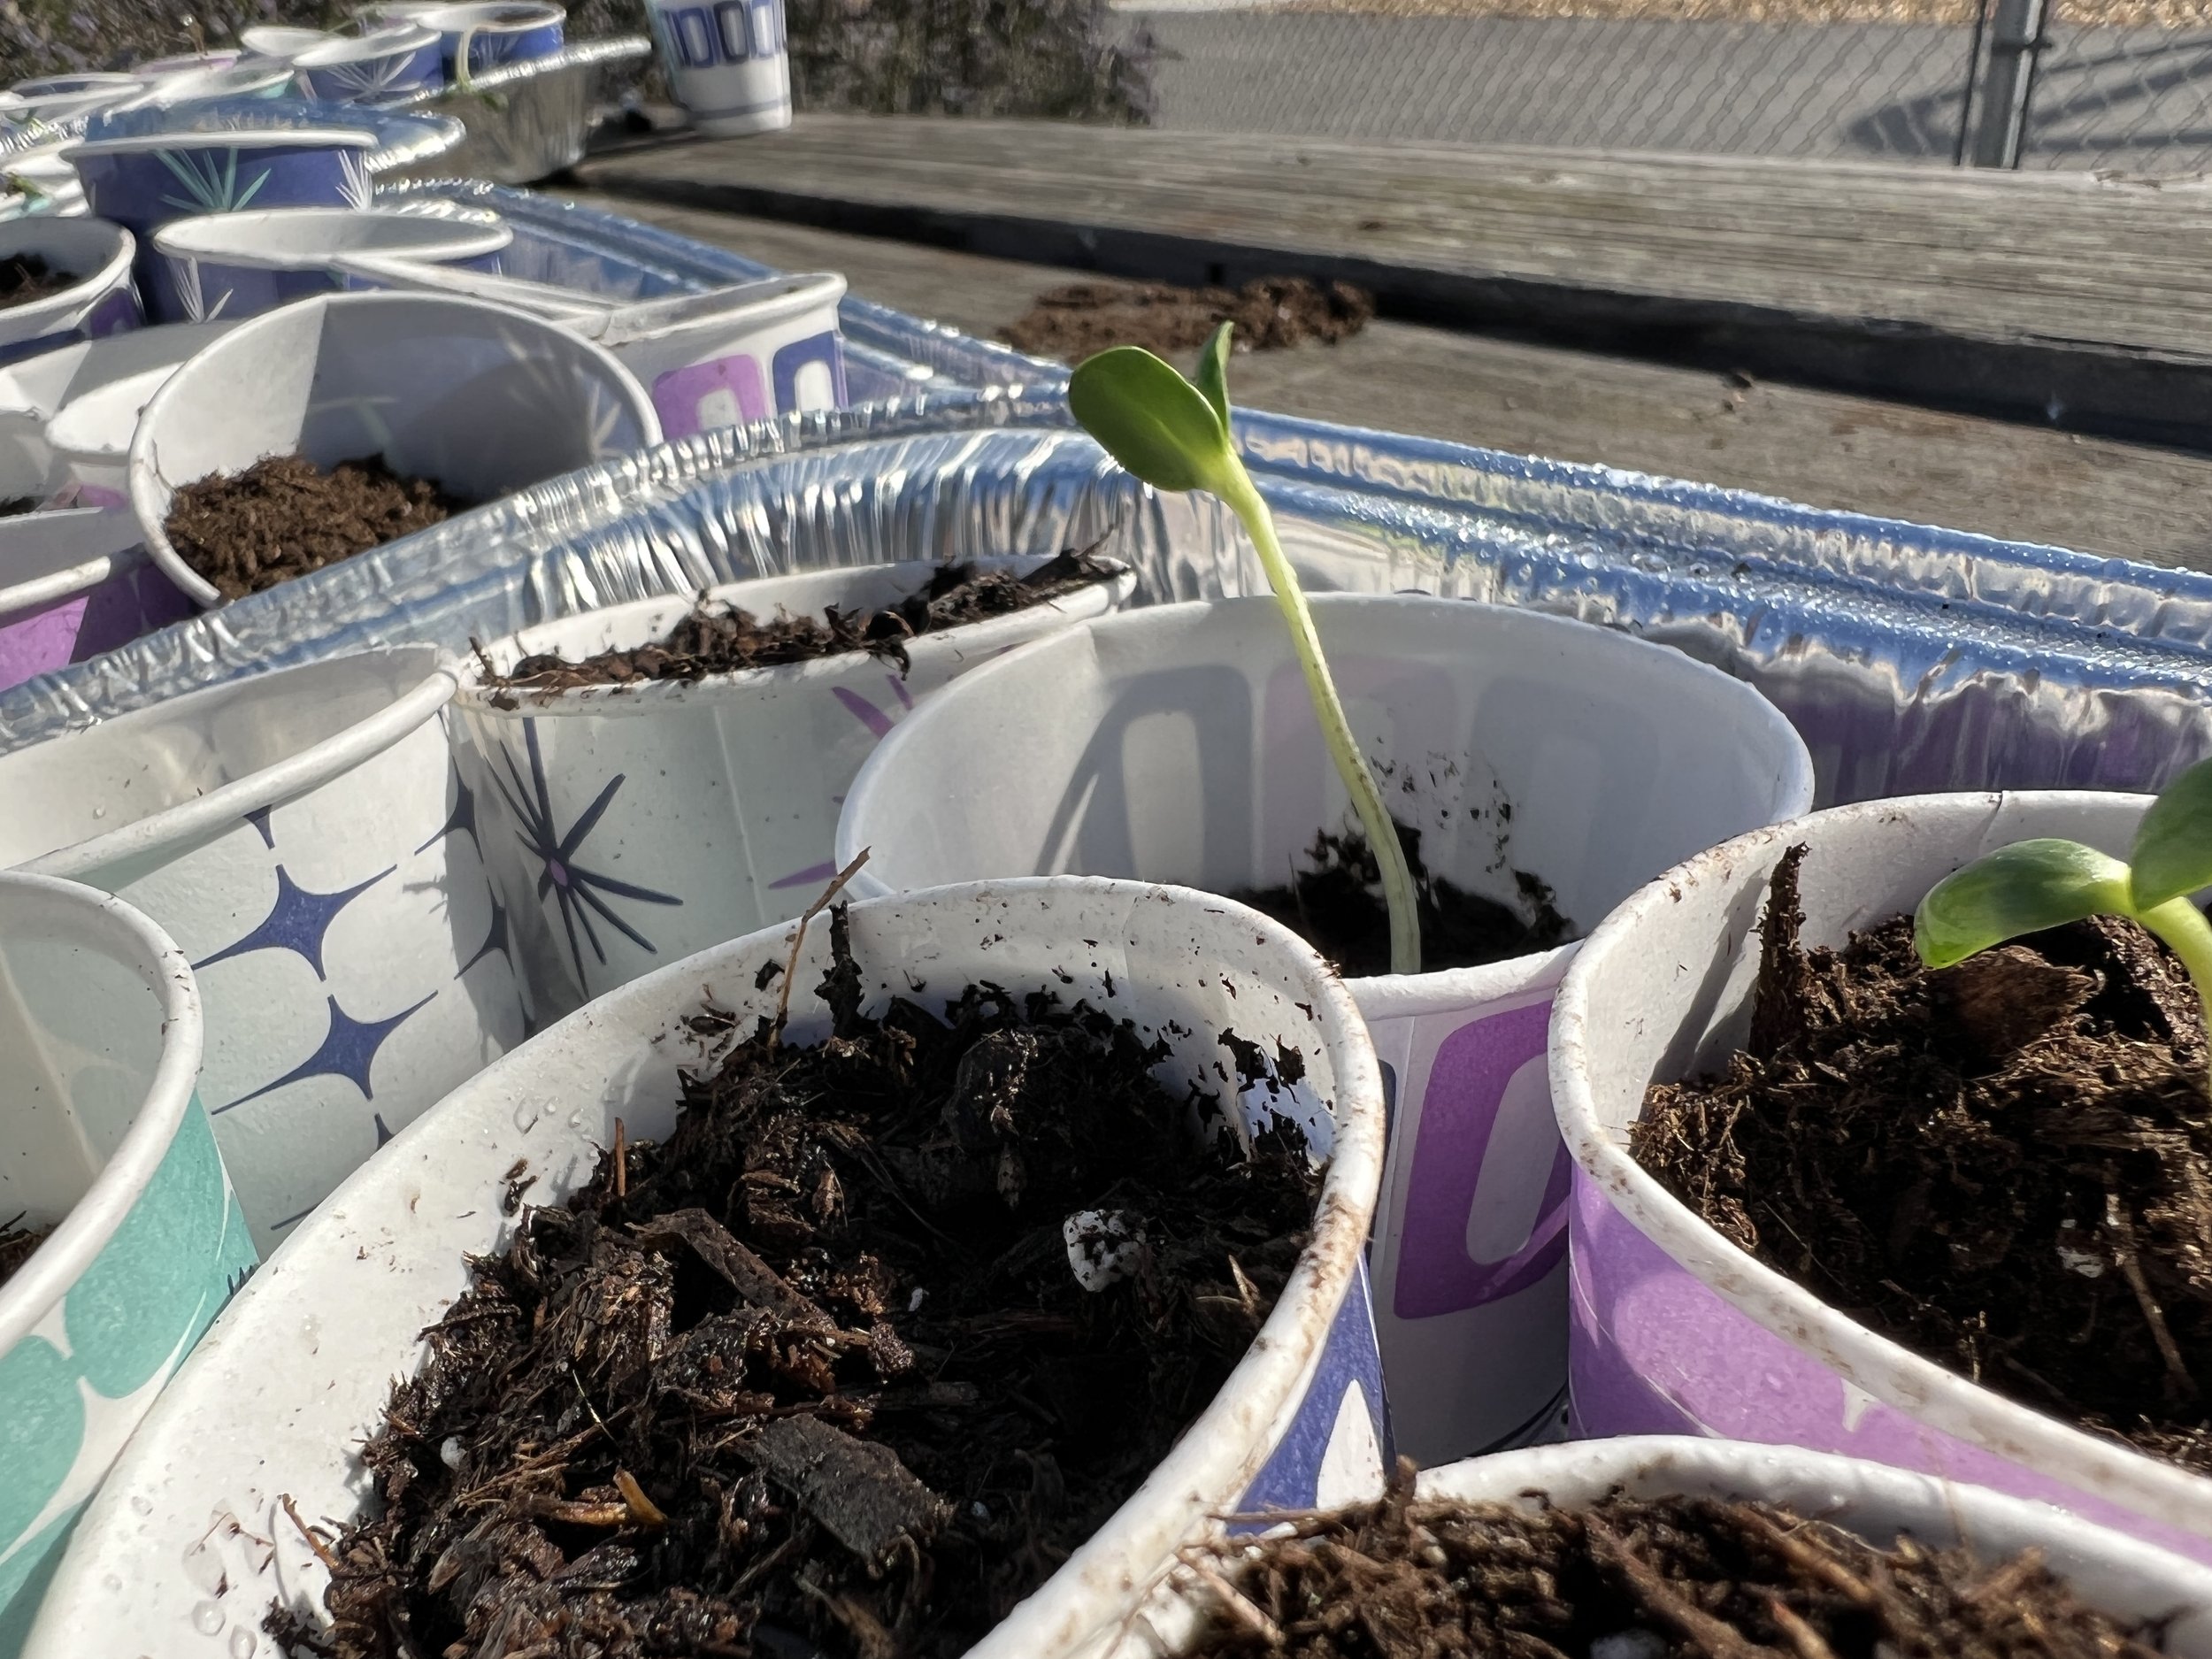
Now that we have sprouts, it’s time to plant them and do some sketching in the garden.
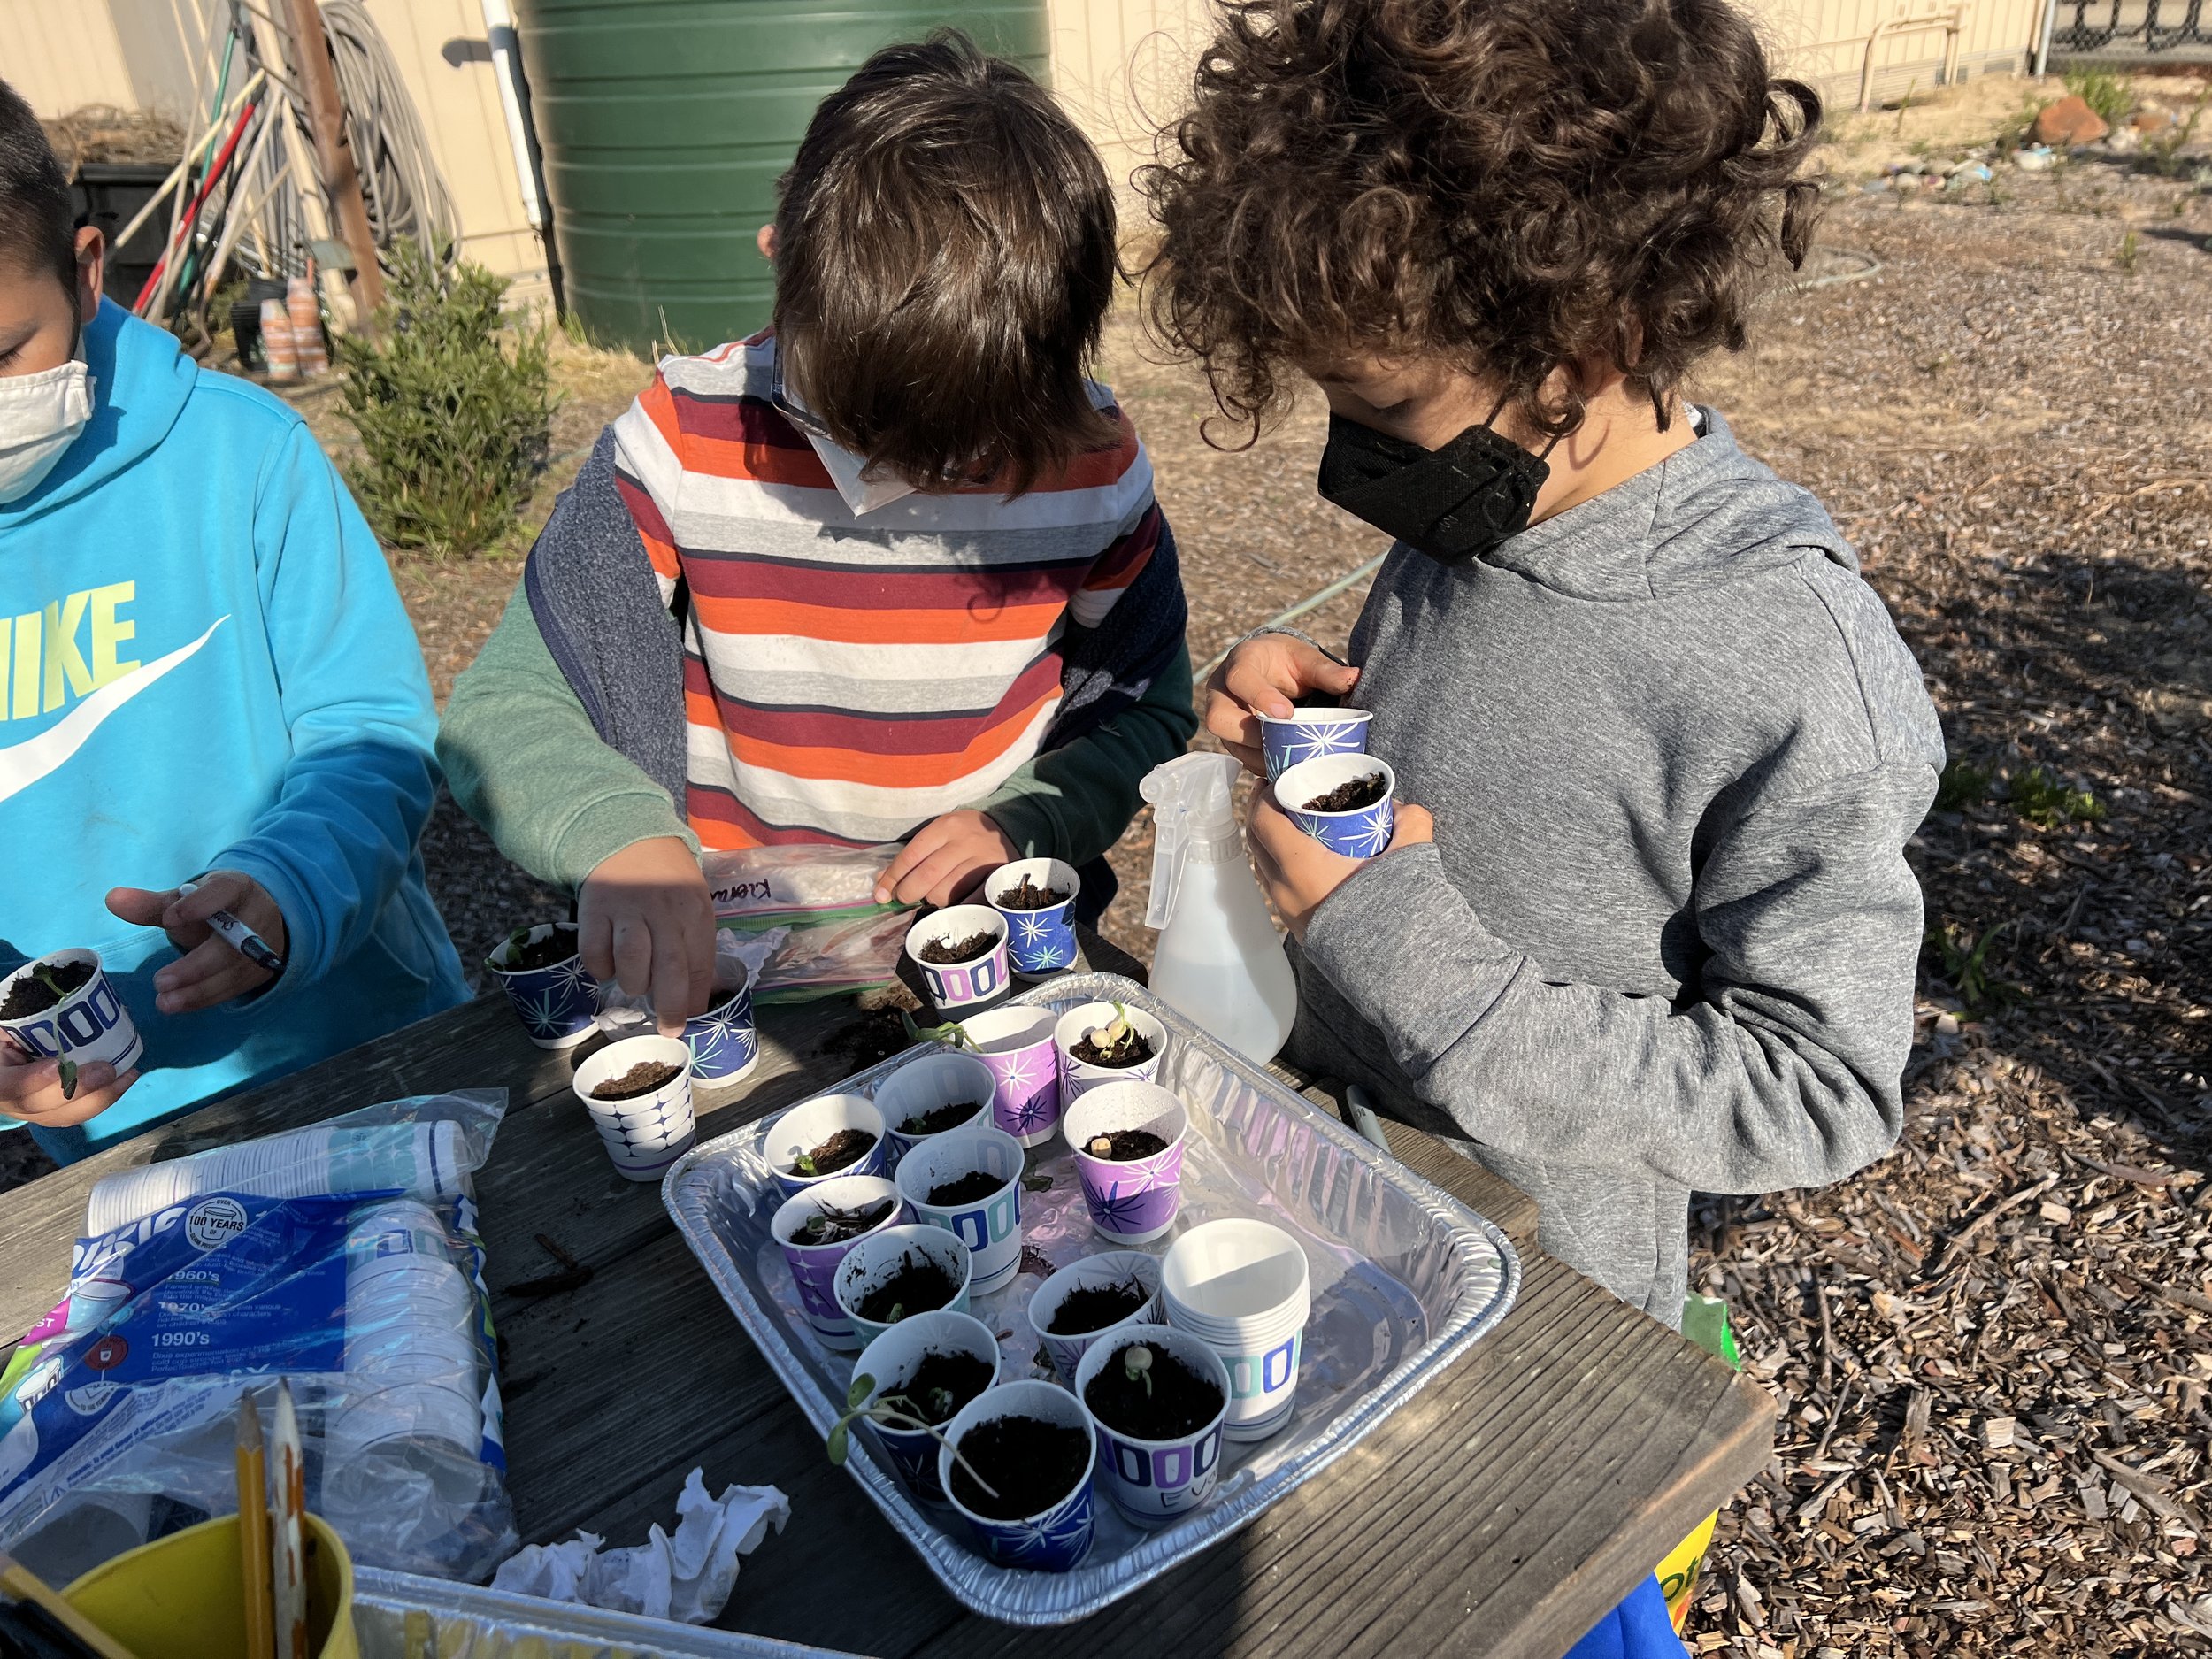
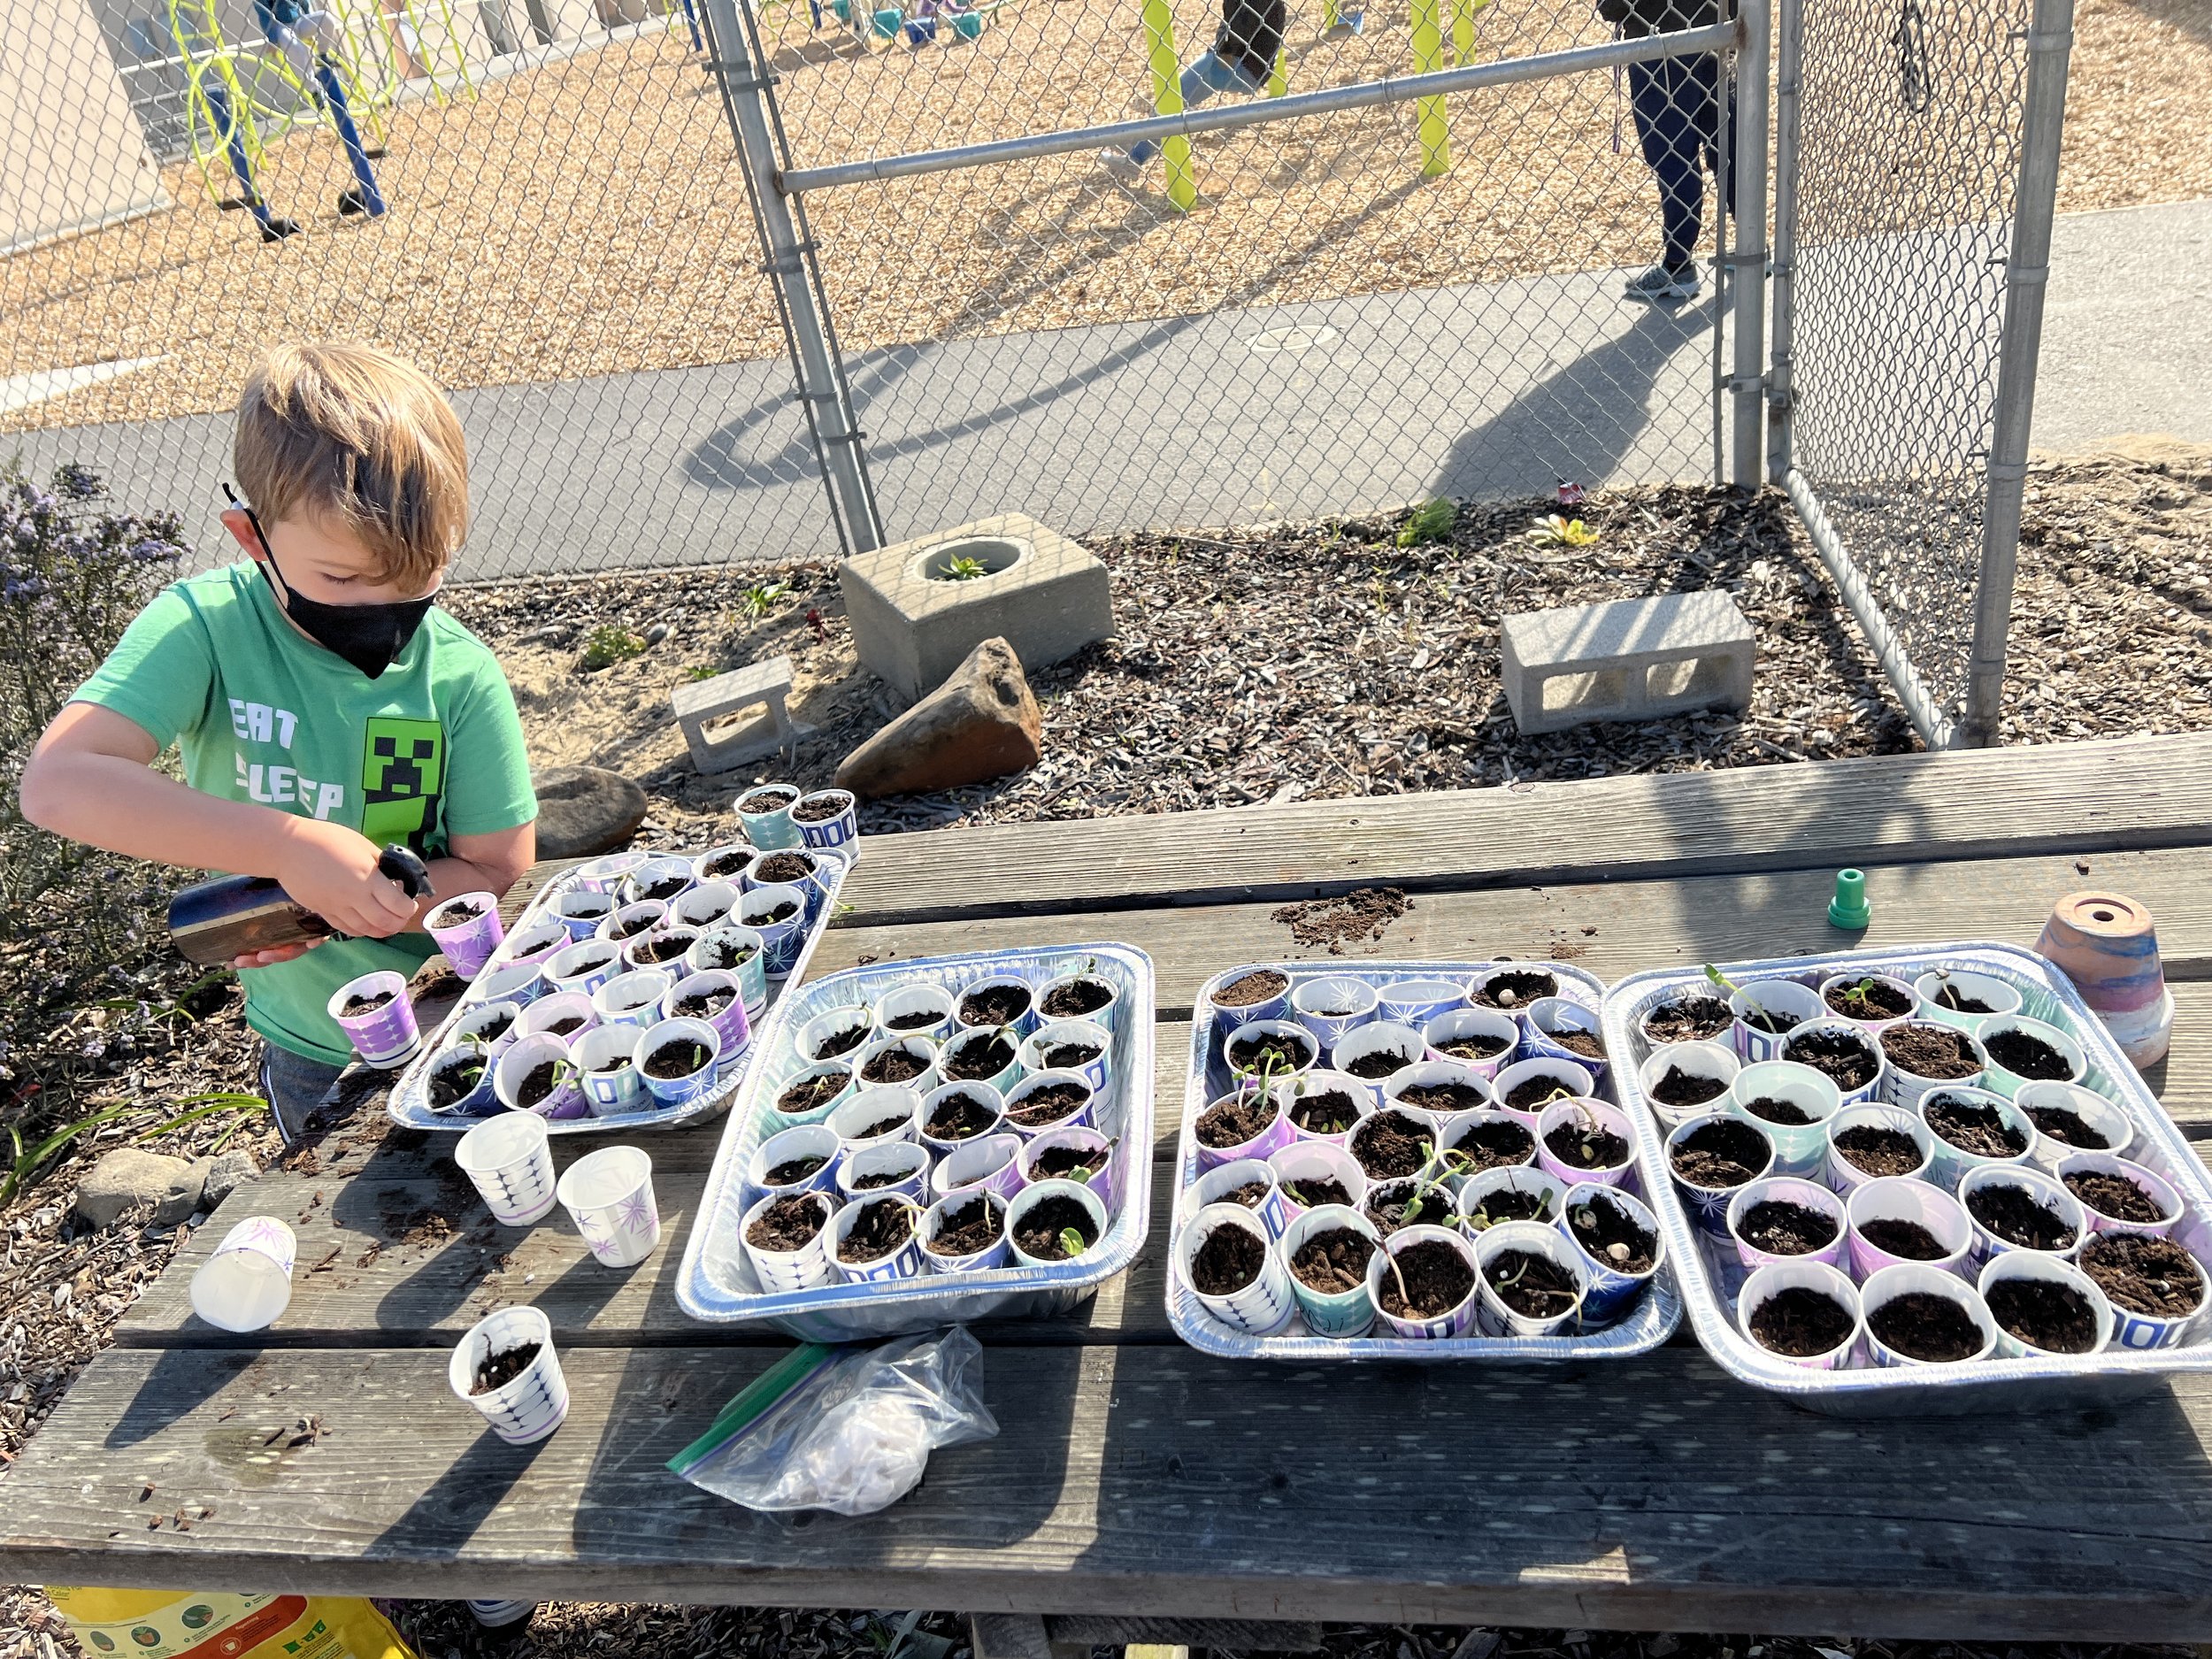
Part 1: Planting Sprouted Seeds


Materials:
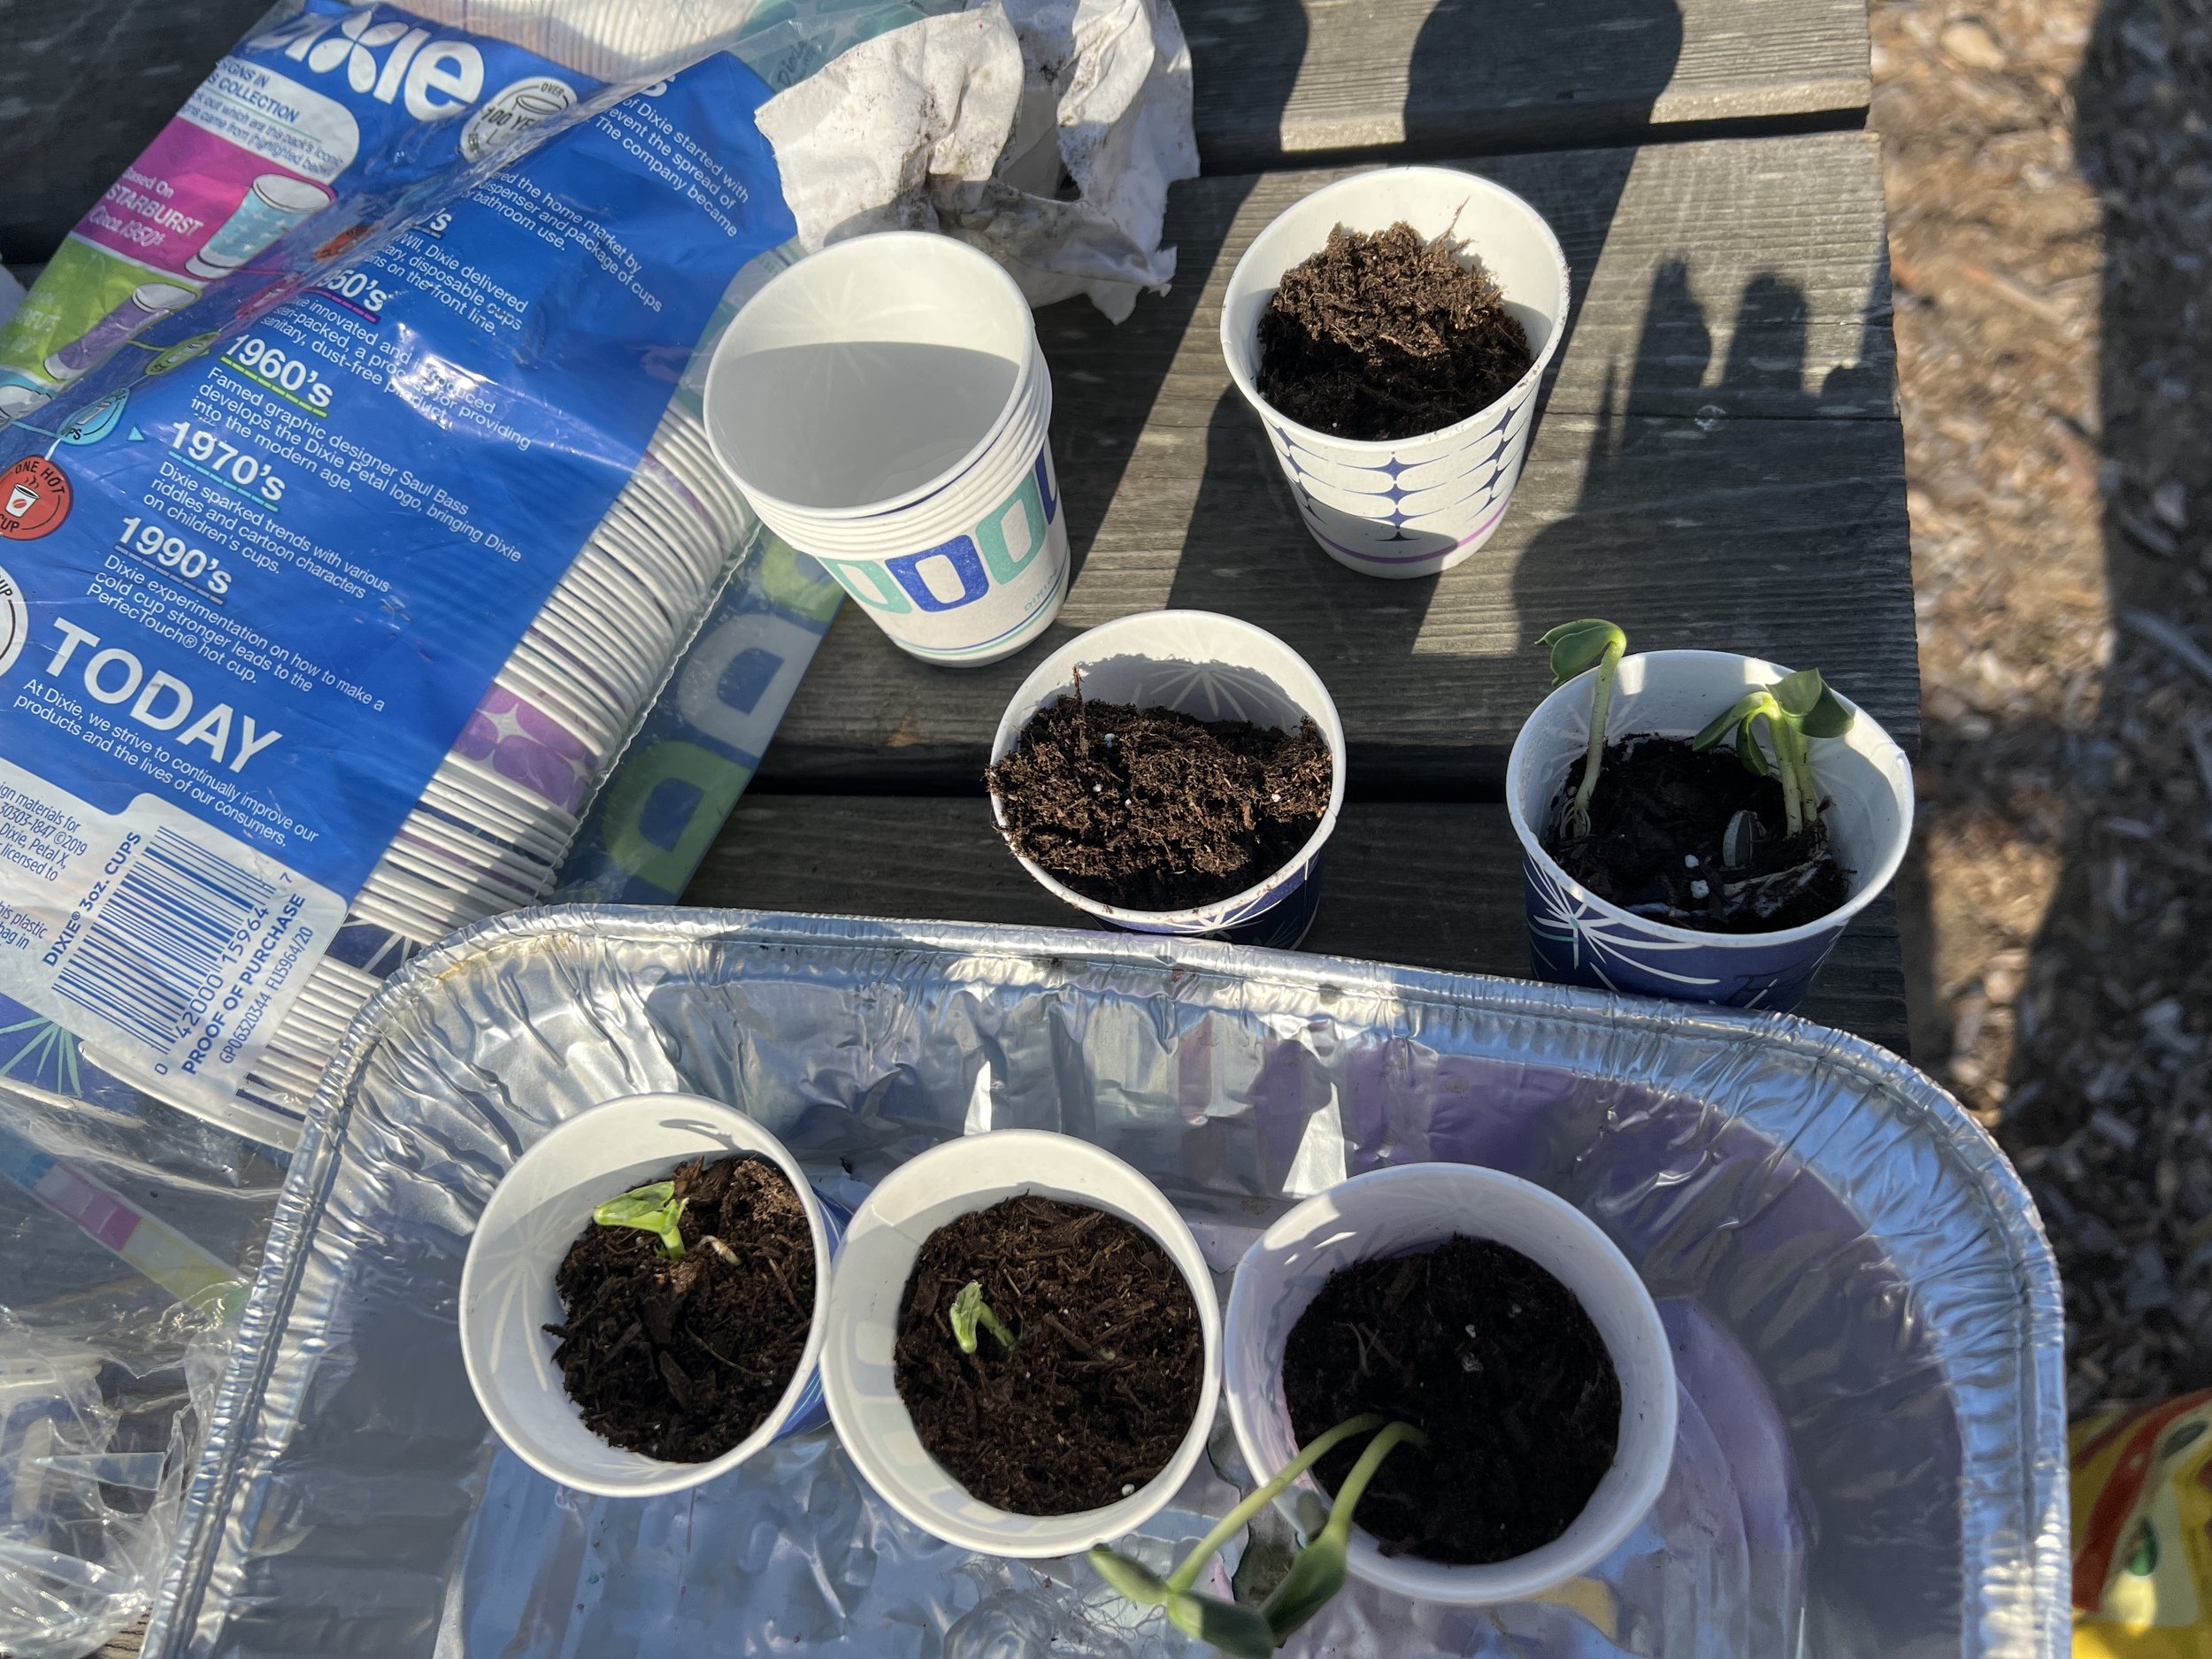
Sprouted seeds
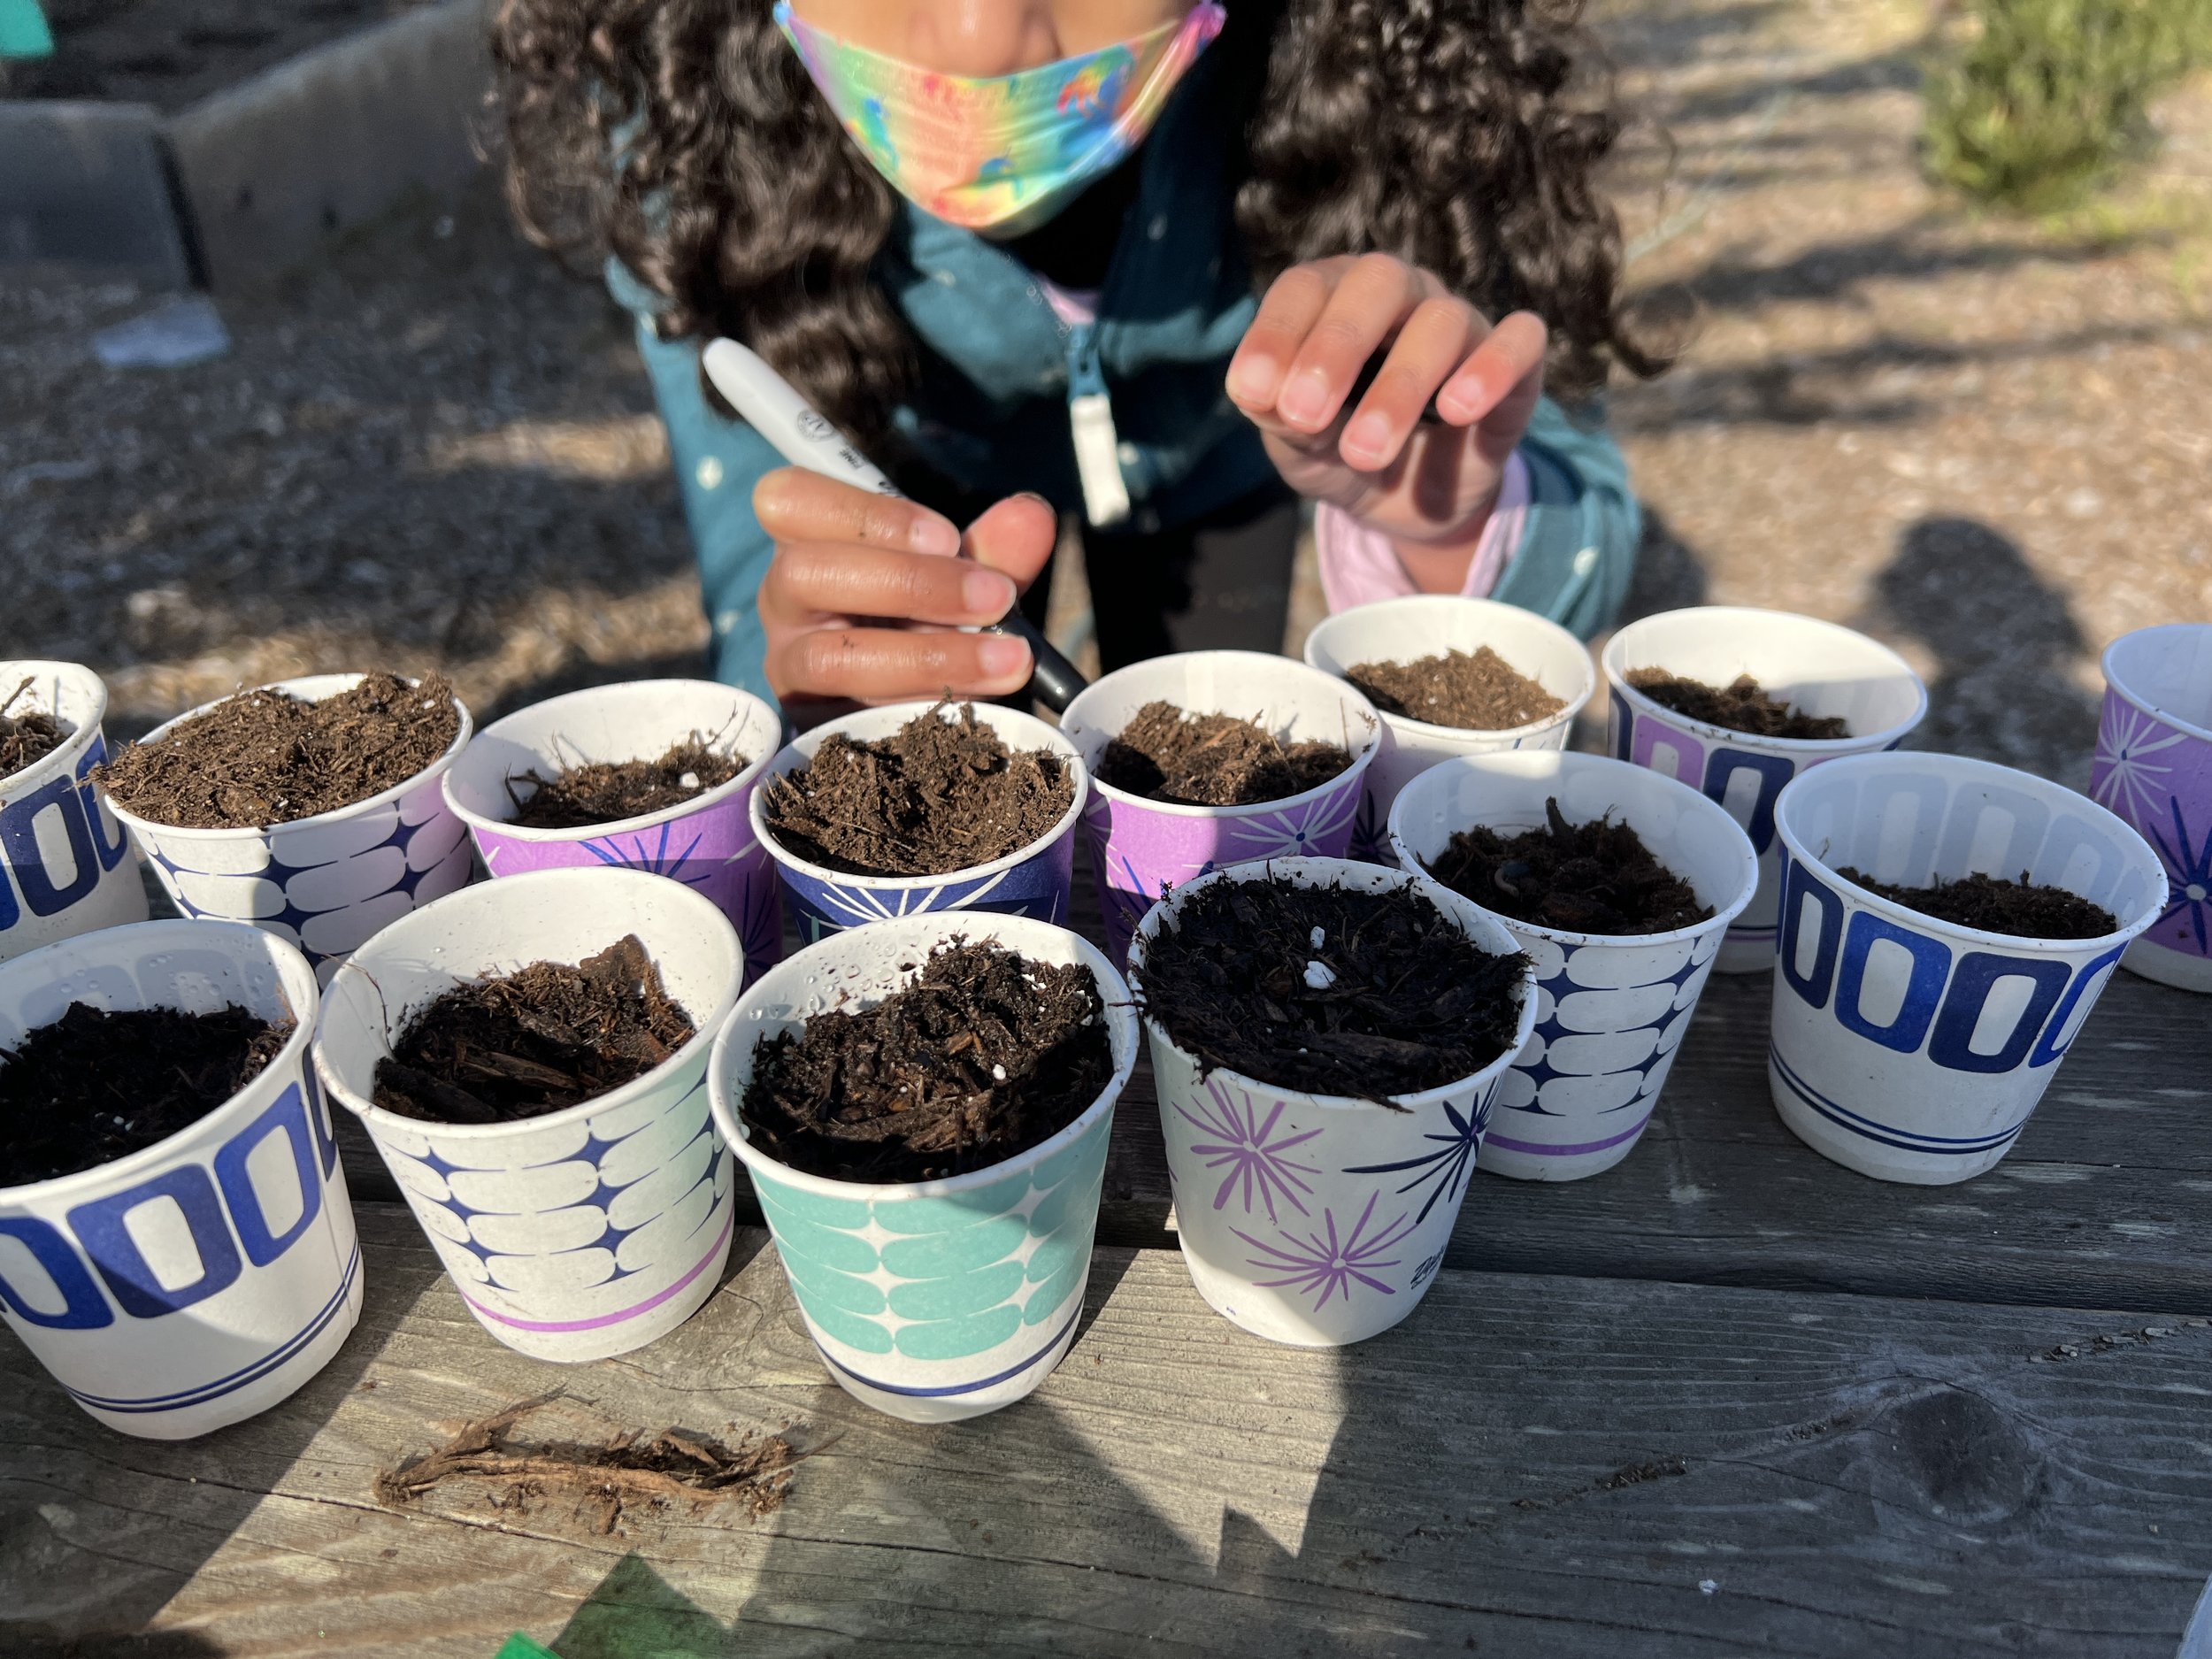
Cups (if needed. Some climates may be able to plant early sprouts right into the garden!)
Soil (if needed. Some gardens are ready to go!)
Water in a spray bottle. (Or hose or watering can, if planting in the ground.
Trays to help carry cups in the classroom. (if needed)
Process:
Poke the ground with a full index finger.
Add a bit of water in the hole.
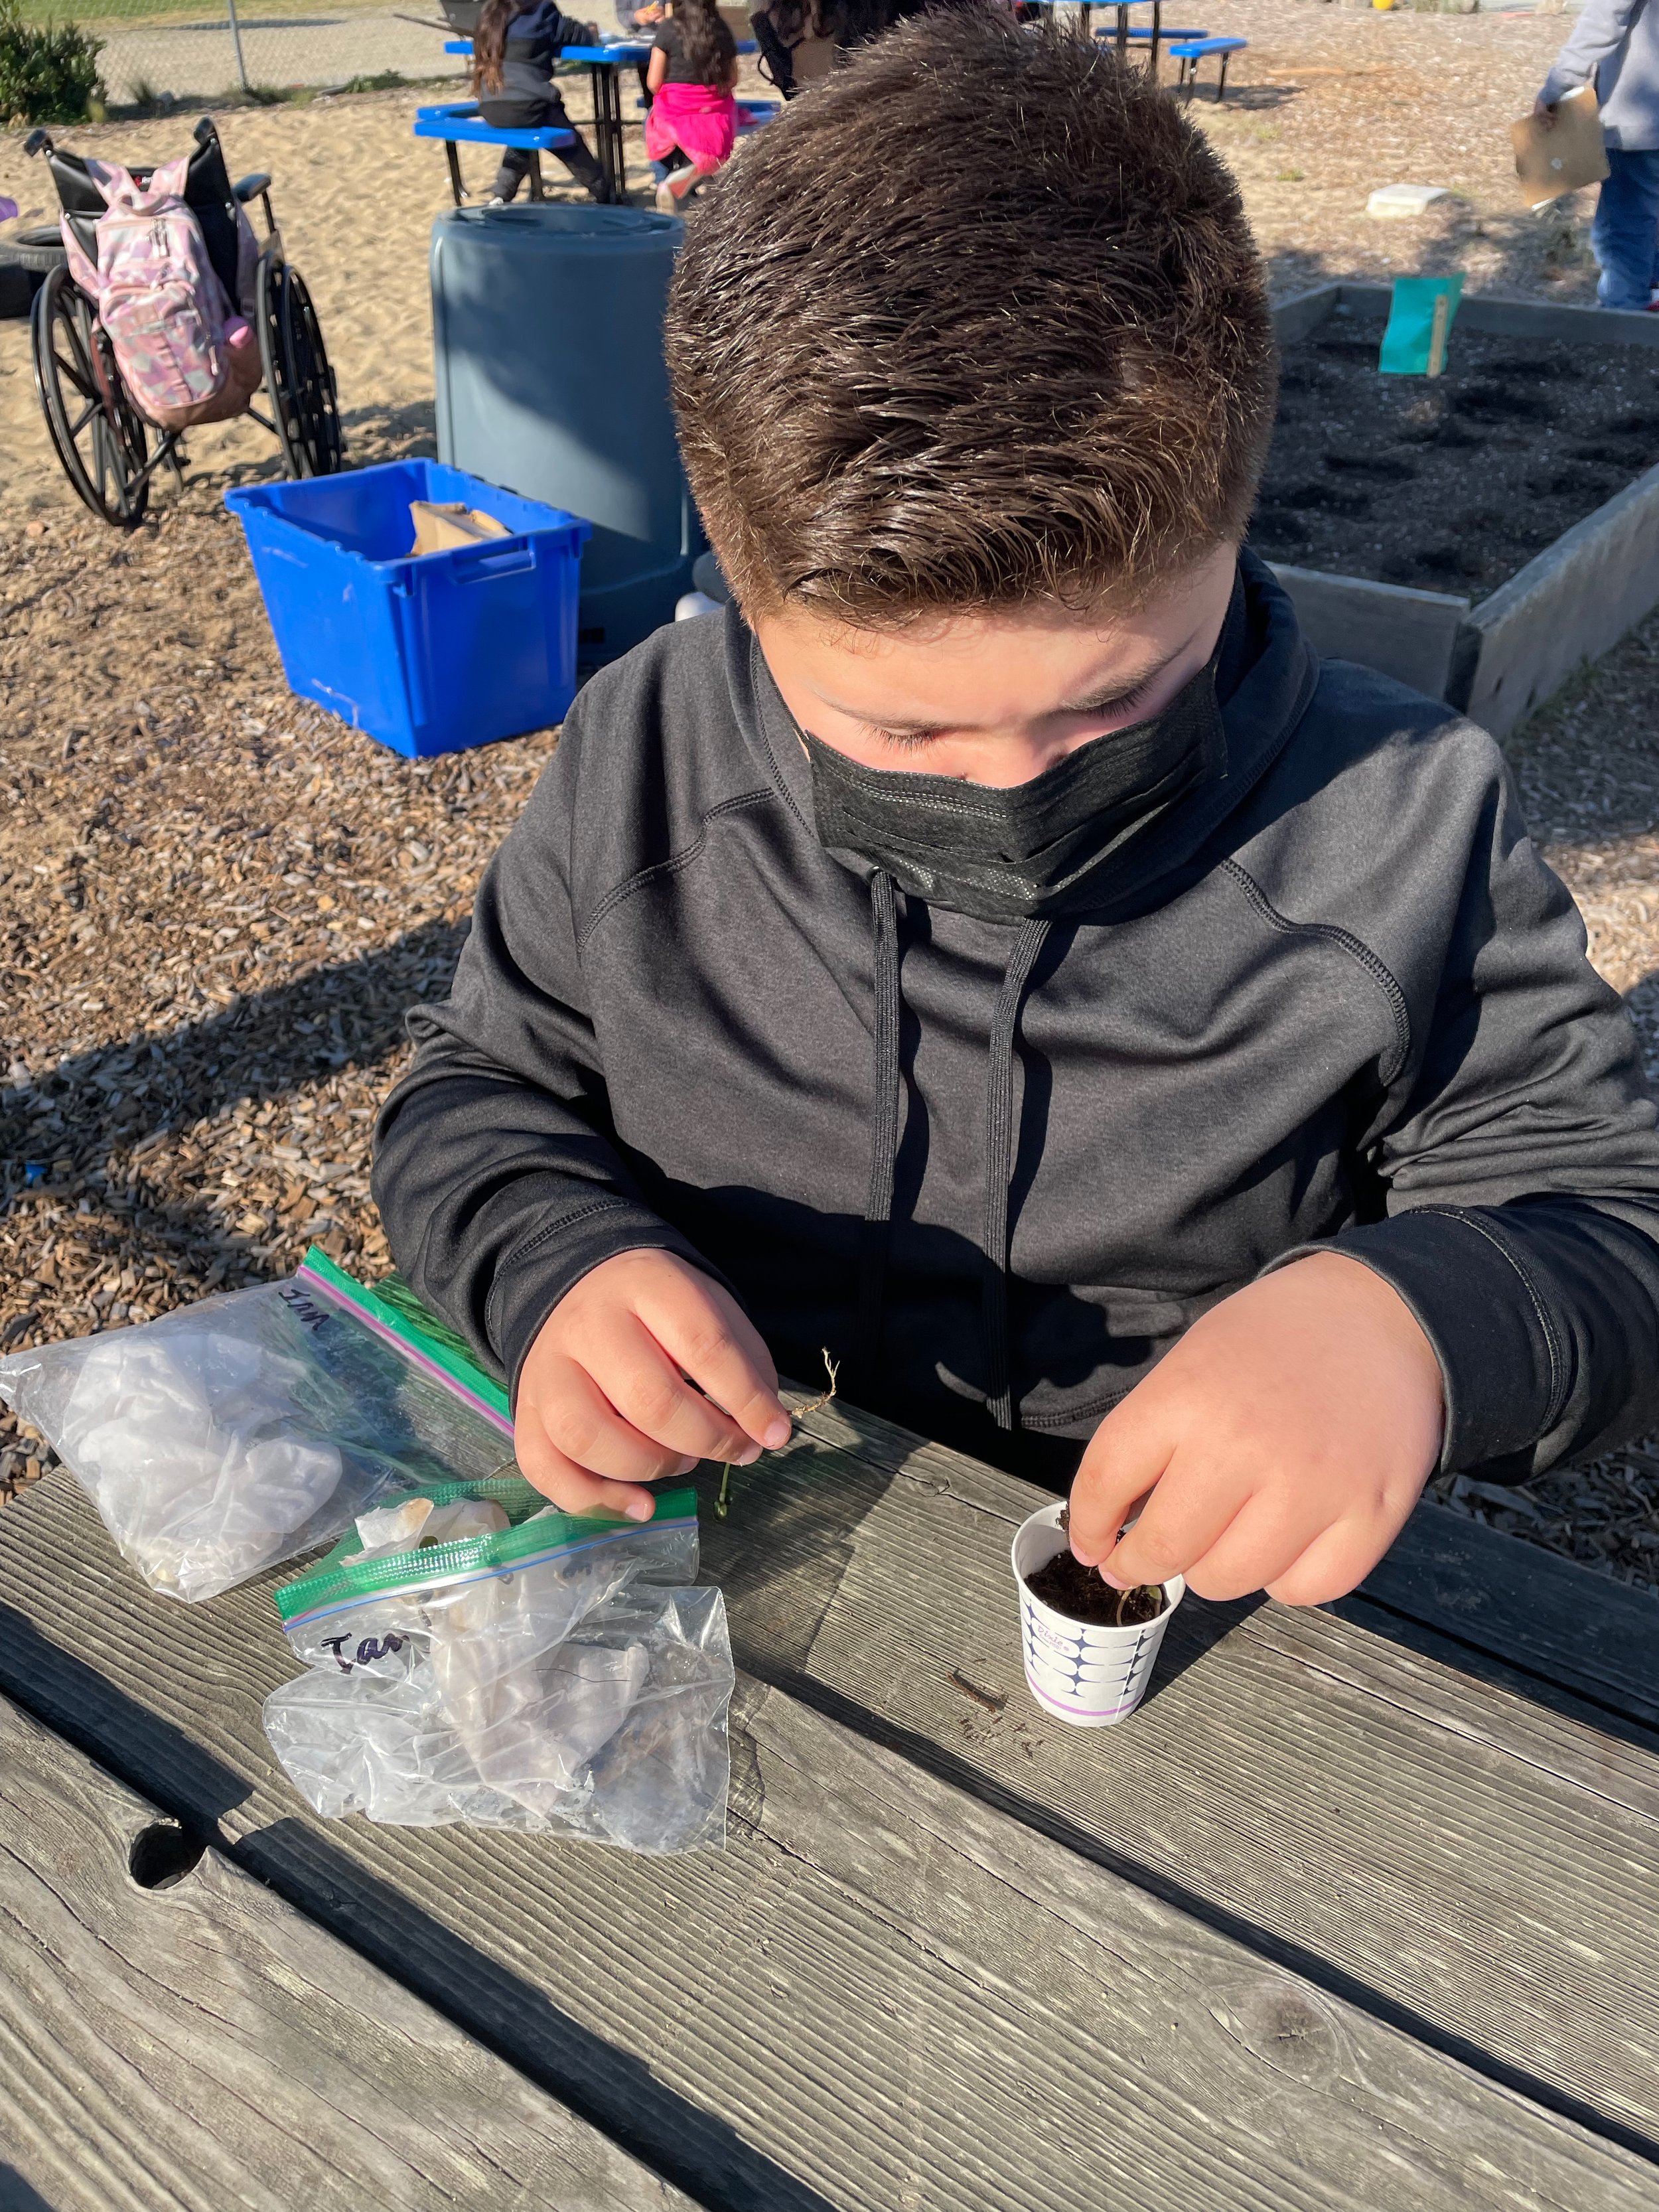
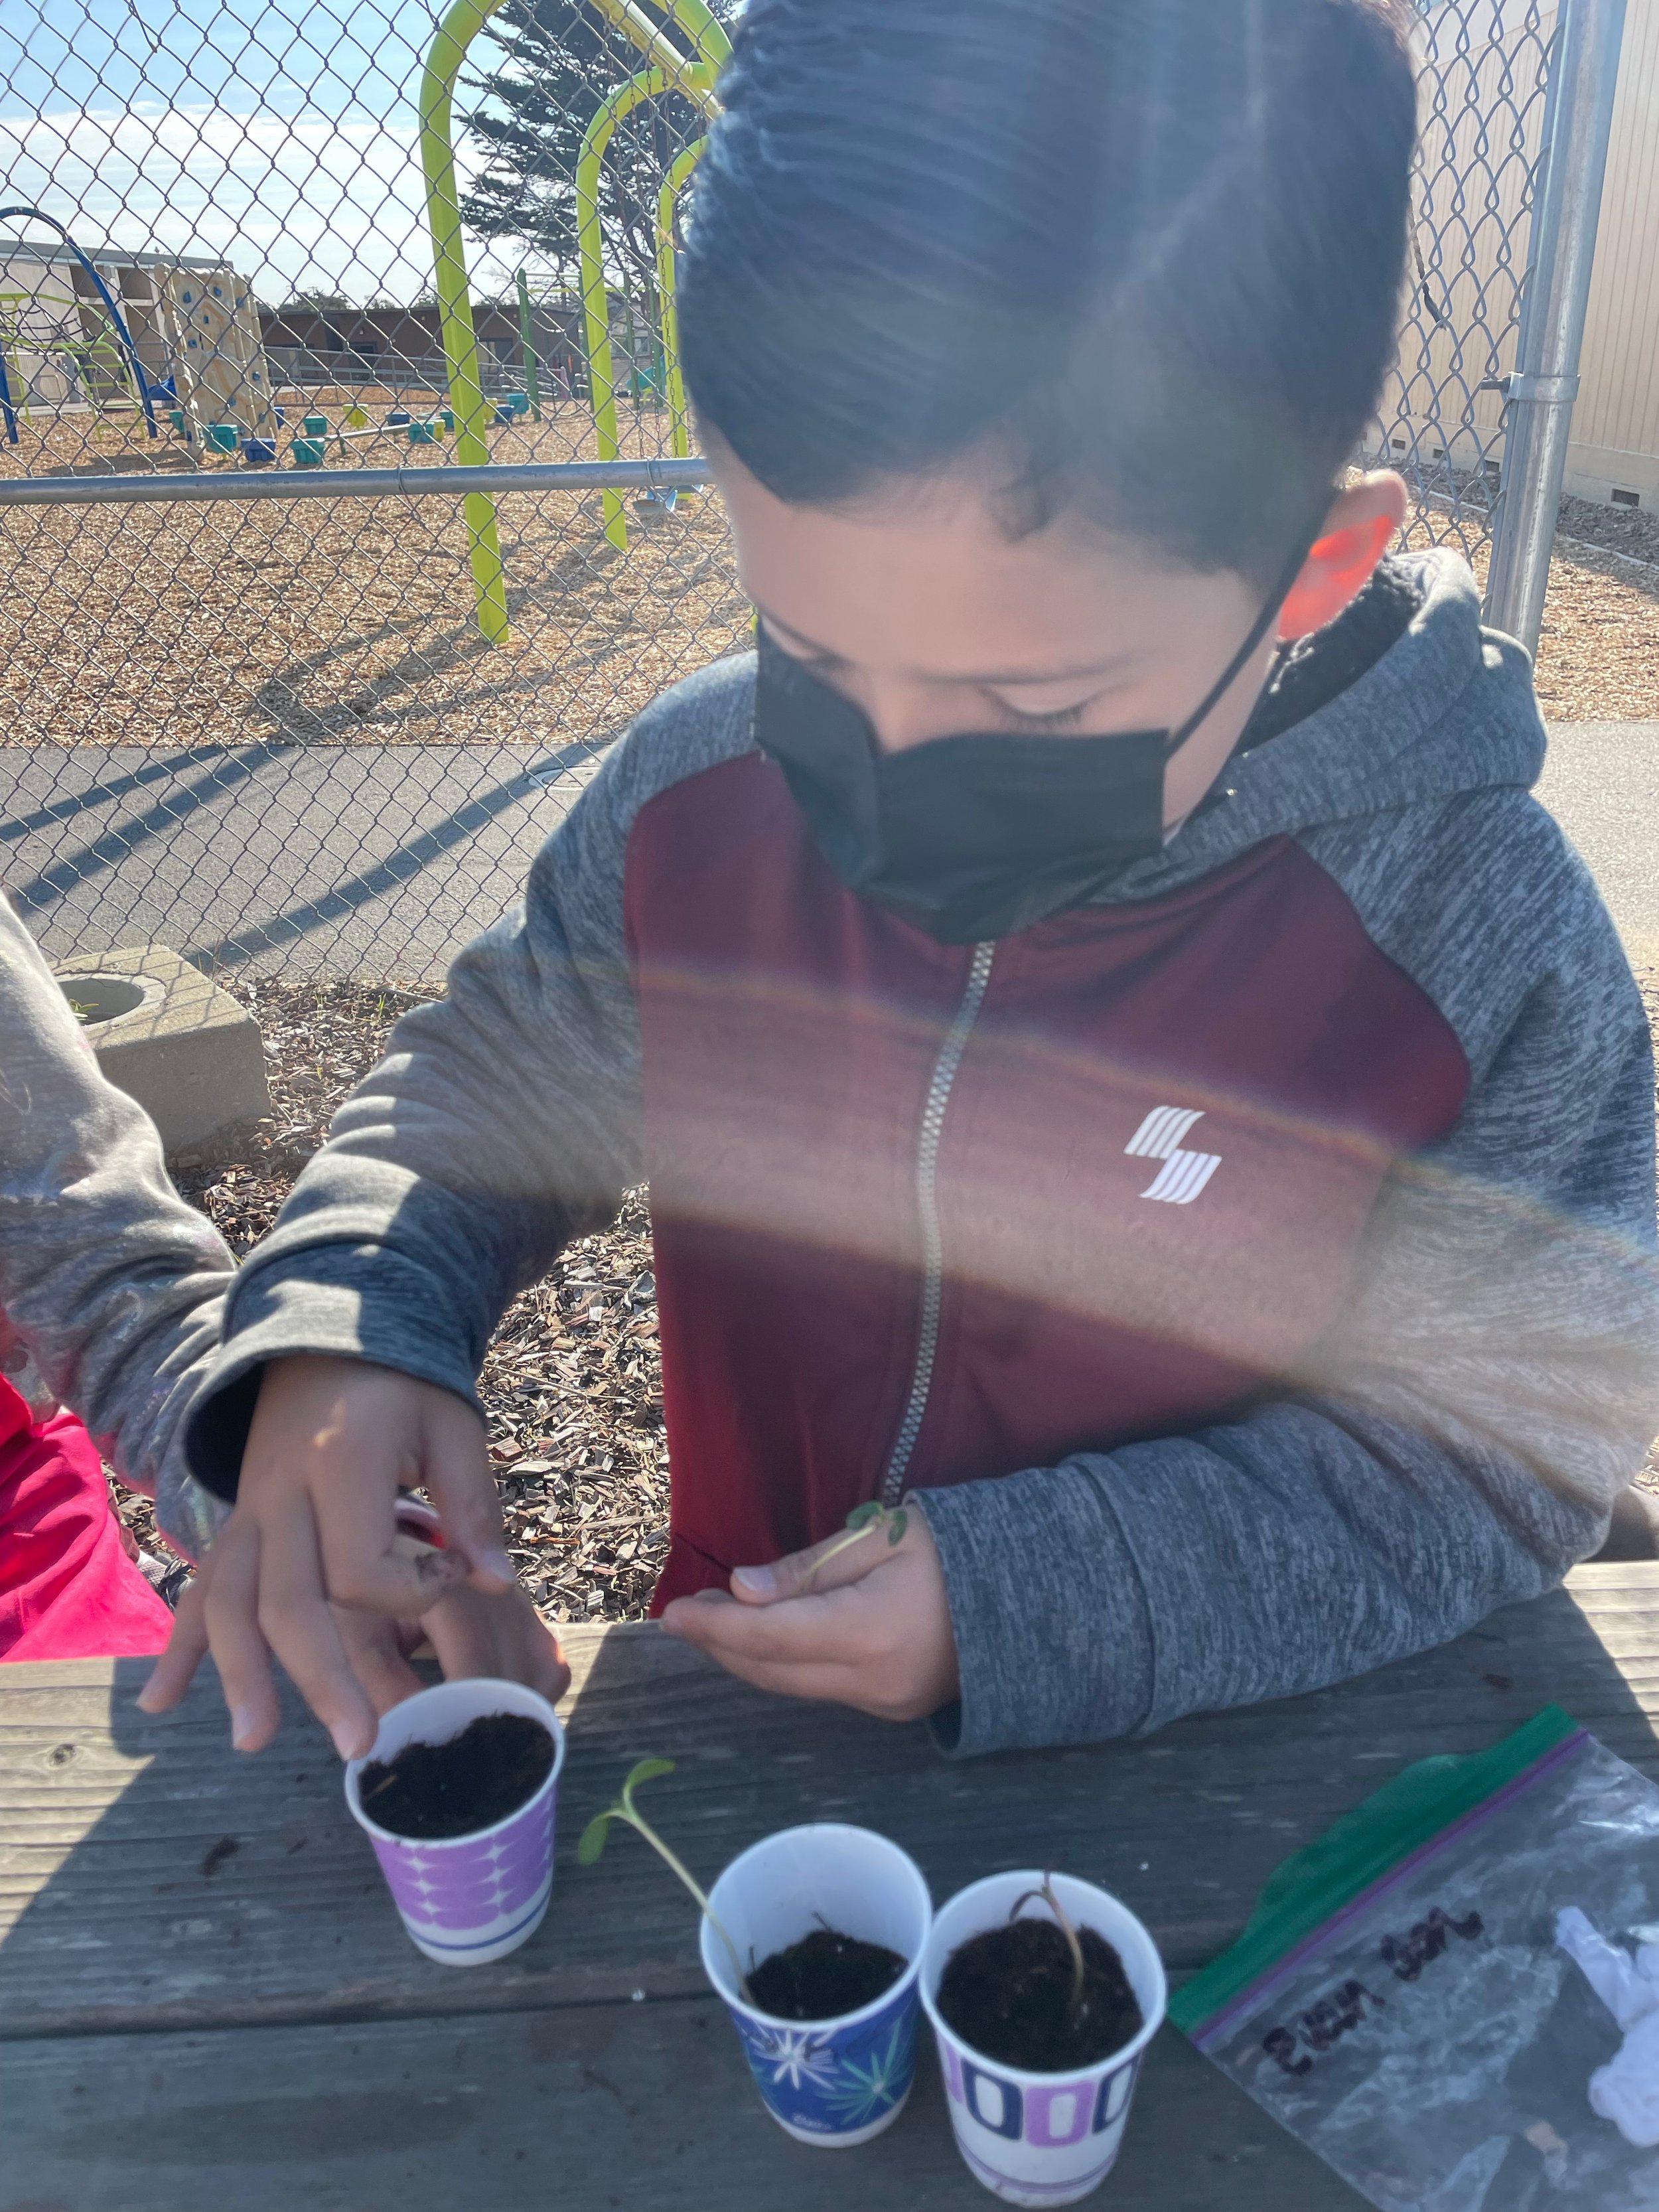
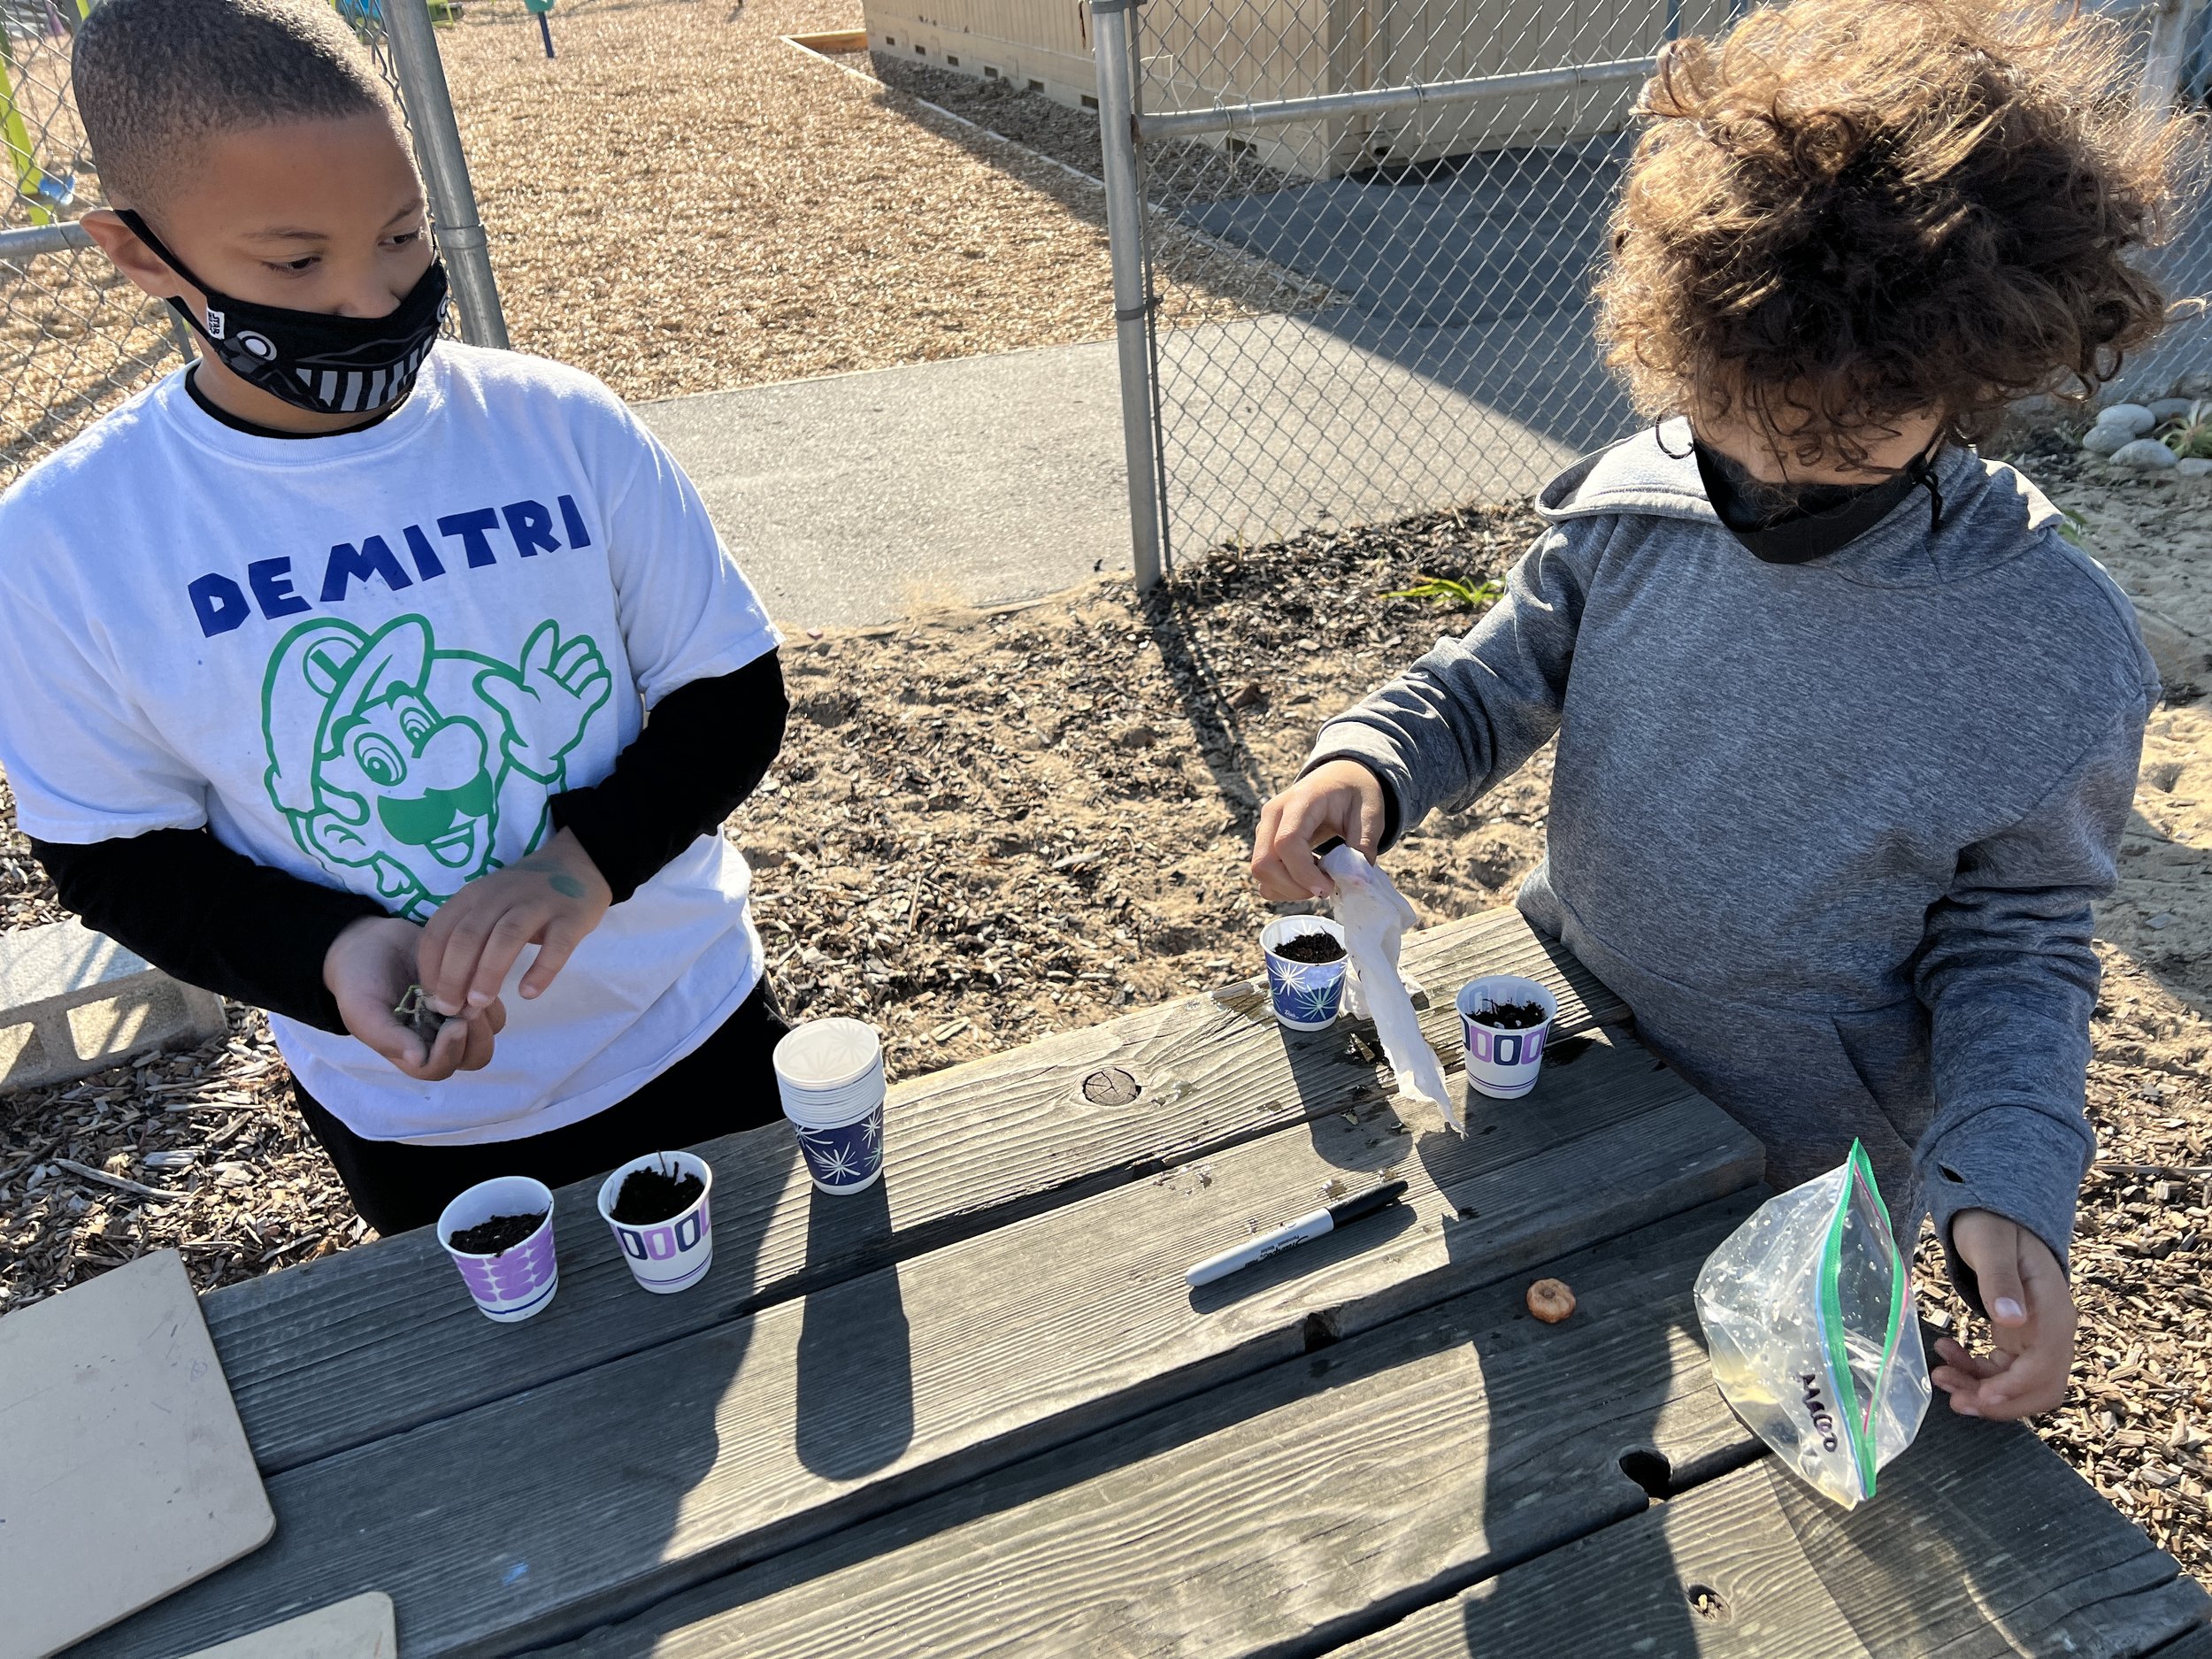
Carefully unwrap the sprouted seed from the paper towel and place it gently in the soil.
Press soil to close the hole.
Add water.
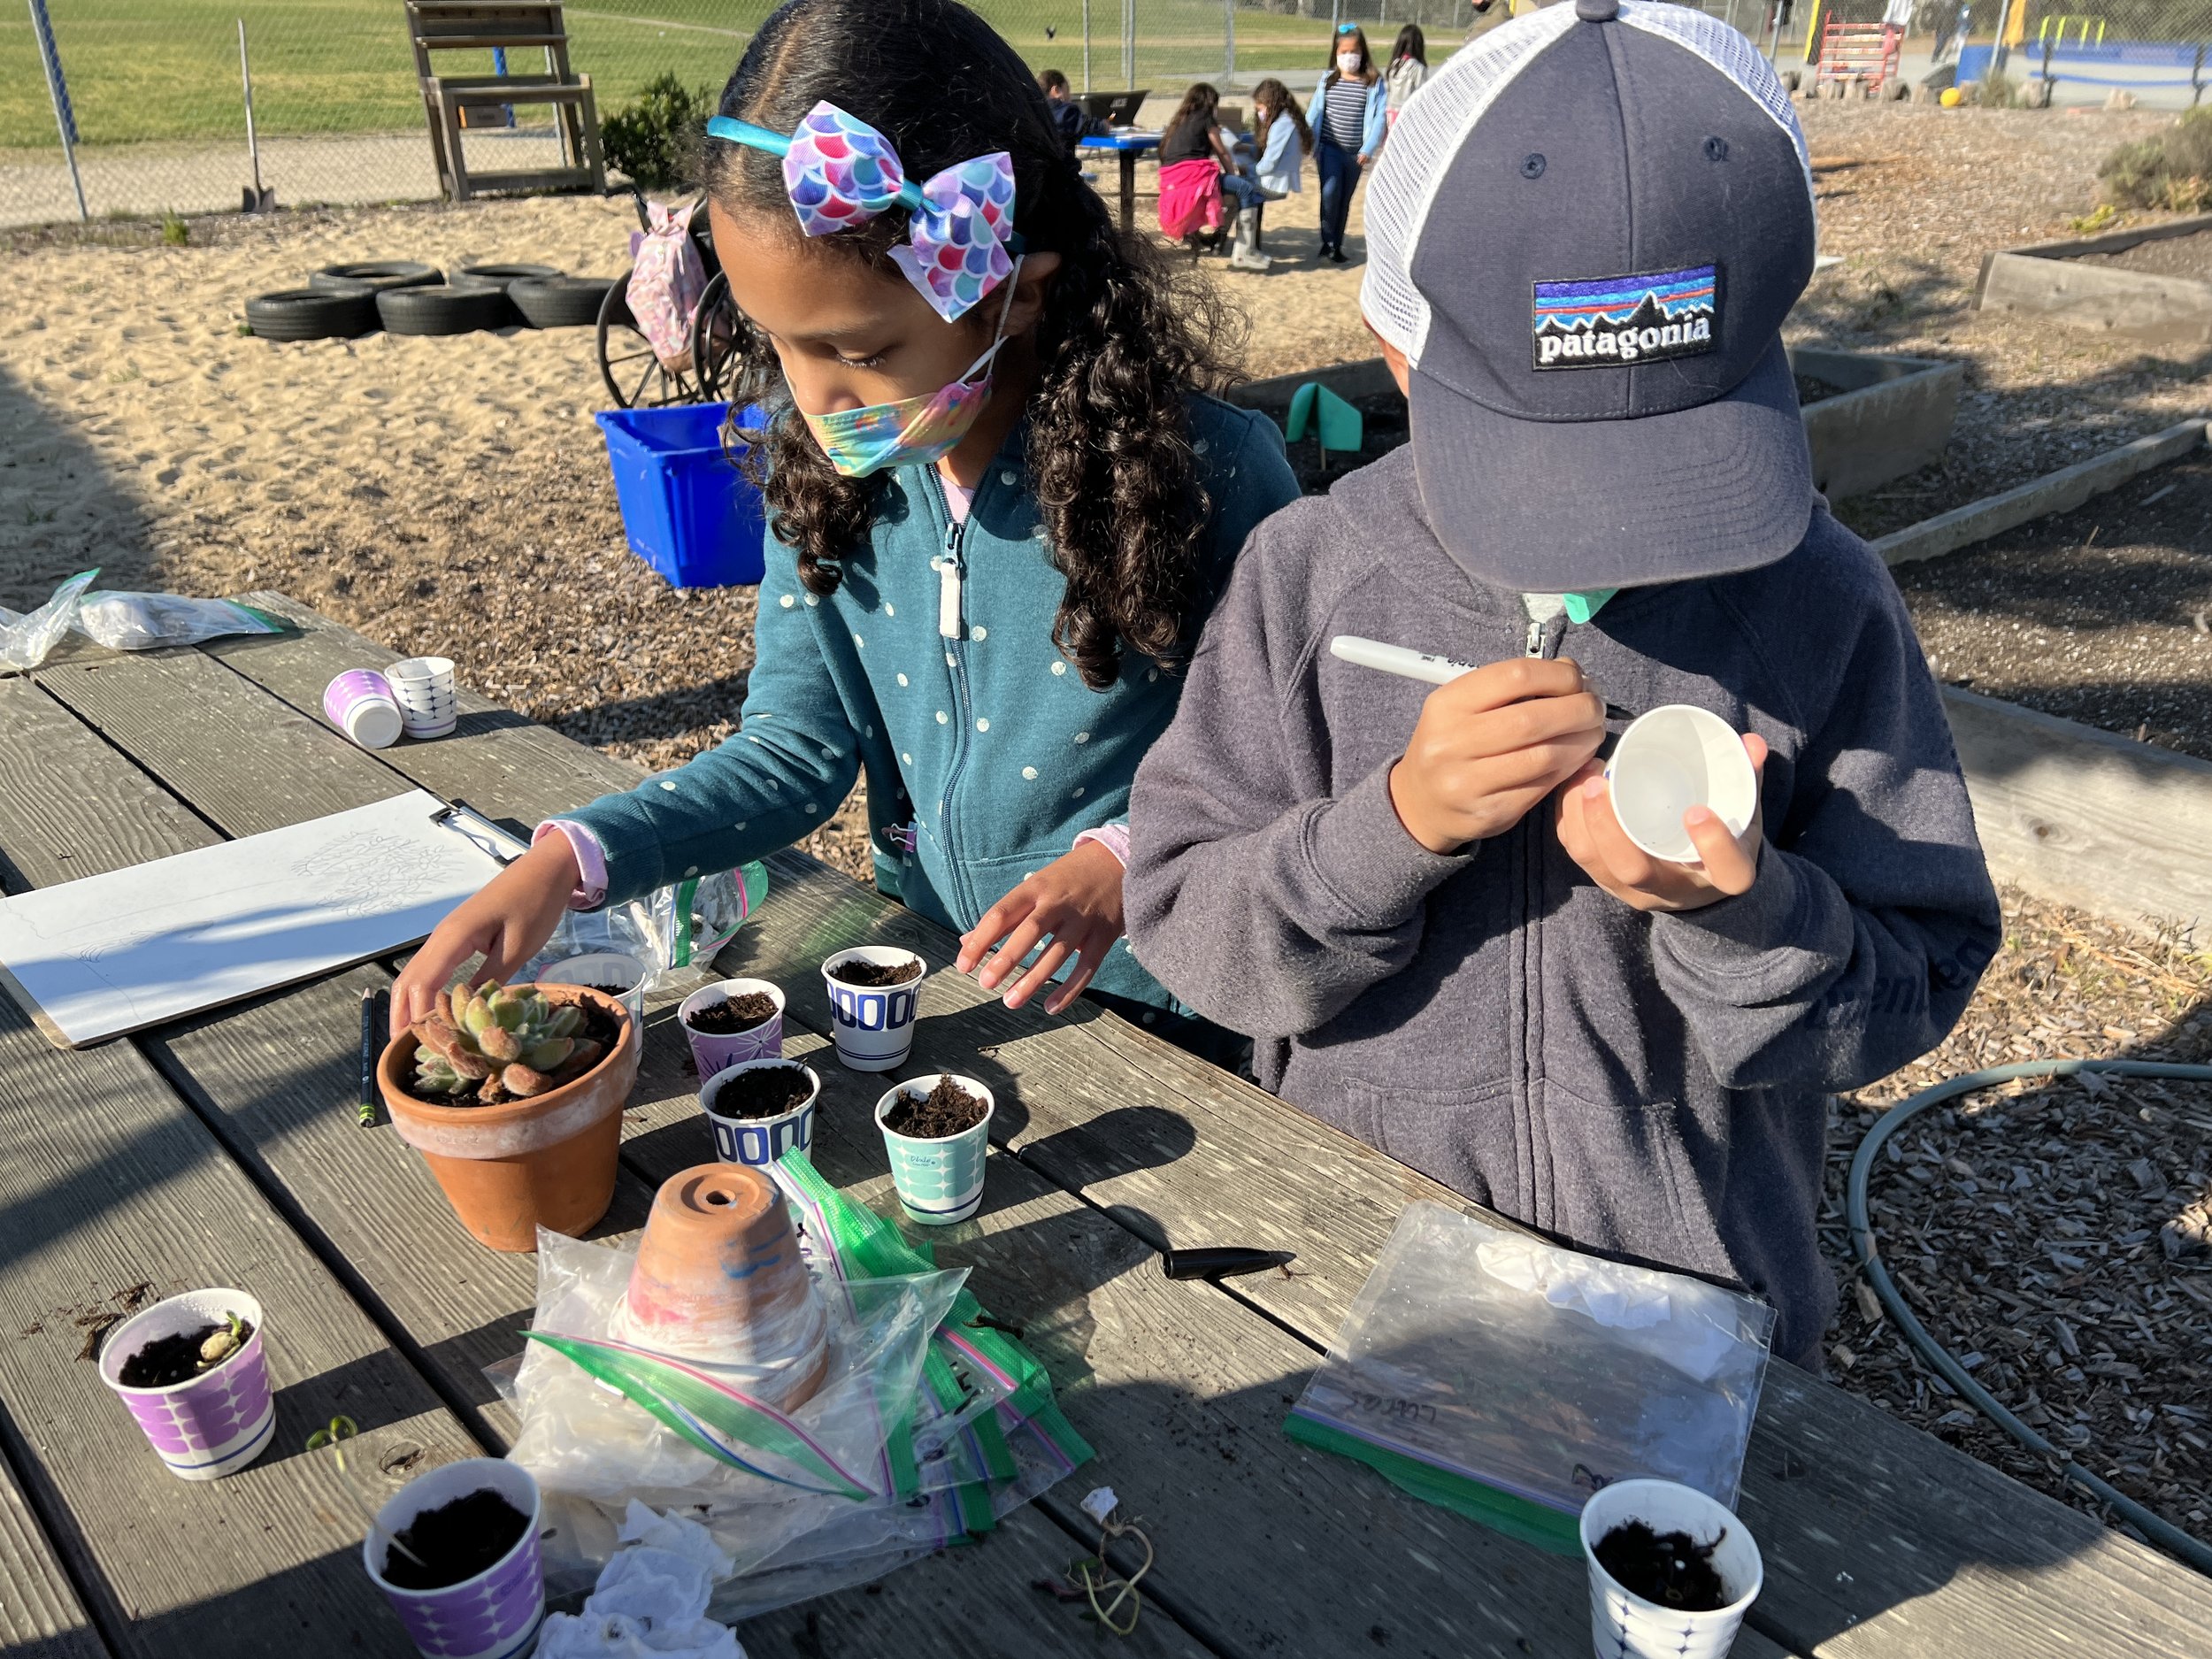
Note: For younger students who need more help, while some students are planting, others can begin drawing. Then they can rotate.
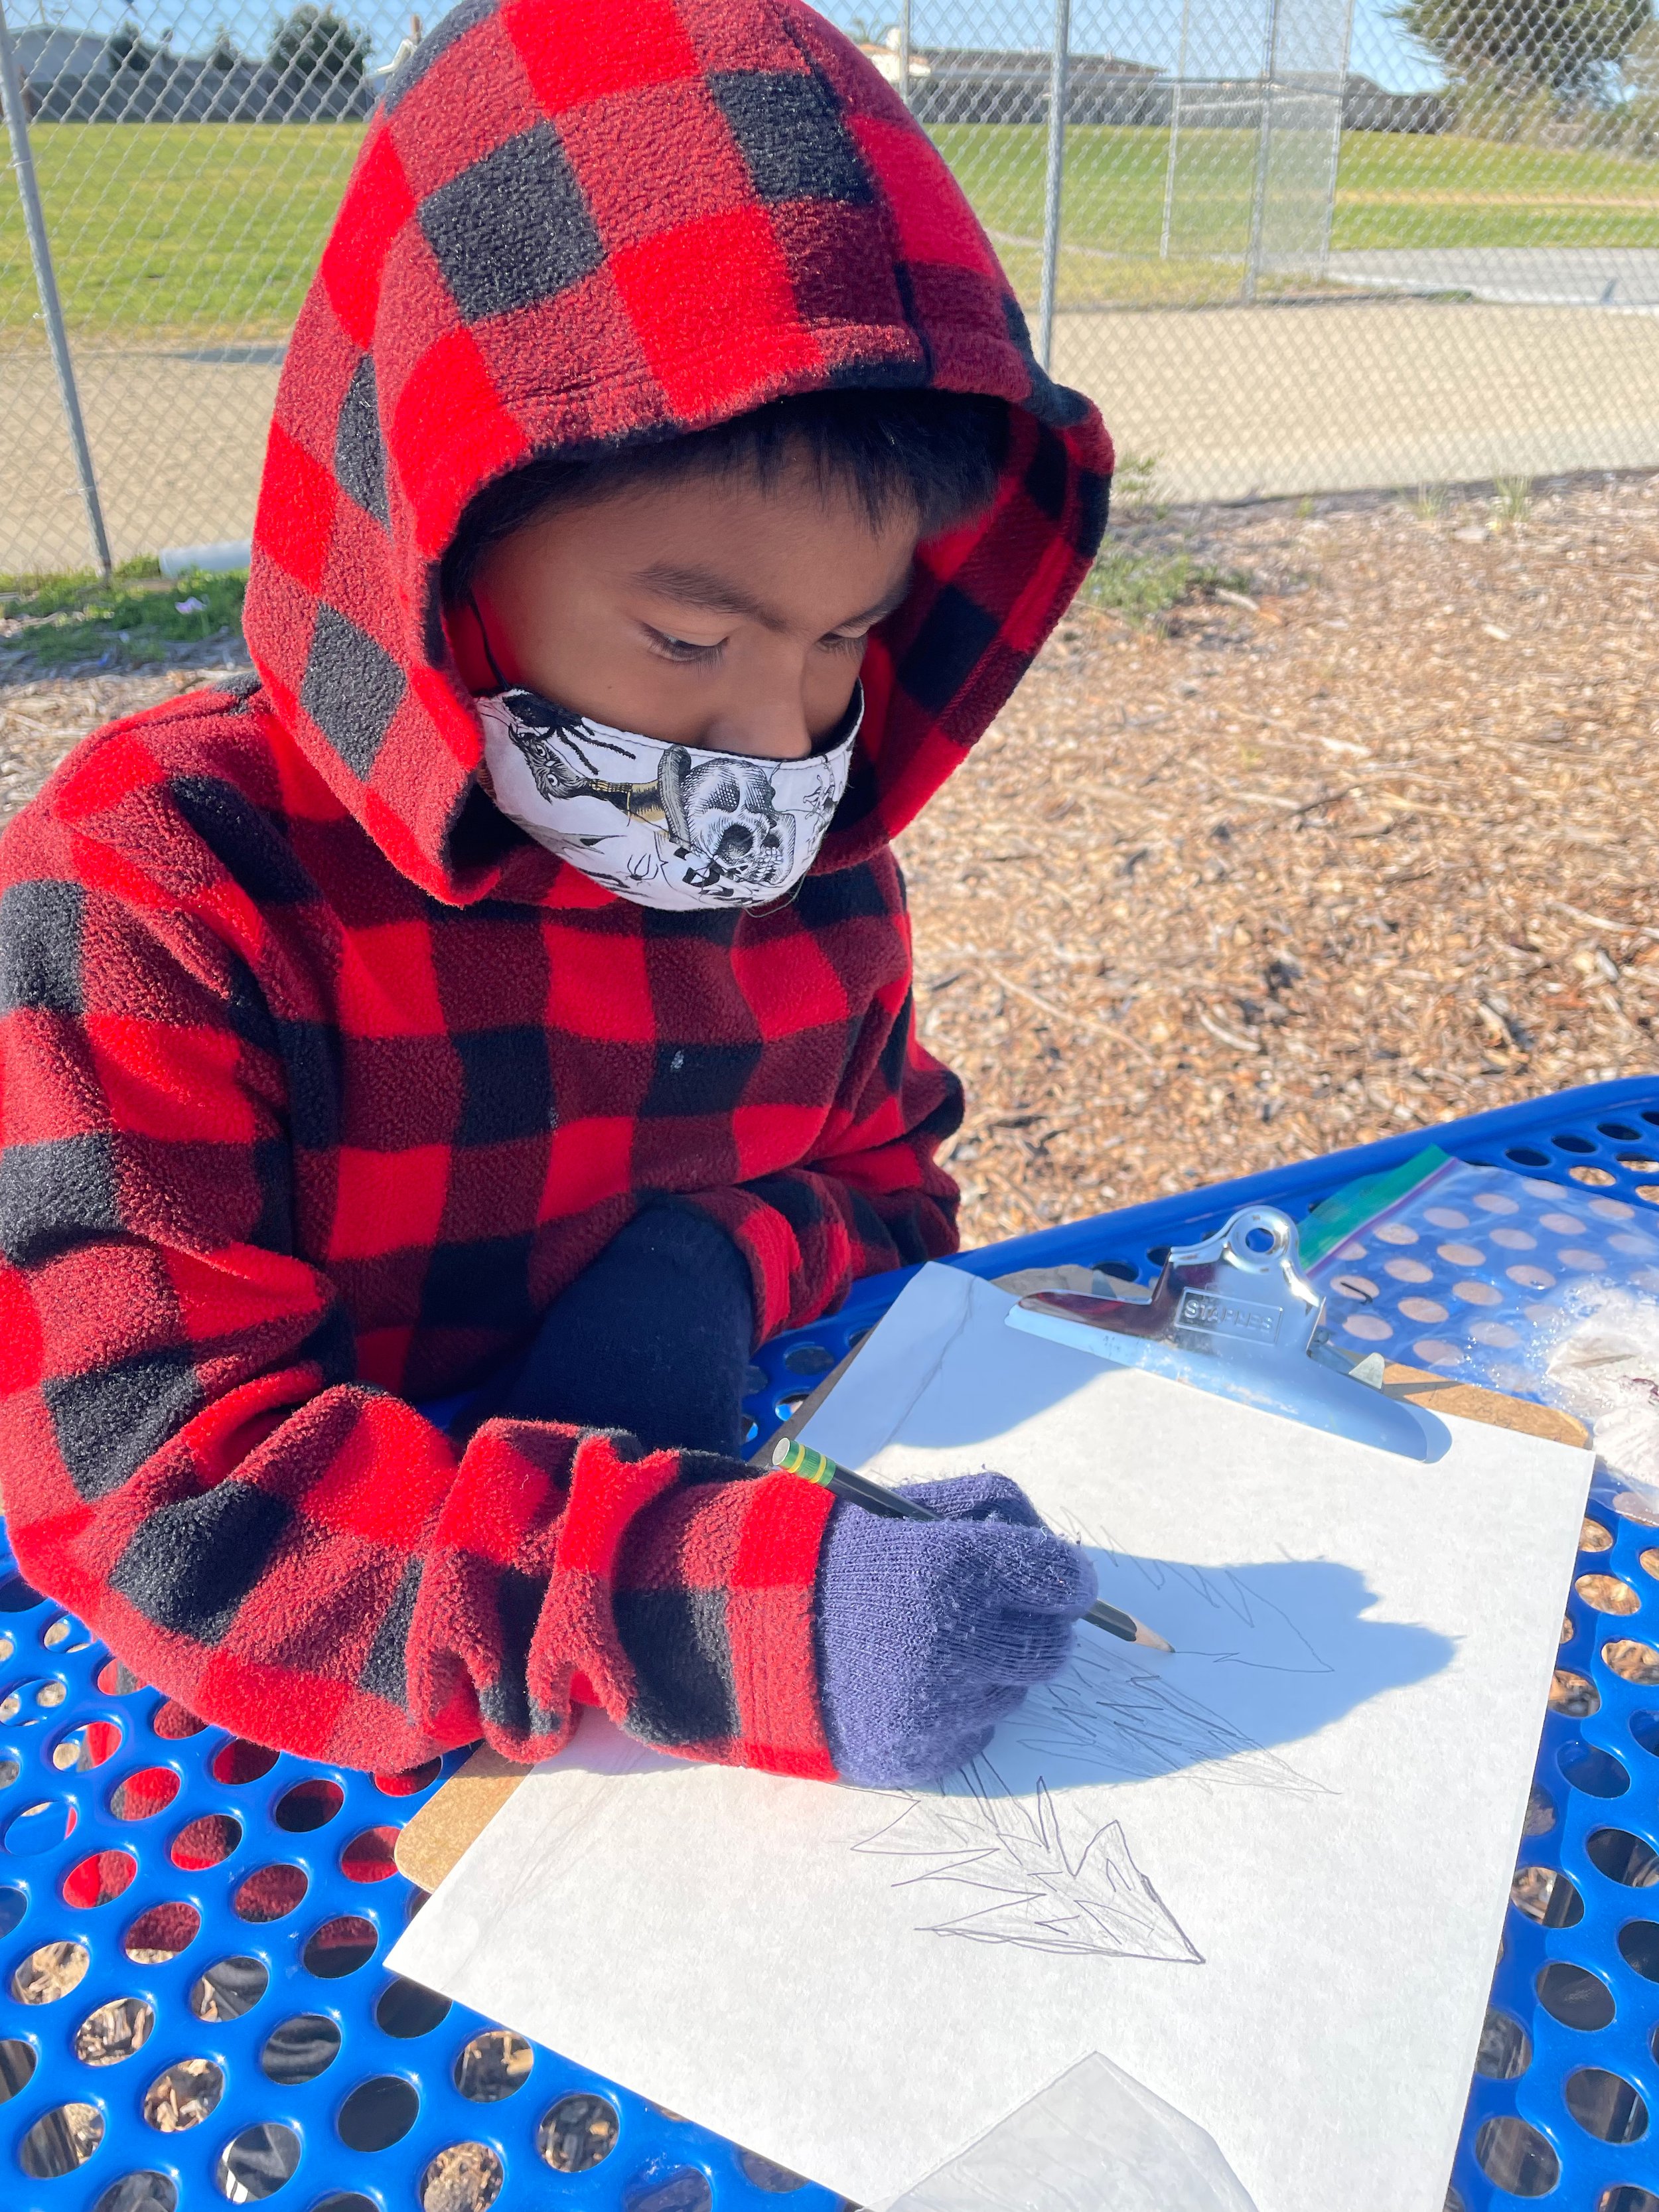
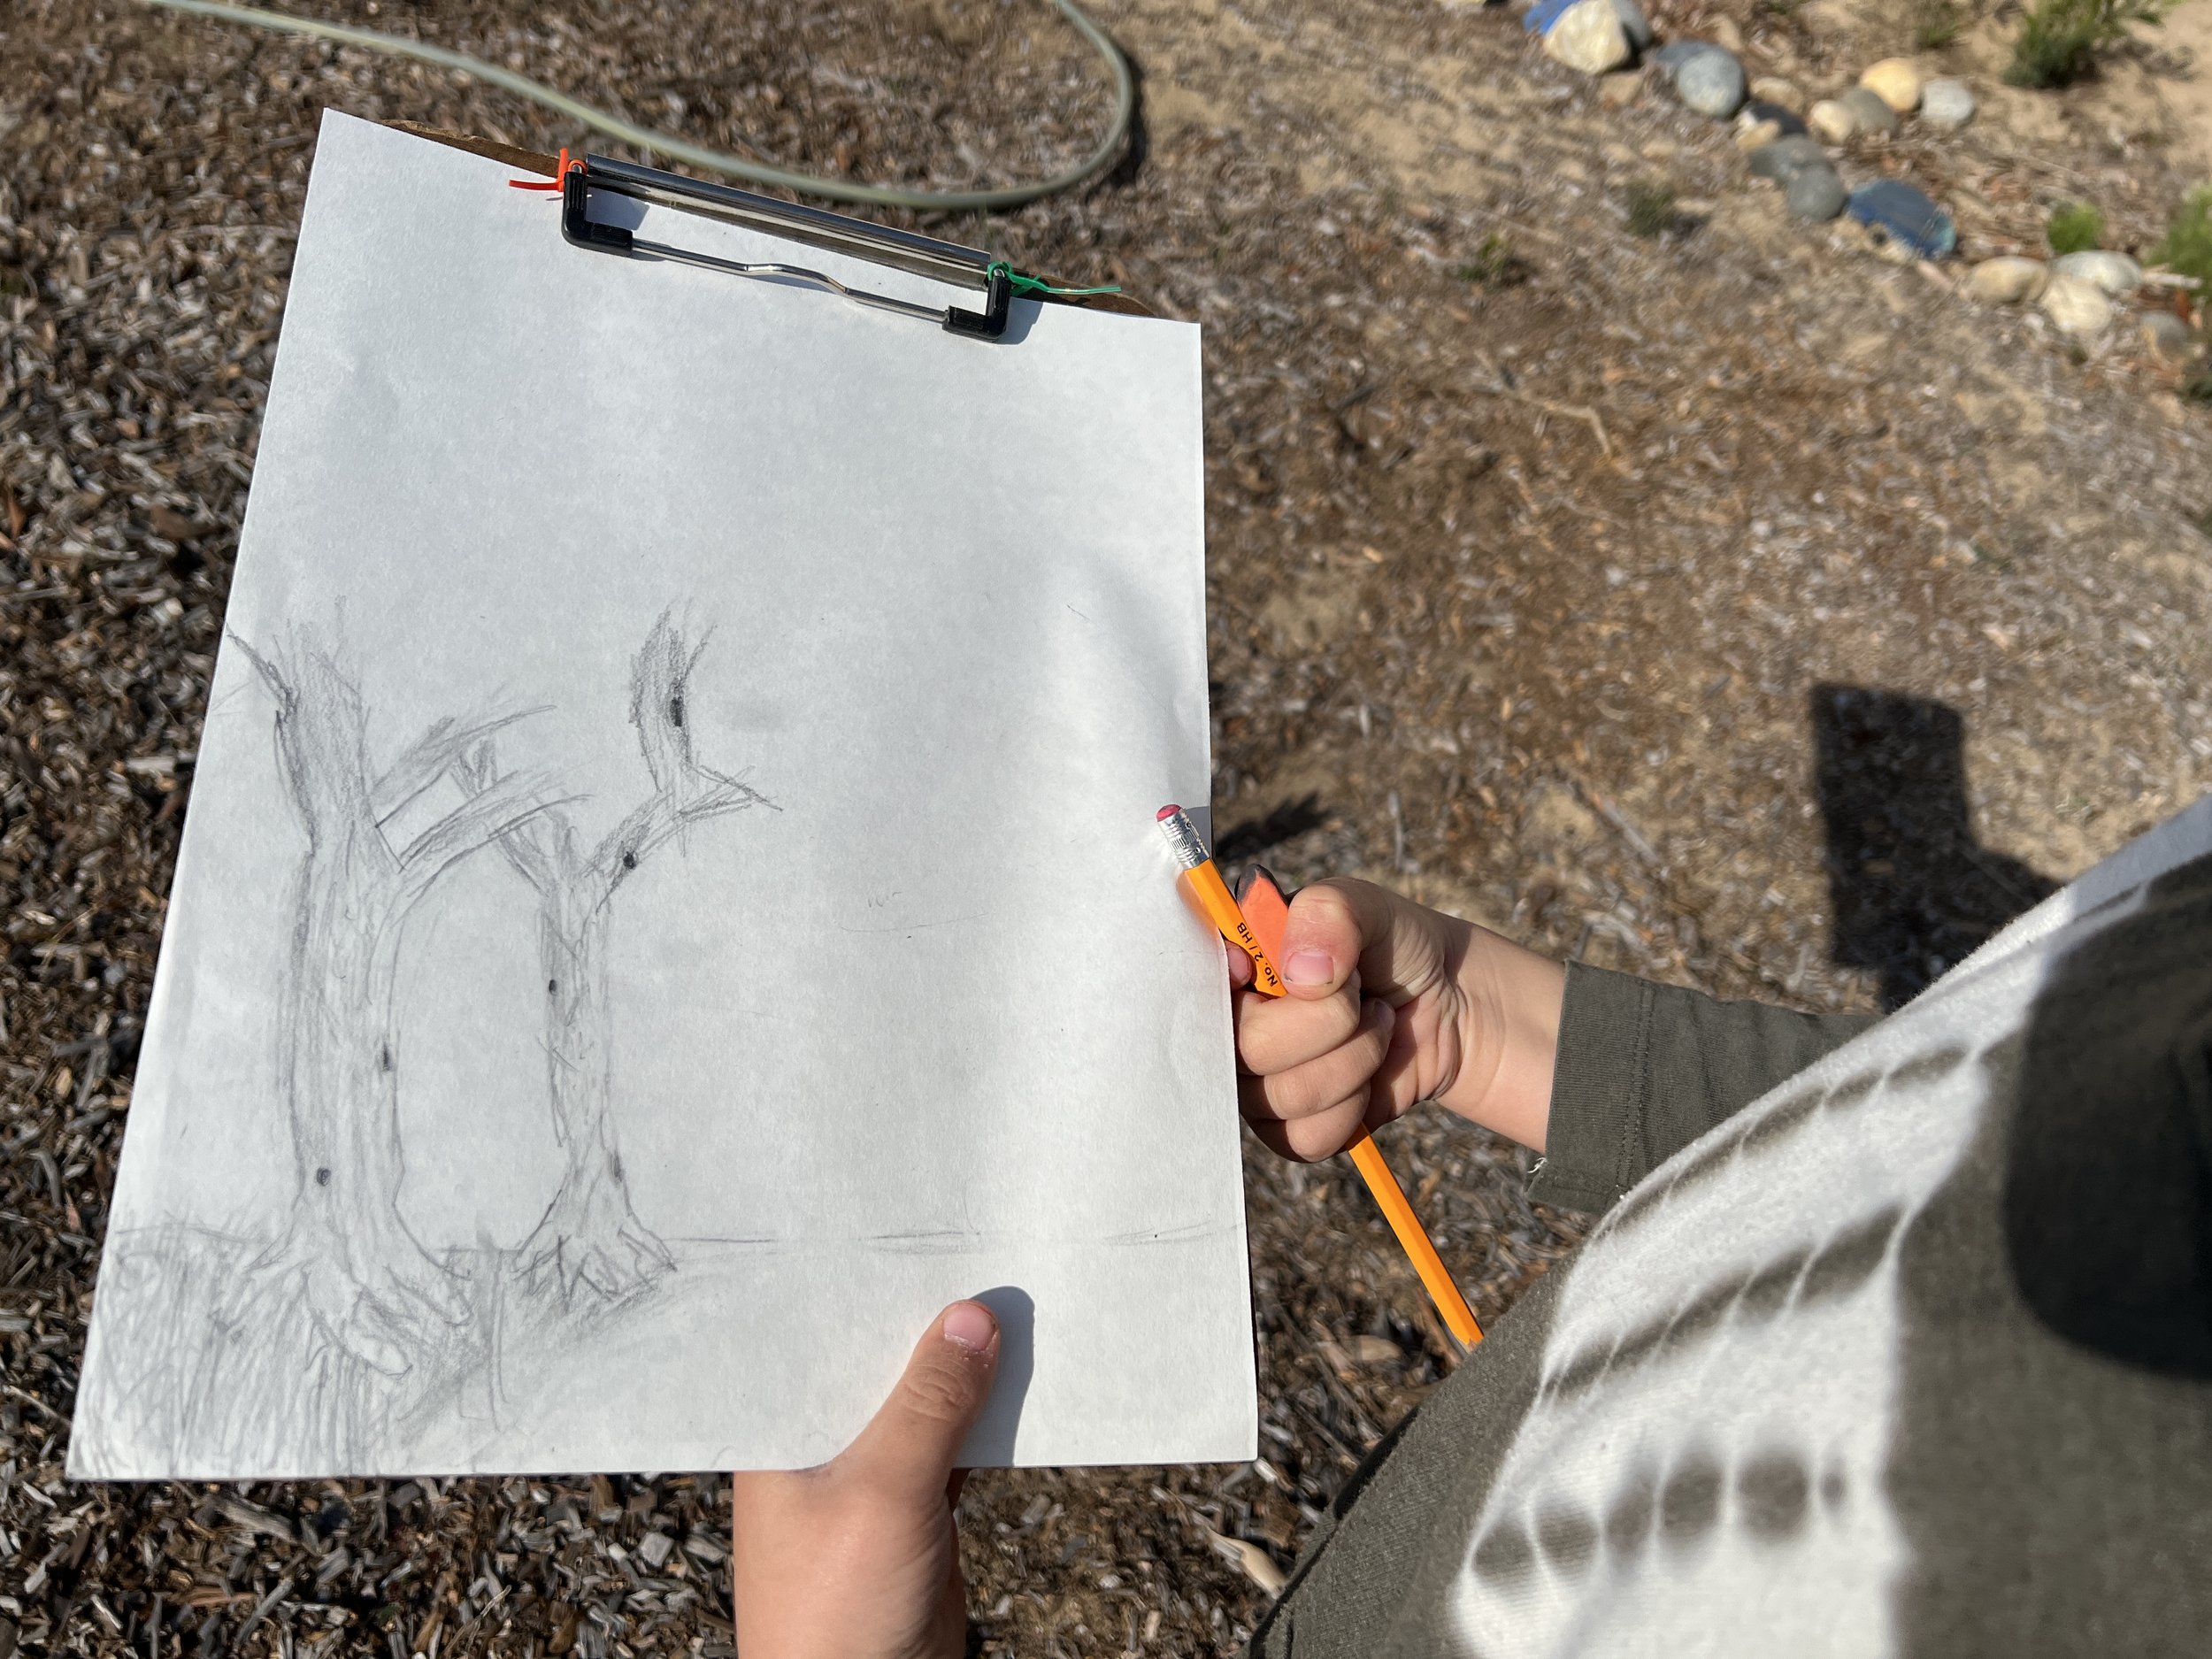
Part 2: Sketching Outdoors

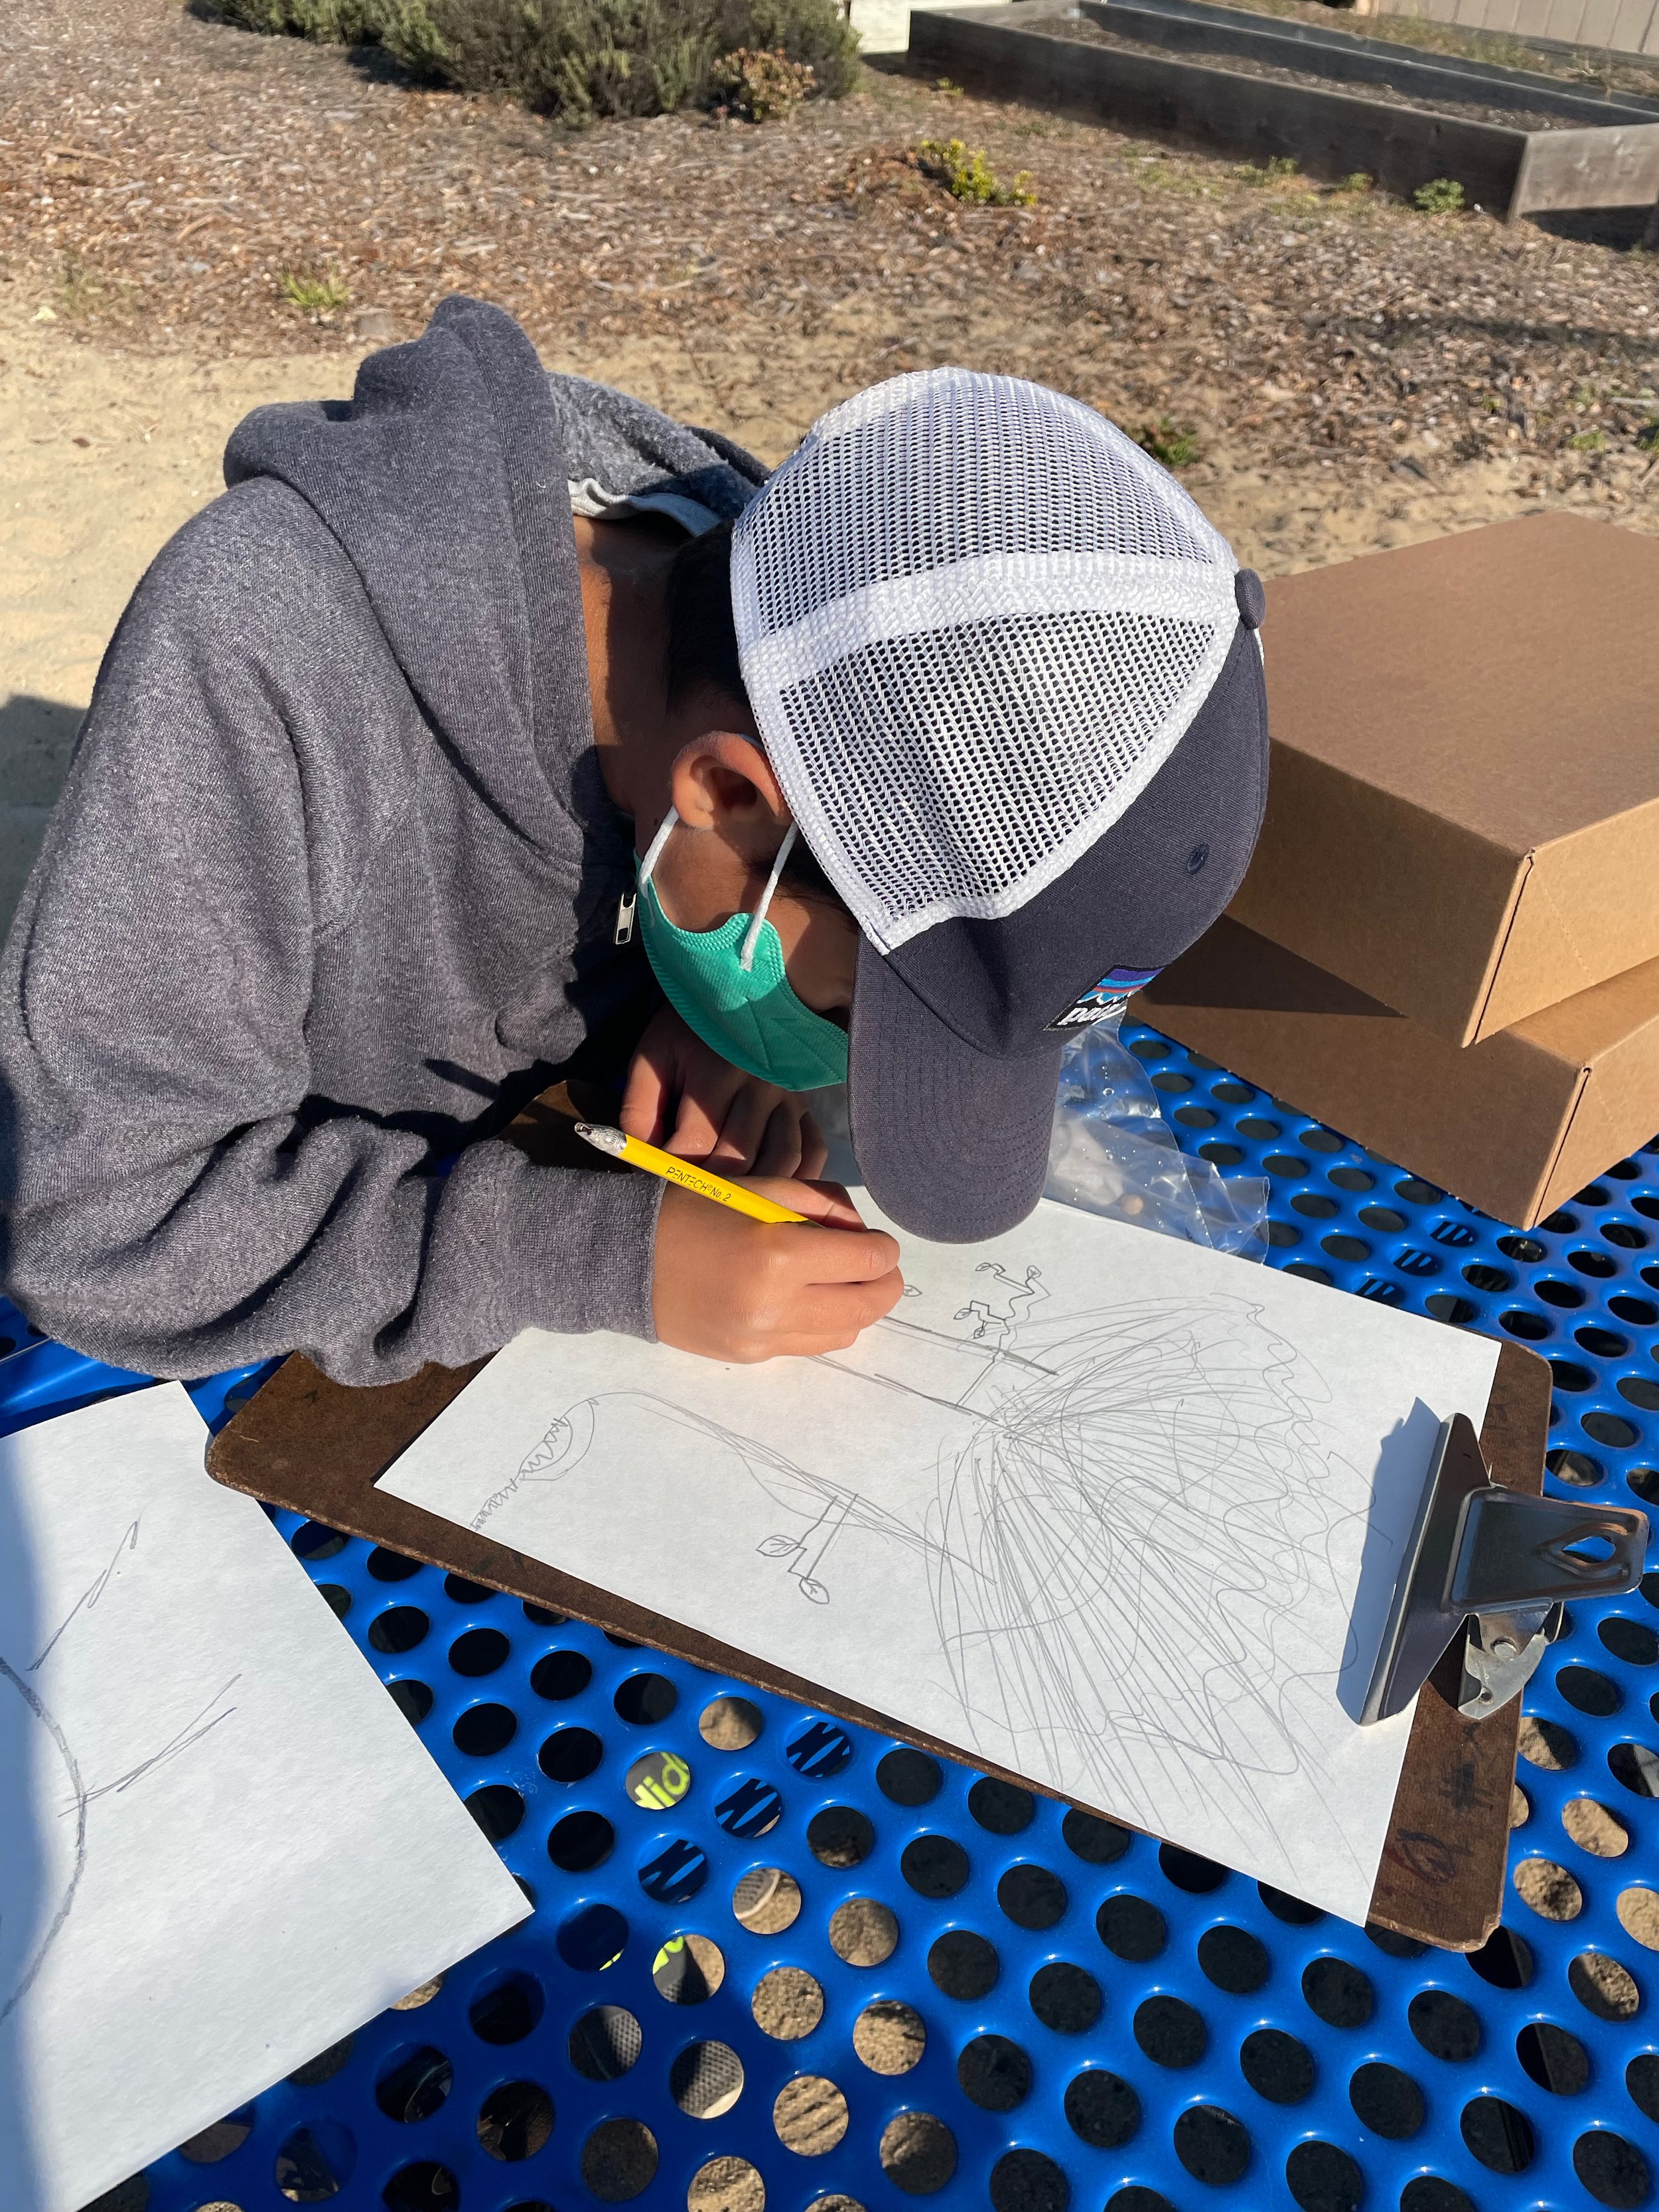
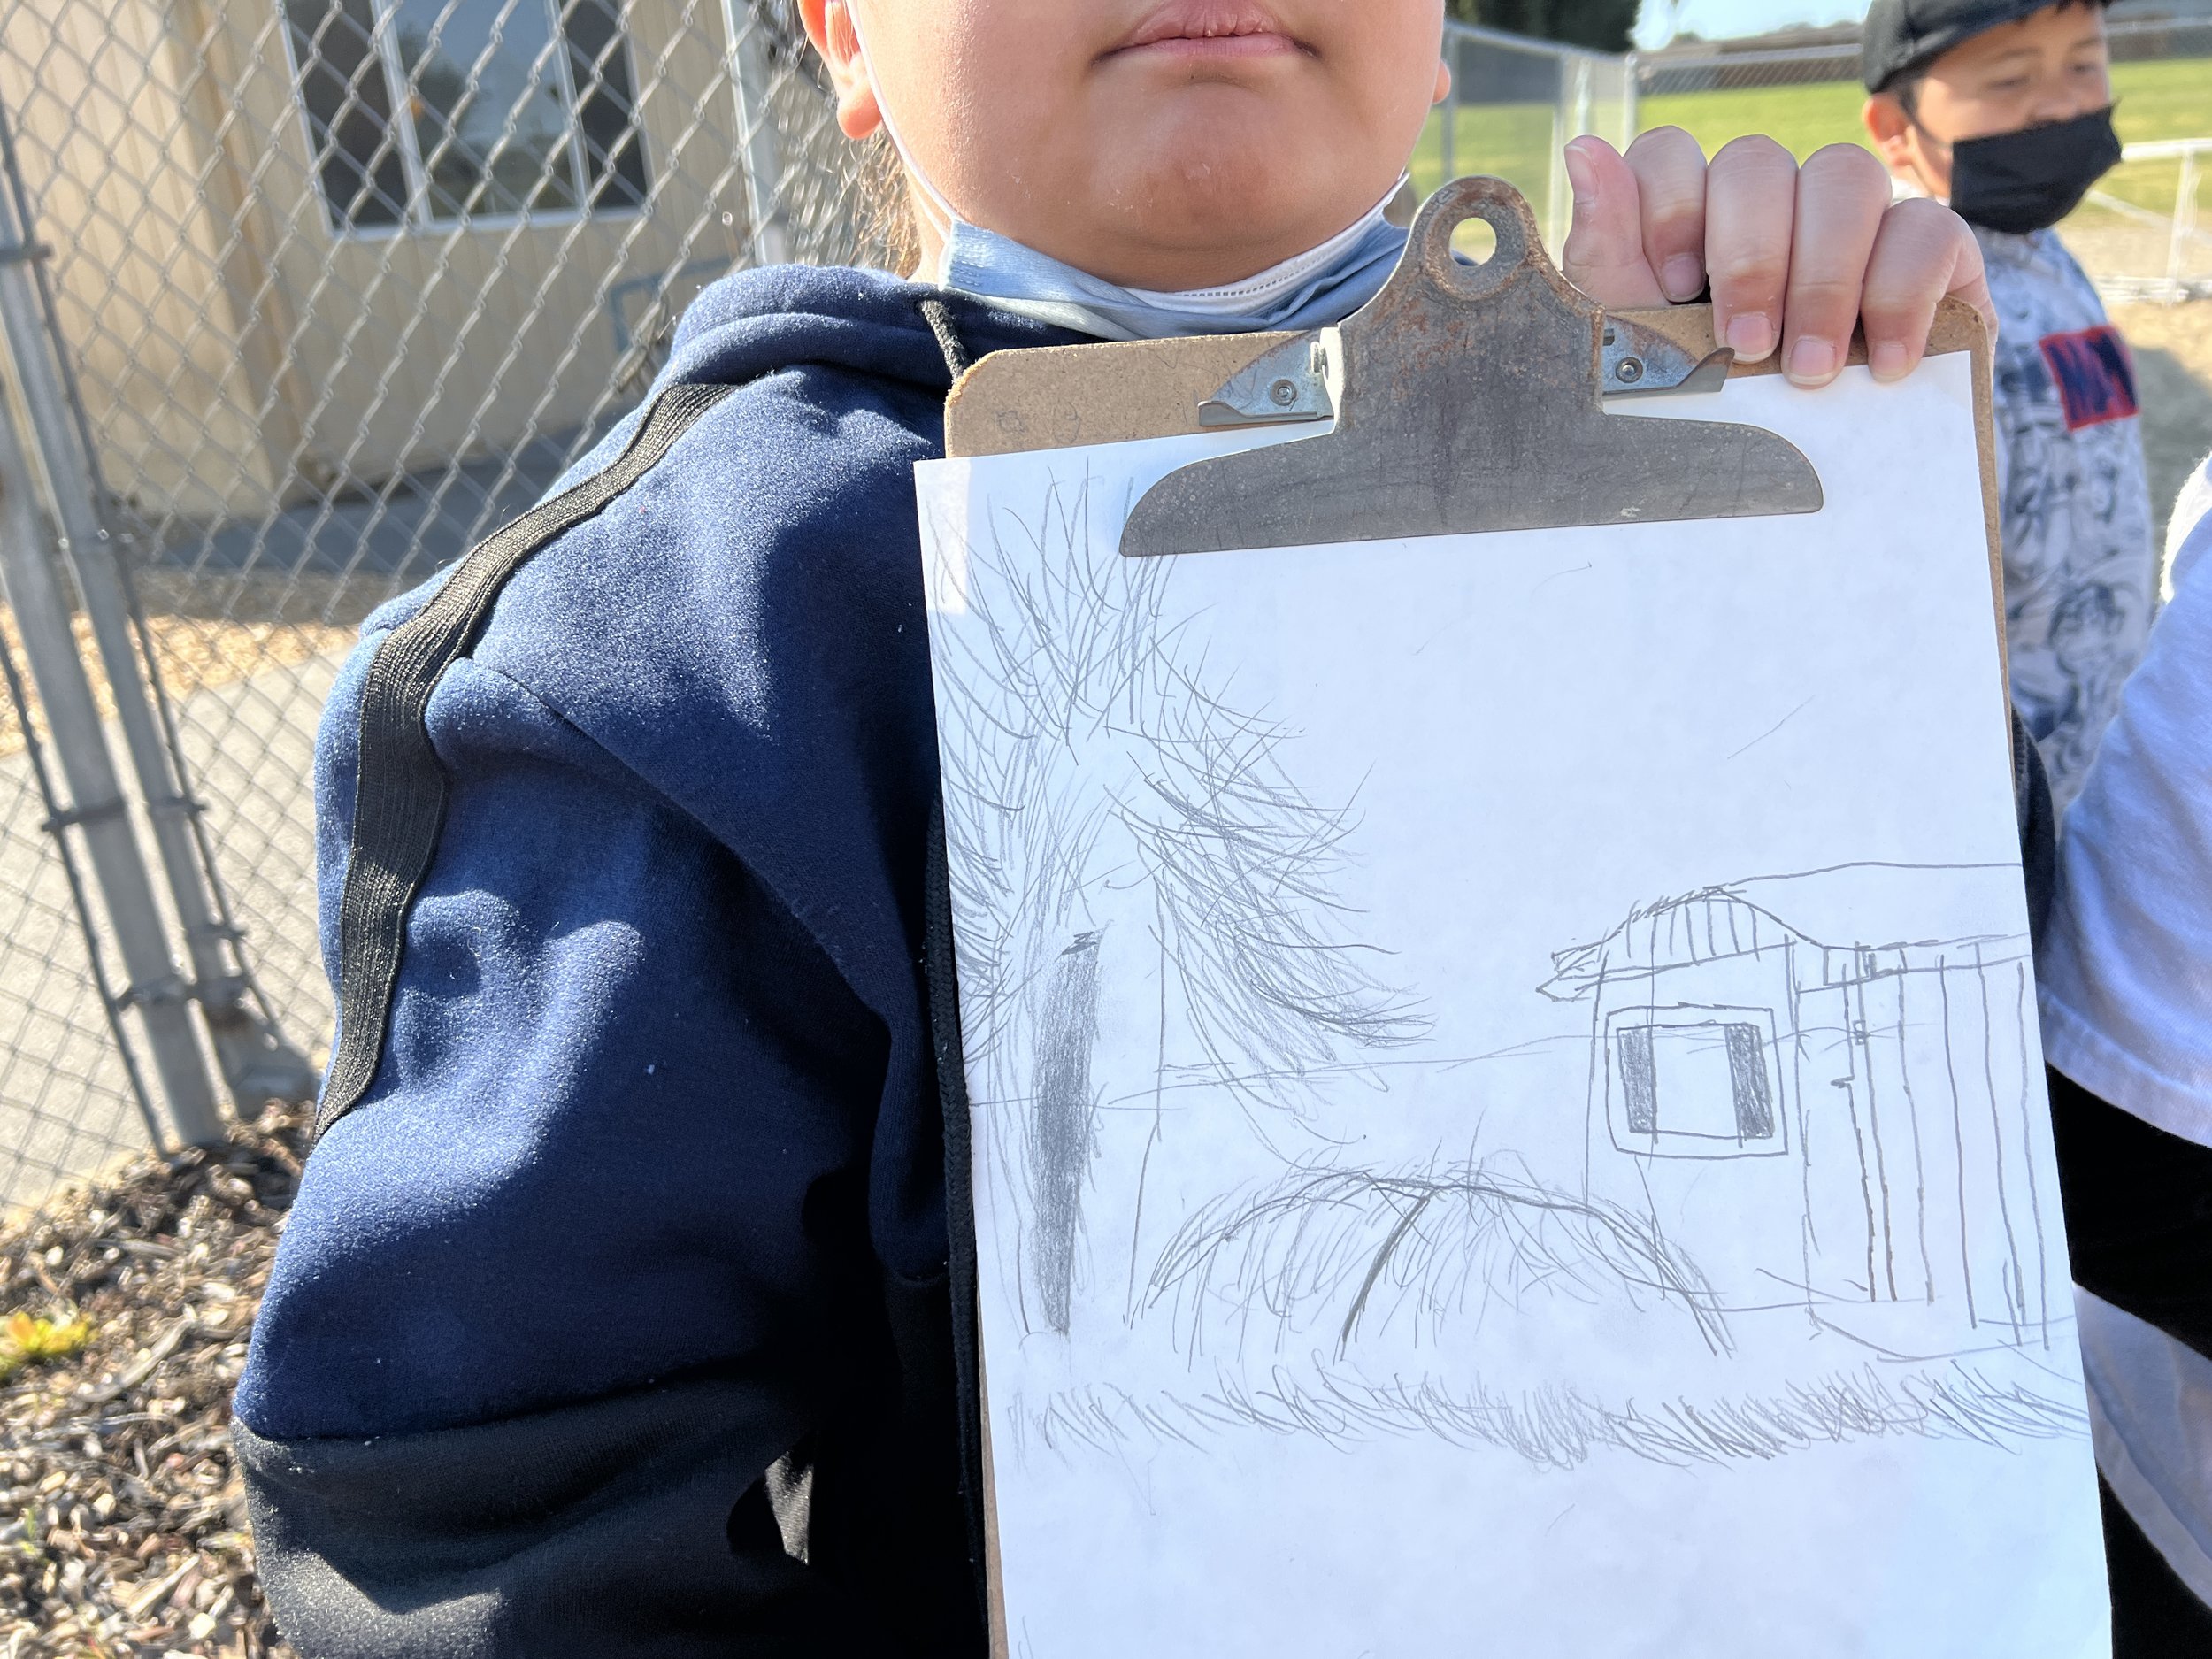
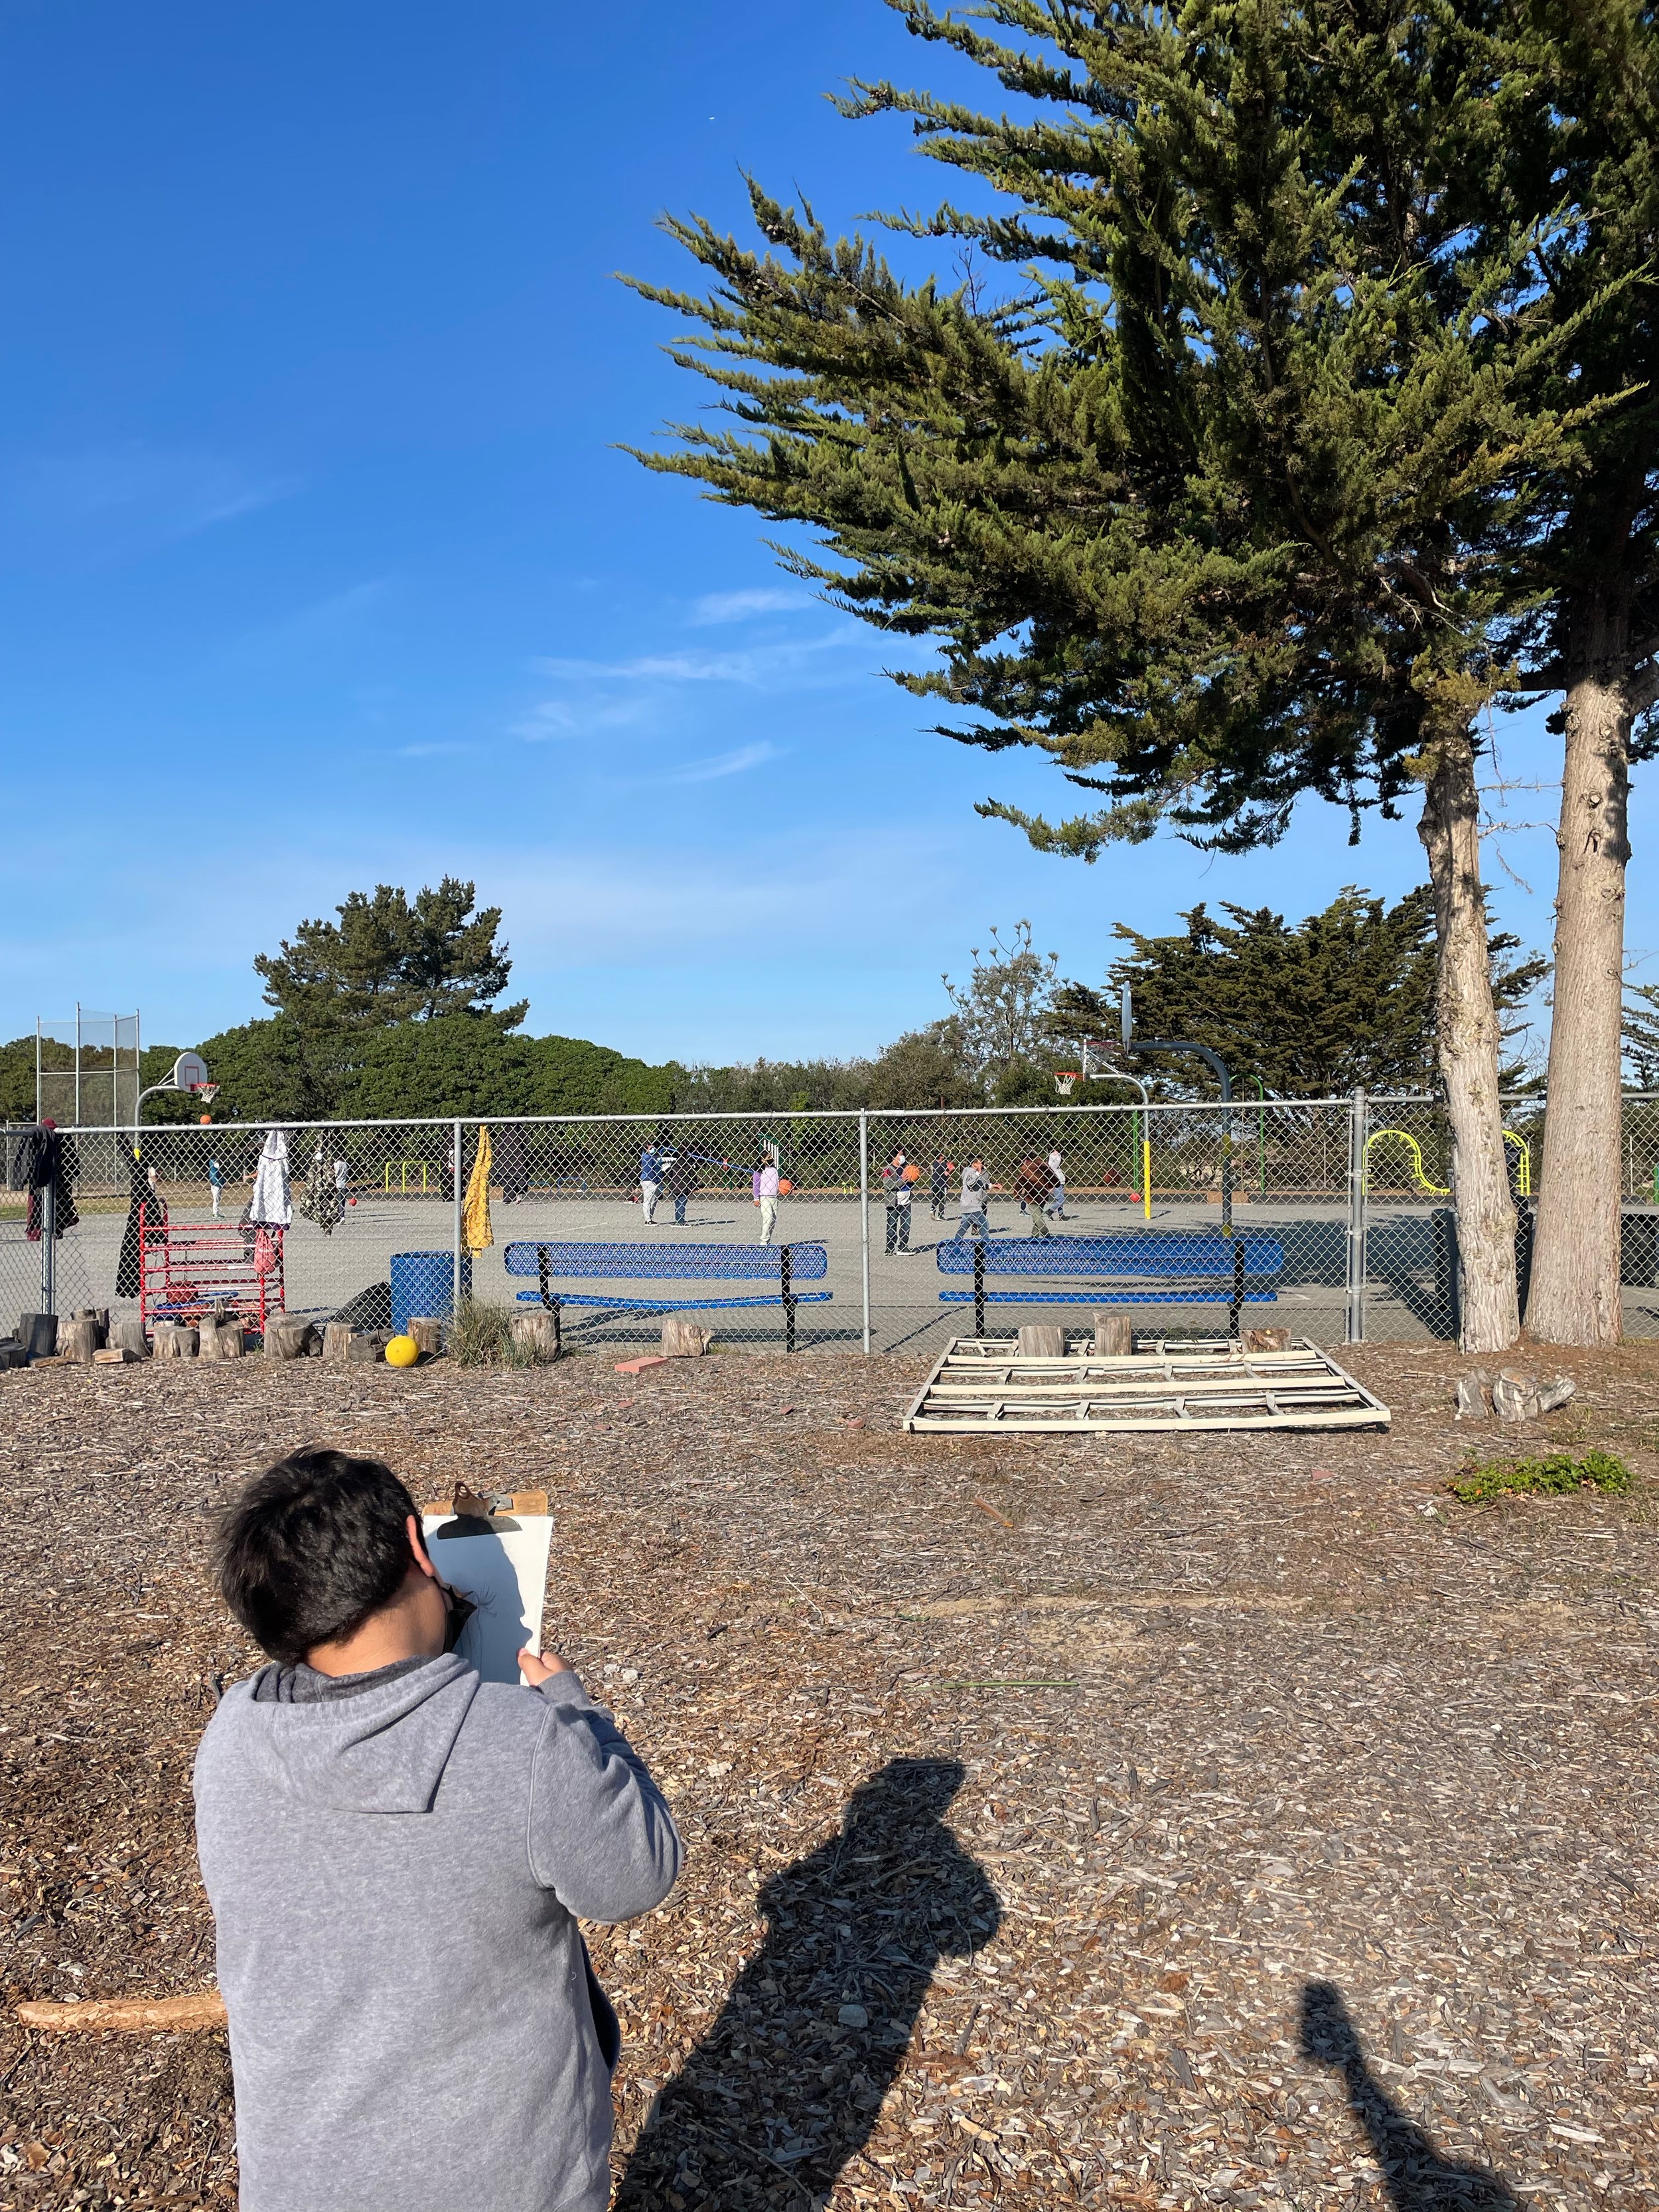
More than anything, drawing is seeing. When we draw (or see a drawing of something), we have a new awareness and sensitivity to what we are looking at.
Students can spend time drawing outside, either in the garden or school yard, or in a safe spot in the built environment where there may be a plant or two.
Materials:
Clipboard or other portable, hard surface.
Pencil (Graphite and/or red and blue pencils)
Eraser
Process:
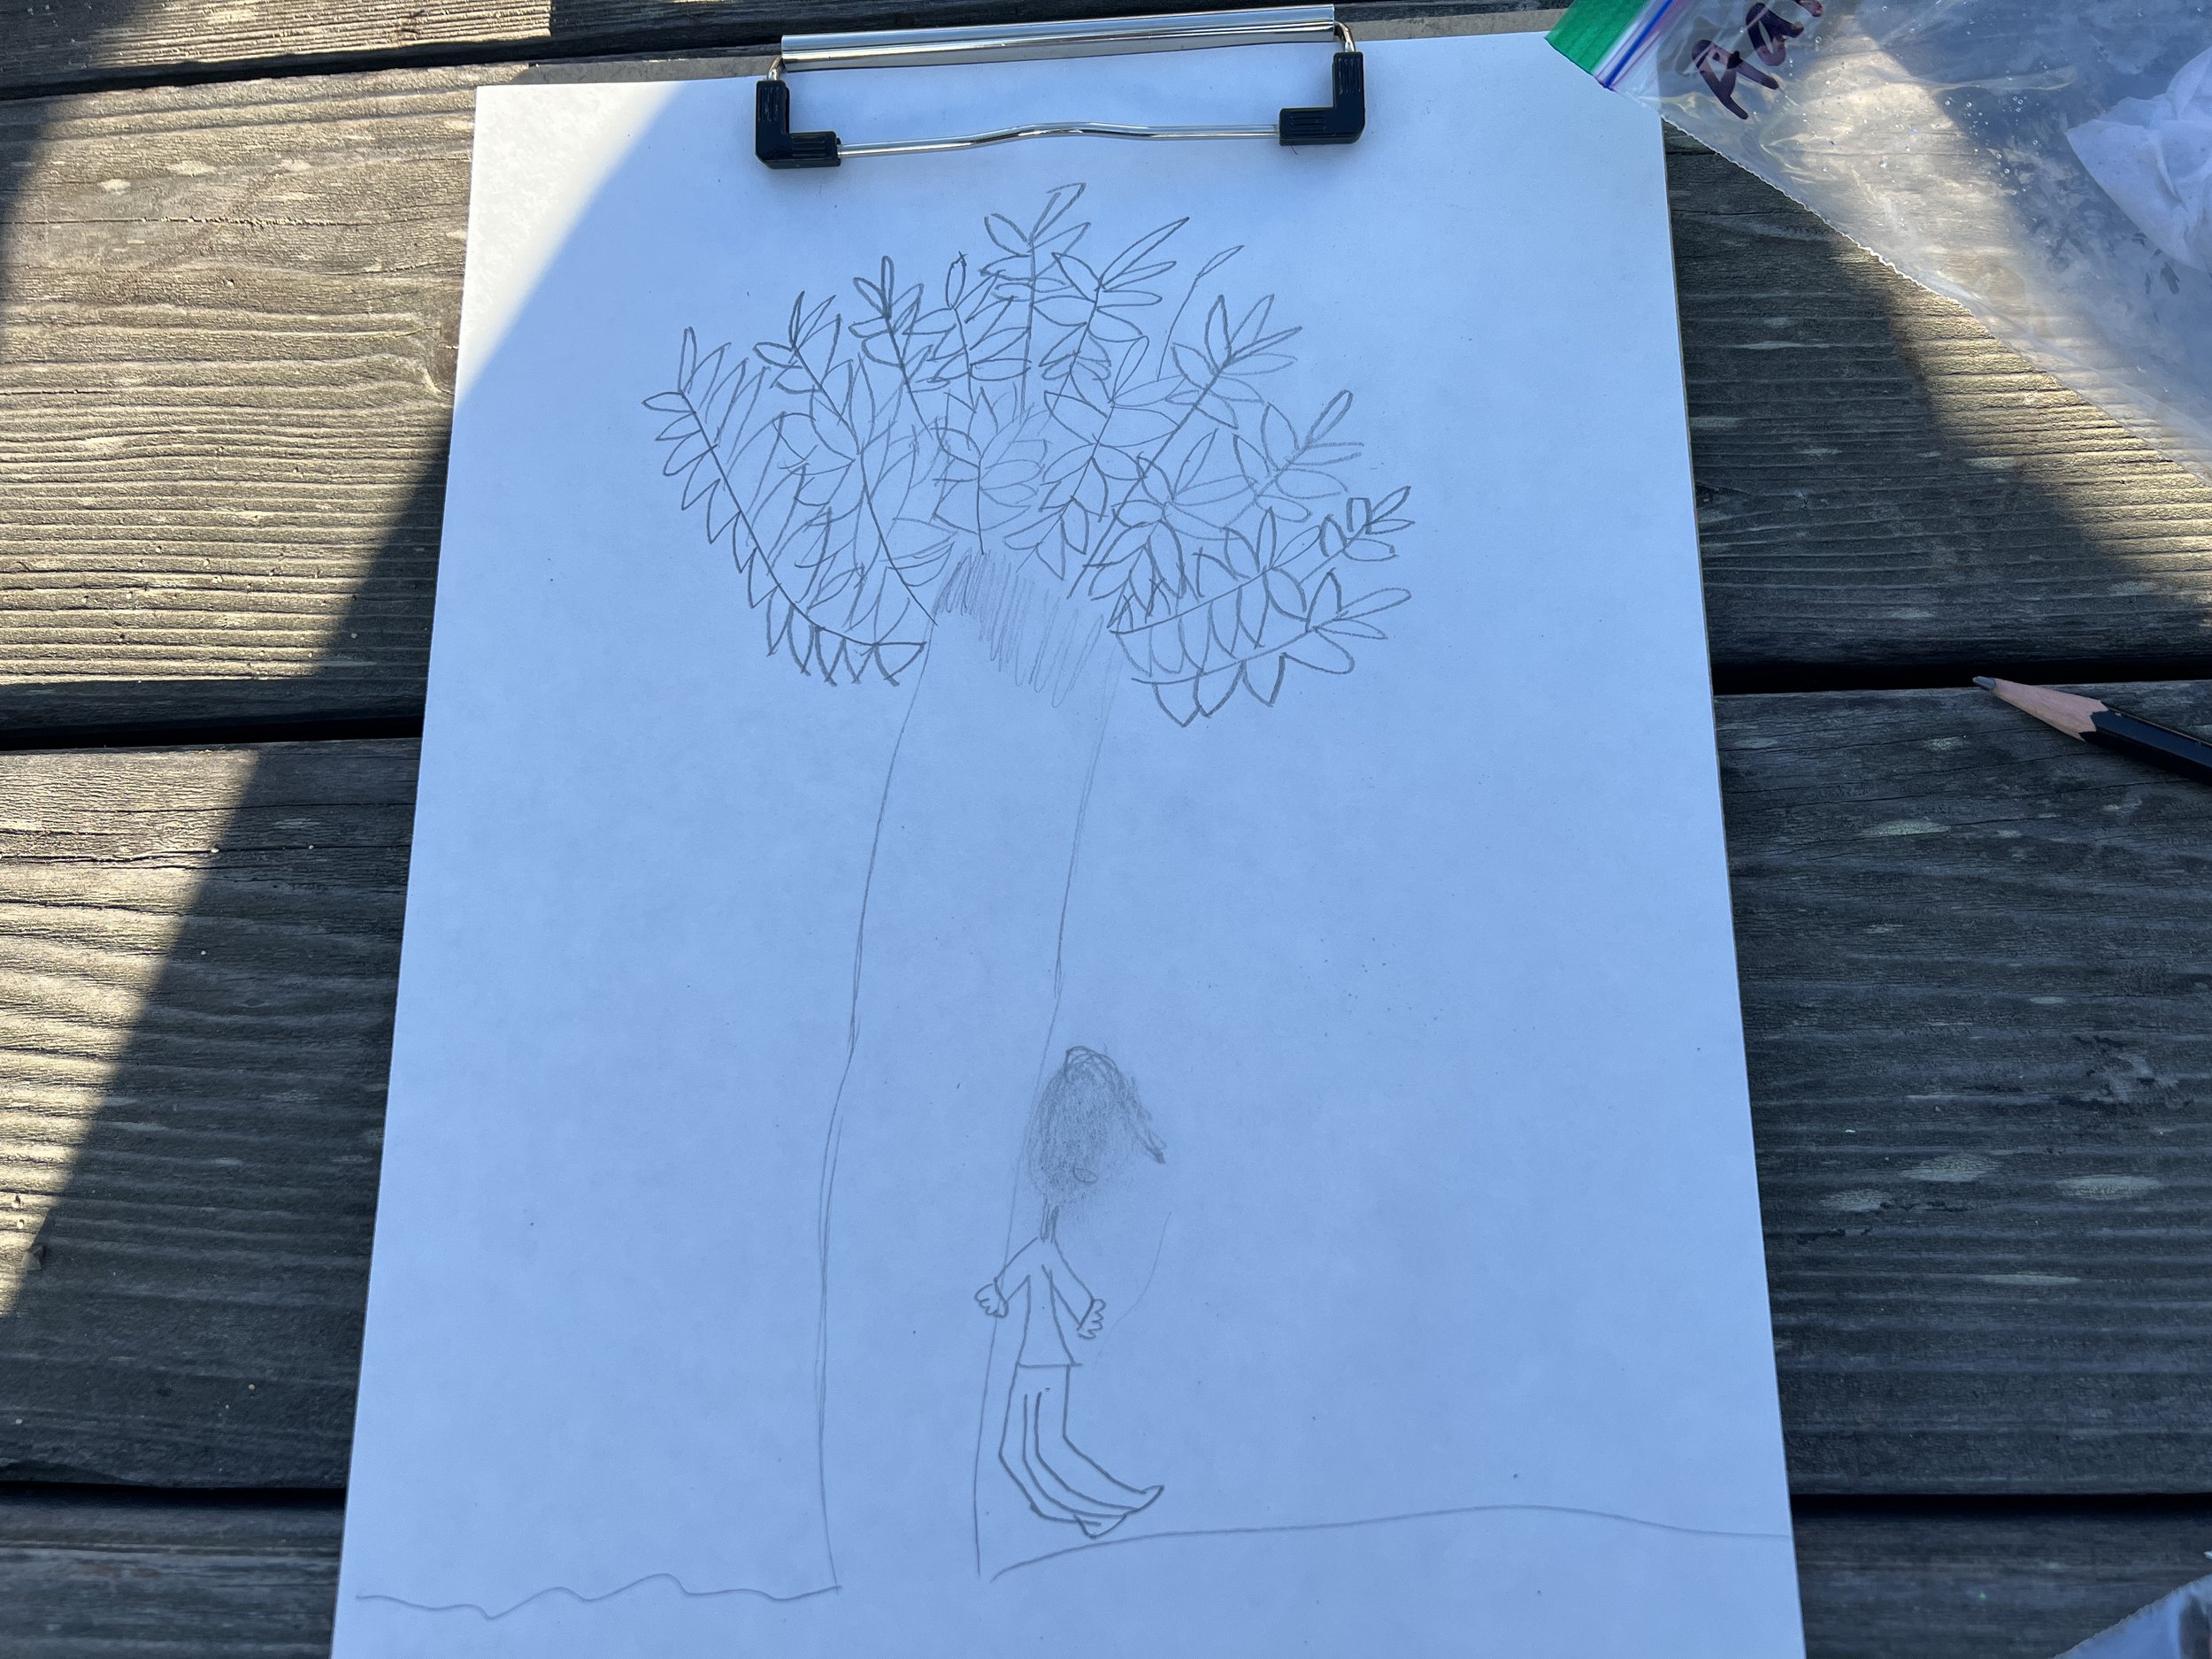
Ask students to notice just one thing about the shape of the plant: A leaf, a branch, or a flower without trying to draw everything at once.
A botanical illustration trick: give students a red and a blue pencil. Ask them to draw with red first and then, once they like what they’ve drawn, go over the drawing with blue pencil. (More on this in a future post :)
This can become the beginning of a nature journal.